

Step 8
Add Adjustment Layer “Curves” and press Ctrl/Cmd + I to invert. Then use Brush Tool(B) Soft Round with foreground color white and paint on Dark parts.


Step 9
Add Adjustment Layer “Curves” and press Ctrl/Cmd + I to invert. Then use Brush Tool(B) Soft Round with foreground color white and paint on Highlight parts.


Step 10
Add Adjustment Layer “Solid Color” and use Black color and press Ctrl/Cmd + I to invert. Now use Brush Tool(B) Soft Round with foreground color white and paint on dark parts on Wolf (Right Side on Body)

Step 11
Add Adjustment Layer “Levels”

Step 12
Add Adjustment Layer “Color Balance”

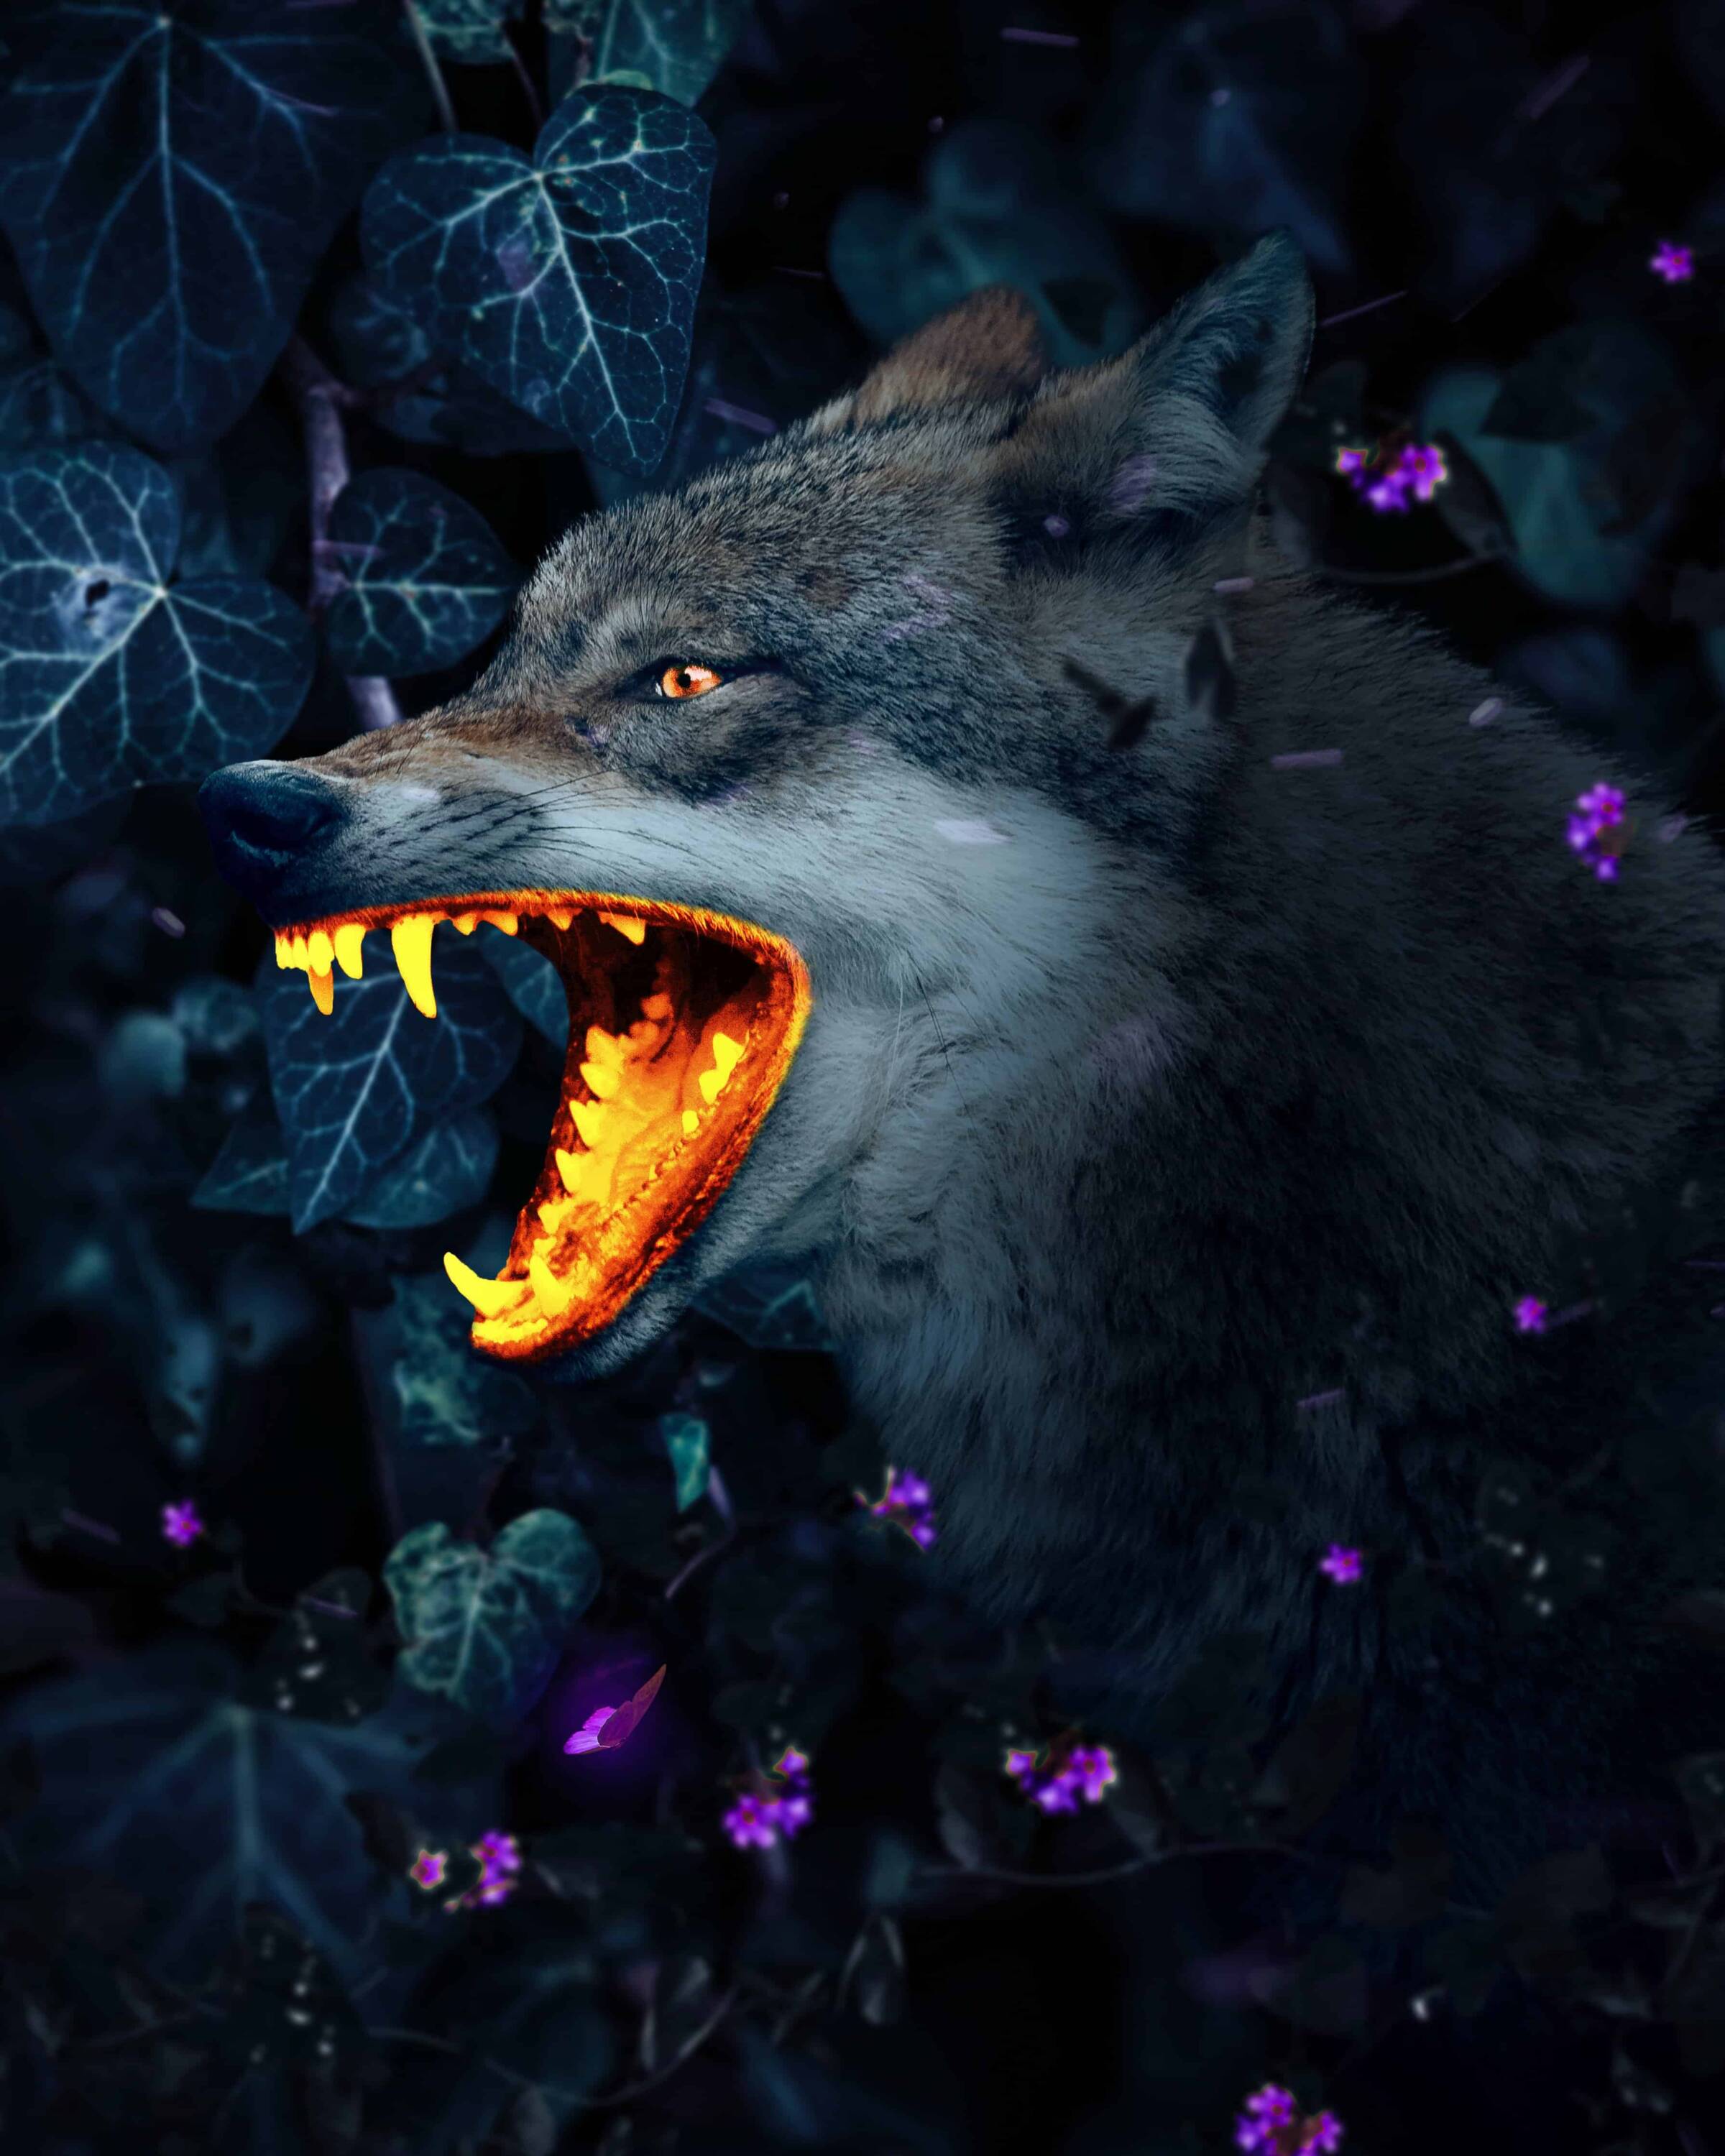
Step 13
Now create a new layer and lets start to create a glowing effect in mouth. First use Brush Tool(B) Soft Round with foreground color Yellow #f4b905 and start painting mouth and teeth. Blend mode change to Color.

Next Duplicate layer (Ctrl/Cmd + J) and foreground color change to red color #ca2e2e. Now click on layer icon and hold Ctrl/Cmd and click on layer to activate selection, then press Alt+Del to fill with red color. Blend mode change to Overlay.

Duplicate layer again and press Ctrl/Cmd + U to open Hue/Saturation and set Lightness to +100. Add two more copies (Ctrl/Cmd + J) and for the last reduce Opacity to 70%.


Select all glowing layer and put to group (Ctrl/Cmd + G) it should look like this.

Step 14
Create a new layer and use Brush Tool(B) Soft Round with foreground color Gray #808080 and start paint the Eye. Blend mode change to Color Dodge with Opacity 50%.

Step 15
Add another layer and set foreground color to Orange #f64101, then use Brush Tool(B) Soft Round and paint the eye. Blend mode change to Overlay with opacity 85%.

Step 16
Open Ivy and hold Ctrl/Cmd and click on layer and after the selection area has been created, simply copy (Ctrl / Cmd + C) and Paste (Ctrl / Cmd + V) it to our work canvas. Then position the image with the transform tool (Ctrl / Cmd + T). Hold Alt + Shift and resterize like image below. In Photoshop CC only hold Alt to resterize al sides together. Now add some blur, go to Filter > Blur > Gaussian Blur and set Radius to 8px.
2 responses to “Glowing Mouth Wolf Photoshop Tutorial”
-

Wow. That’s super hideous.
-
Another great composite. Thanks.
Leave a Reply