


Step 17
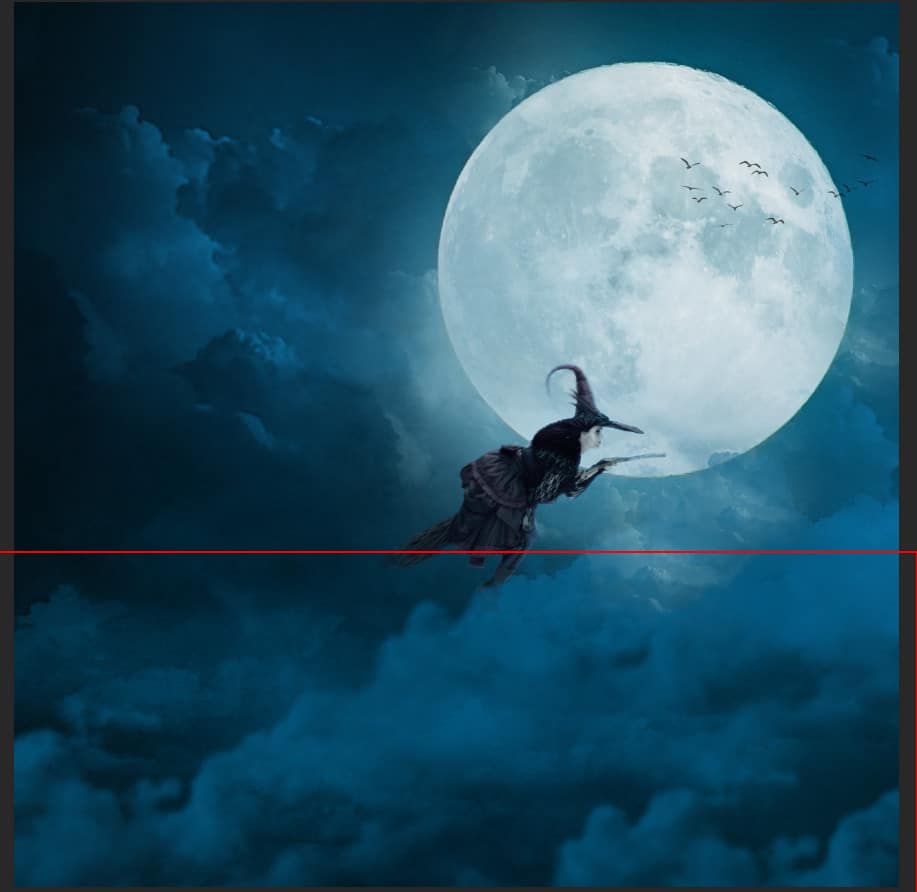
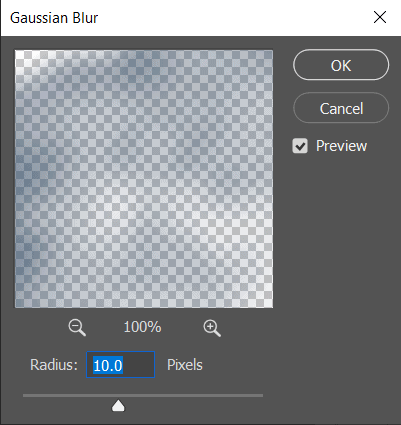
Create another Clouds layer, use Brush Tool(B) and select clouds brushes then paint a first cloud in group. Foreground color se to Blue #014d72. Go to Filter > Blur > Gaussian Blur and set radius to 10px.

Step 18
Next, we add Stars but first we need to import brushes. Select a Brush Tool(B) and right click on background. Now click on the gear icon and Import Brushes (Select a downloaded brush).


Now we can paint some stars…

To make more blur go to Filter > Blur > Motion Blur and set Angle to 31 and Distance to 10px.

Step 19
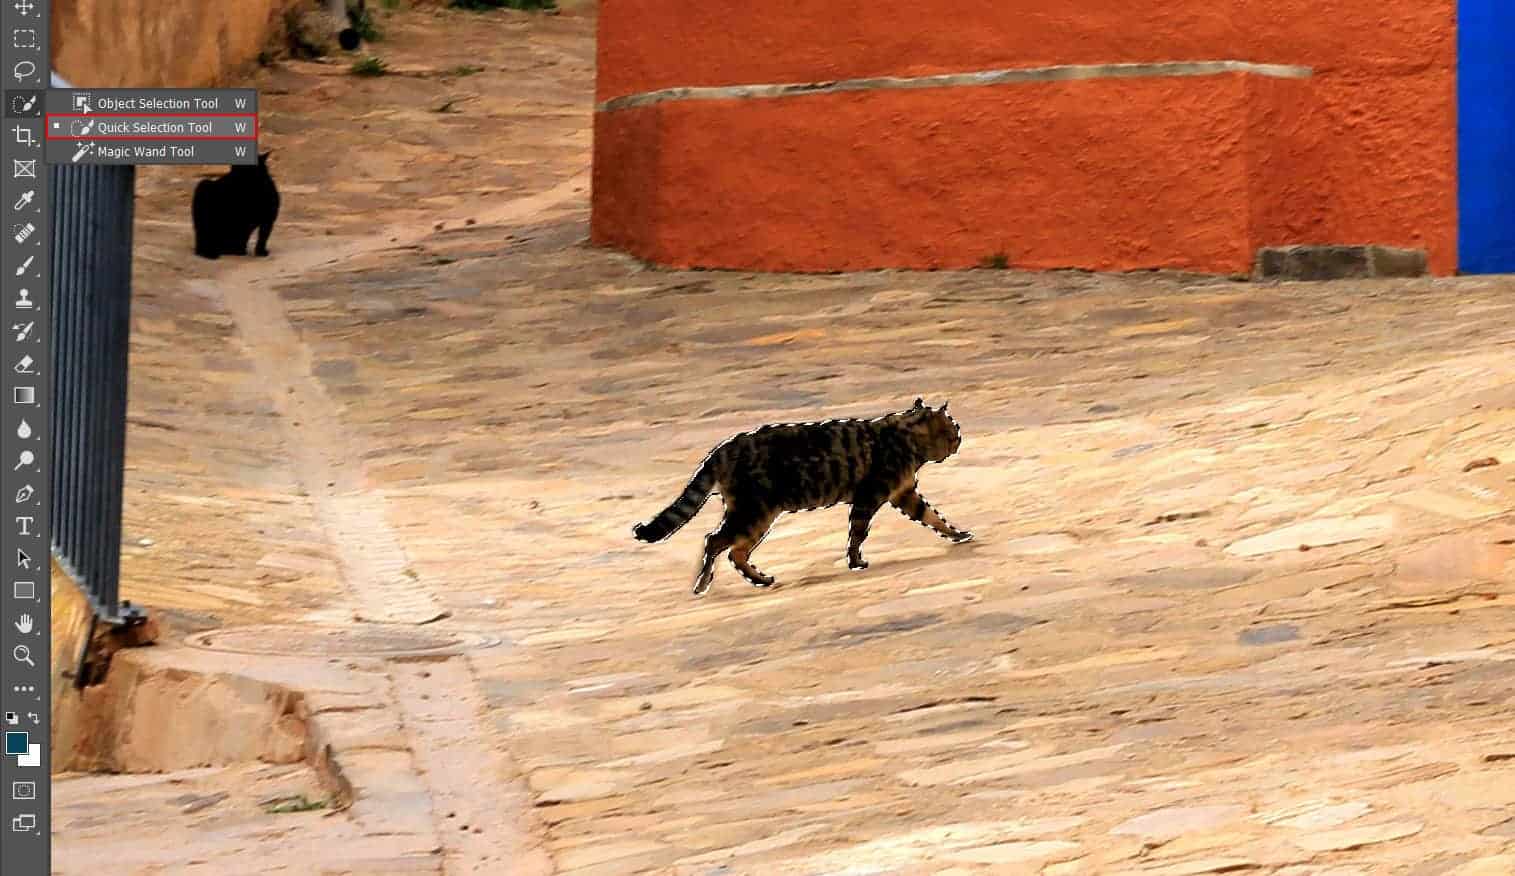
Next we will open the Cat. After you open the image, use Quick Selection Tool(W) and start selecting. After the selection area has been created, simply copy (Ctrl / Cmd + C) and Paste (Ctrl / Cmd + V) it to our work canvas. Then position the image with the transform tool (Ctrl / Cmd + T). Hold Alt + Shift and resterize like image below. In Photoshop CC only hold Alt to resterize al sides together.

Step 20
Hold Ctrl/Cmd and Create a new layer and use a Brush Tool(B) Soft Round with foreground color black and start painting the shadow but first drop a flow to 10%. Blend mode change to Multiply and Opacity reduce to 20%.

Step 21
Select Cat layer and add Adjustment Layer “Levels”

Step 22
Add Adjustment Layer “Color Balance”

Step 23
Add Adjustment layer “Curves” and press Ctrl/Cmd + I to invert. Then use Brush Tool(B) Soft Round with foreground color white and paint on Highlight parts. Opacity set to 60%.


Step 24
When we finished all this, now merge all layers to one. Slecet the last layer and hold CTRL/CMD + SHIFT + ALT + E. Now we have a final layer, right click on mouse and select Convert to Smart Object. Then go to Filter > Camera RAW Filter. At its most basic, the Photoshop Camera Raw filter allows you to use the functions of the ACR interface at any time within Photoshop. This allows you to make any adjustments within ACR at any time during your workflow instead of just limiting its usage to the raw processing stage.While it would be possible to import your working file into Lightroom to make the same sets of adjustments, doing this in Photoshop saves you from that cumbersome step. It allows you the use of these tools without any extra effort.
2 responses to “Create a Halloween scene in Photoshop”
-

i cant download any of the images, because they all link to deviantart, and i dont want to make a account
-
A Halloween tutorial in July?
Leave a Reply