

Step 25
Now in Camera Raw Filter, set the Value: Basic
- Temperature: -5
- Exposure: -0.20
- Contrast: +4
- Highlights: +34
- Shadows: -6
- Whites: +22
- Texture: +2
- Clarity: +10
- Vibrance: +1

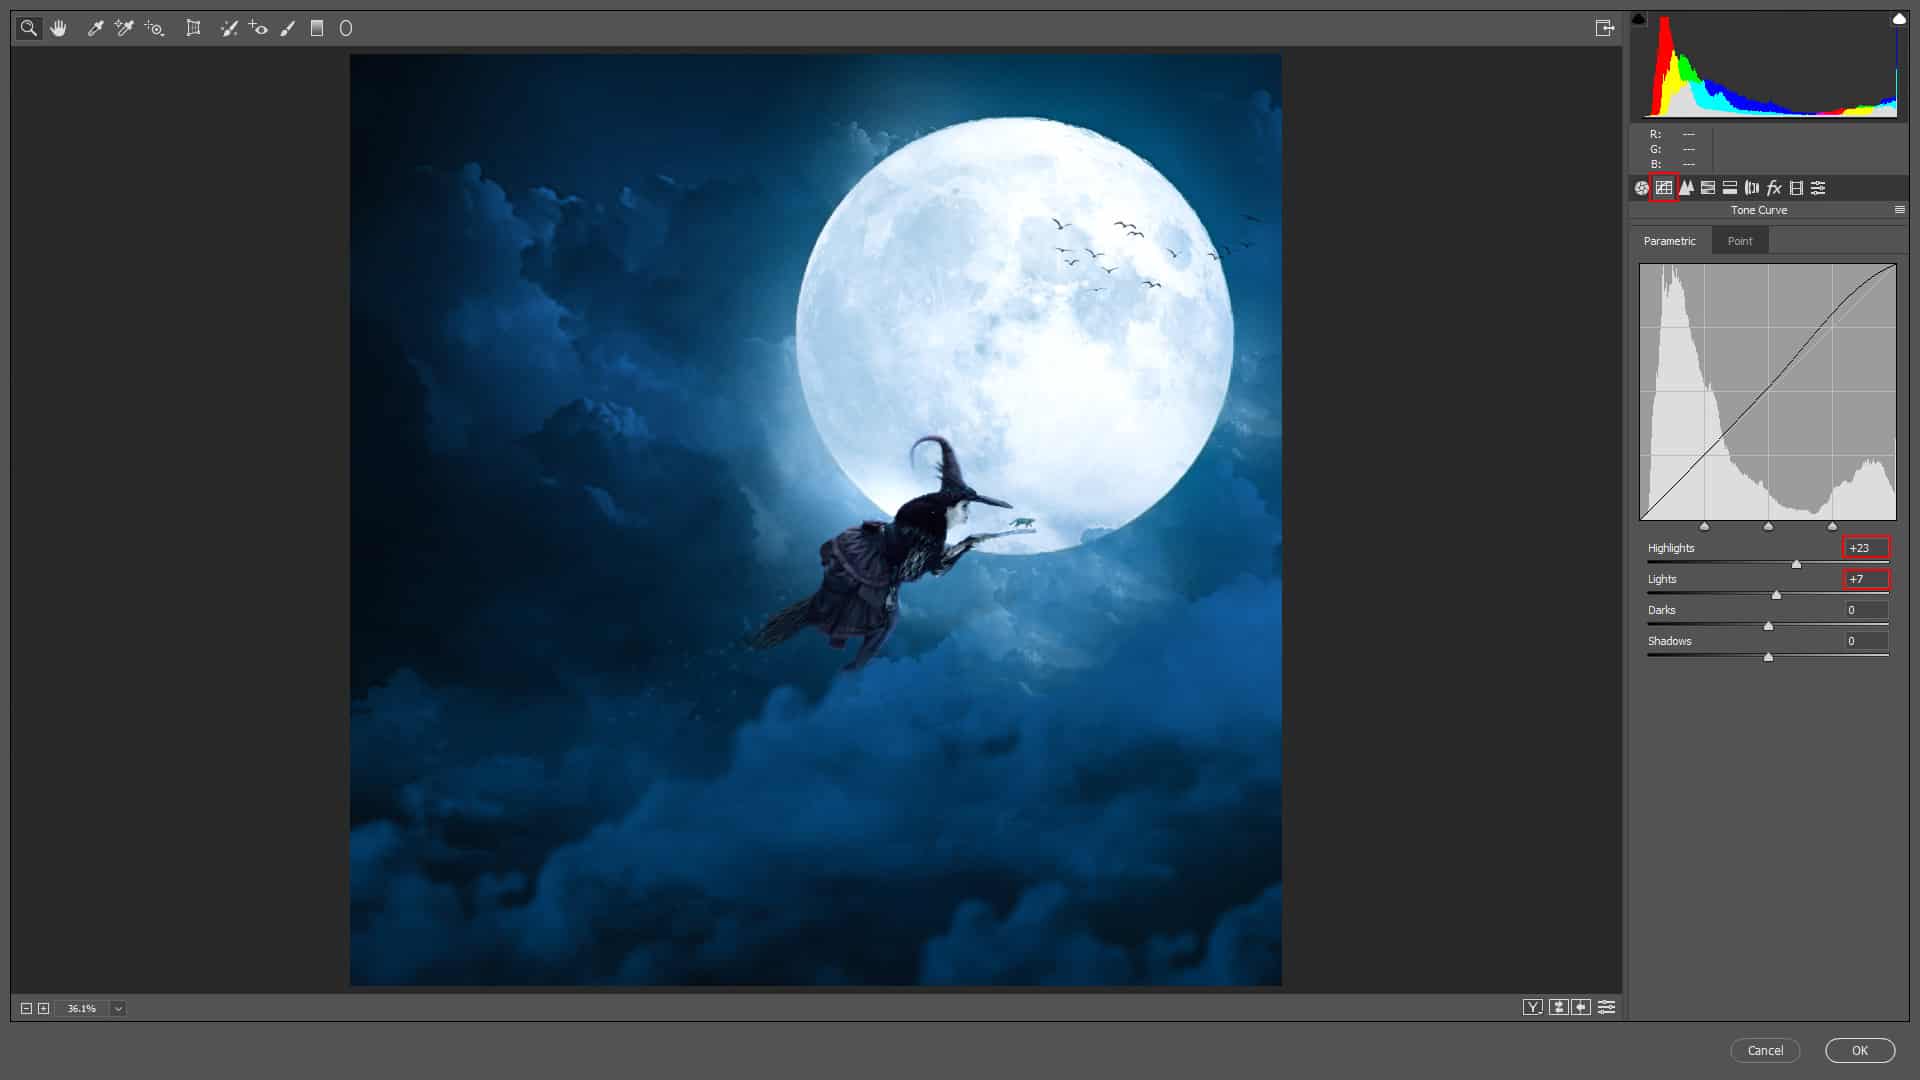
Tone Curve
- Highlights: +23
- Lights: +7
HSL Adjustments
- Aquas: +46

HSL Adjustments
- Aquas: +1
- Blues: -8

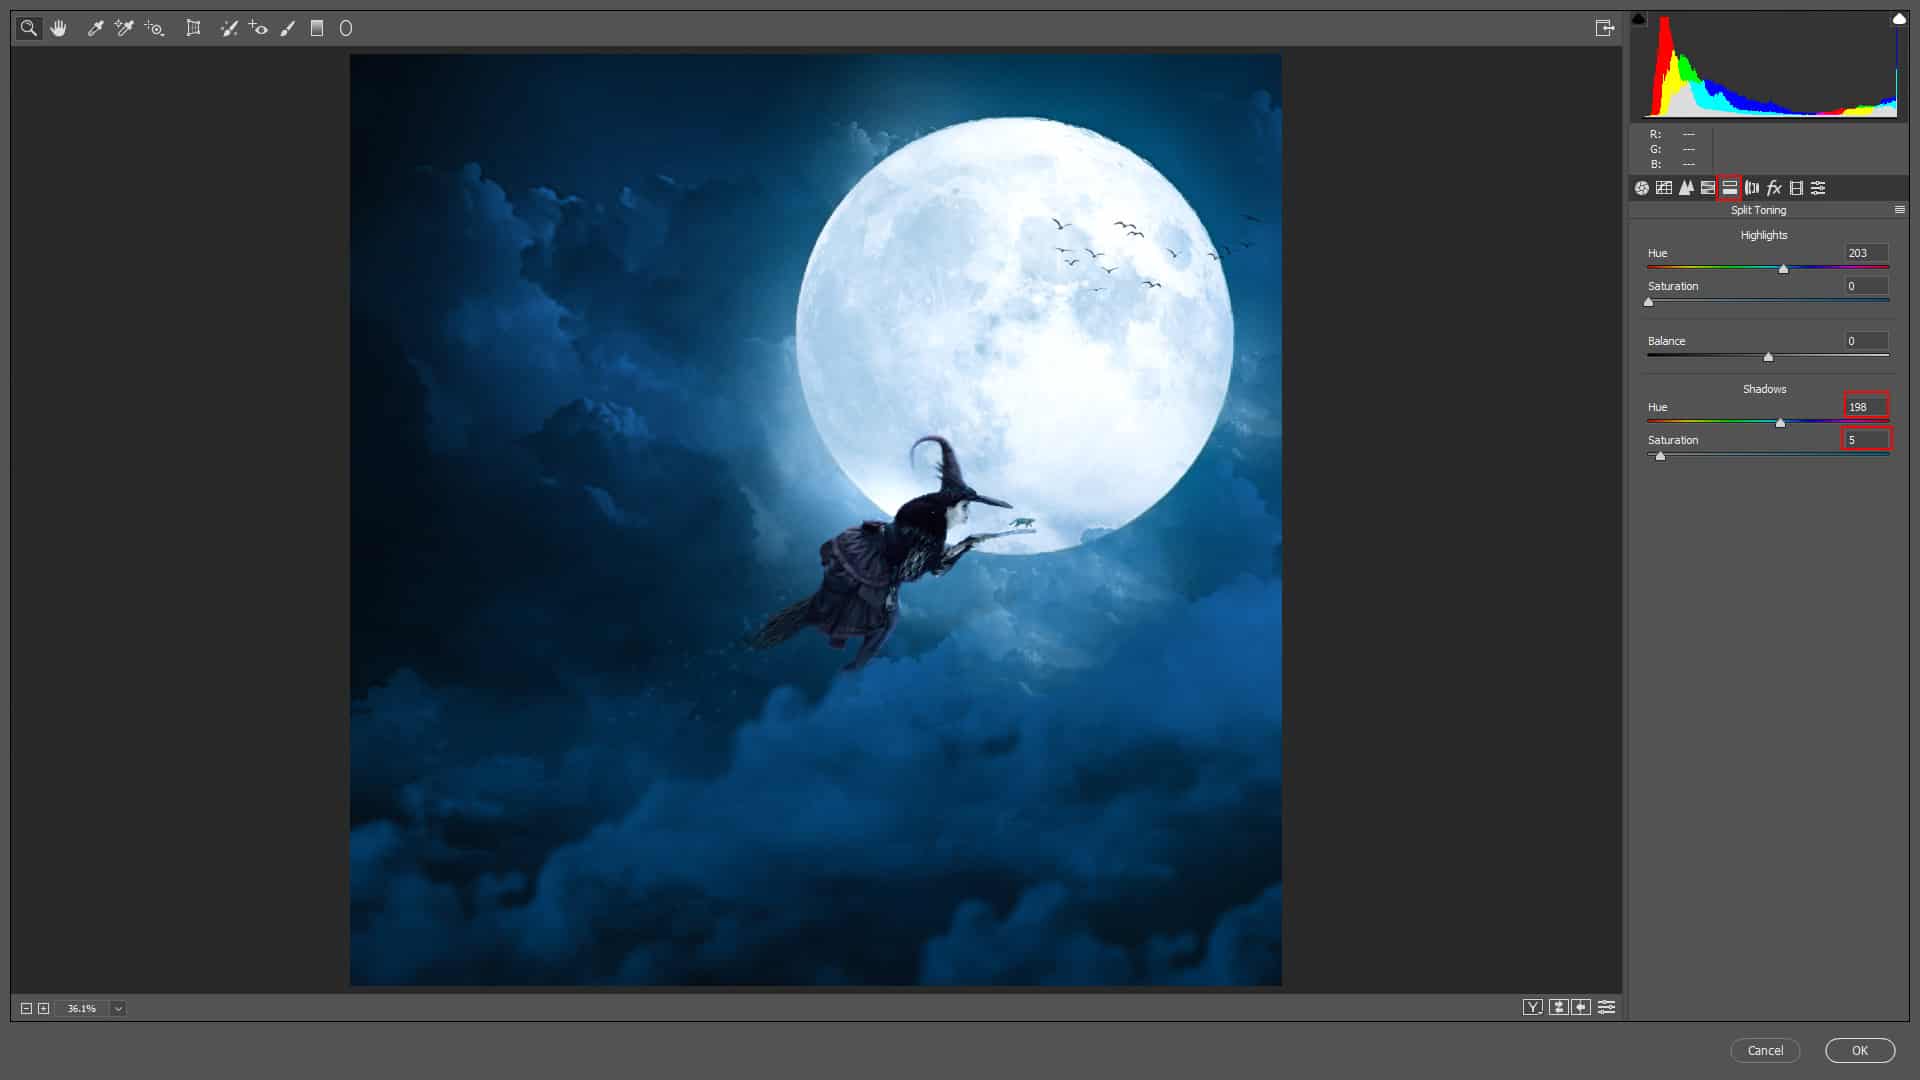
Split Toning
- Shadows
- Hue: 198
- Saturation: 5
Post Crop Vignetting
- Amount: -8
- Midpoint: 90
- Roudness: -55
- Feather: 73

Blue Primary
- Hue: +21
- Saturation: -2

Gradulatd Filter
- Exposure: -0.45
- Highlights: -26

Radial Filter
- Exposure: +0.05
- Highlights: +5
- Whites: +13

Radial Filter
- Exposure: +0.20
- Highlights: +15
- Whites: +10

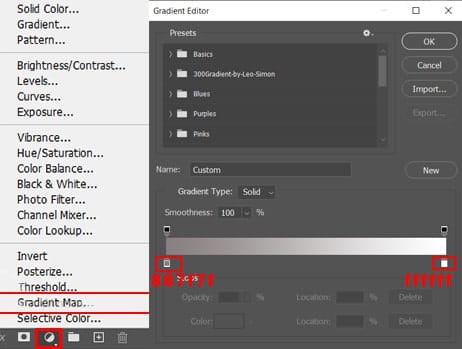
Step 26
Add Adjustment Layer “Gradient Map” Blend mode change to Multiply with Opacity 70%.

Step 27
Add Adjustment Layer “Gradient Map” Blend mode change to Soft Light.
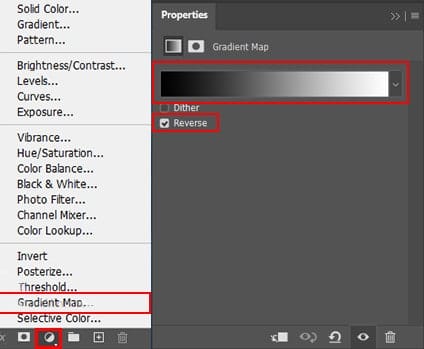
Step 28
Add Adjustment Layer “Gradient Map” and press Ctrl/Cmd + I to invert. Then use Brush Tool(B) Soft Round with foreground color white and paint on Highlight parts. Blend mode set to Screen.
Step 29
Add Adjustment Layer “Gradient Map” and Blend mode set to Soft Light with Opacity 30%.

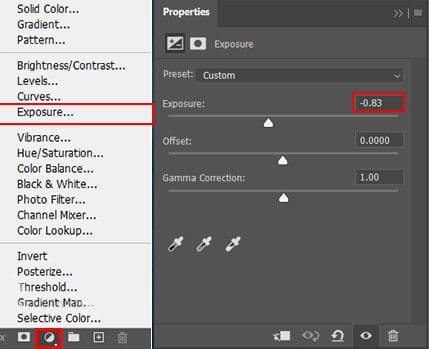
Step 30
Add Adjustment Layer “Exposure”
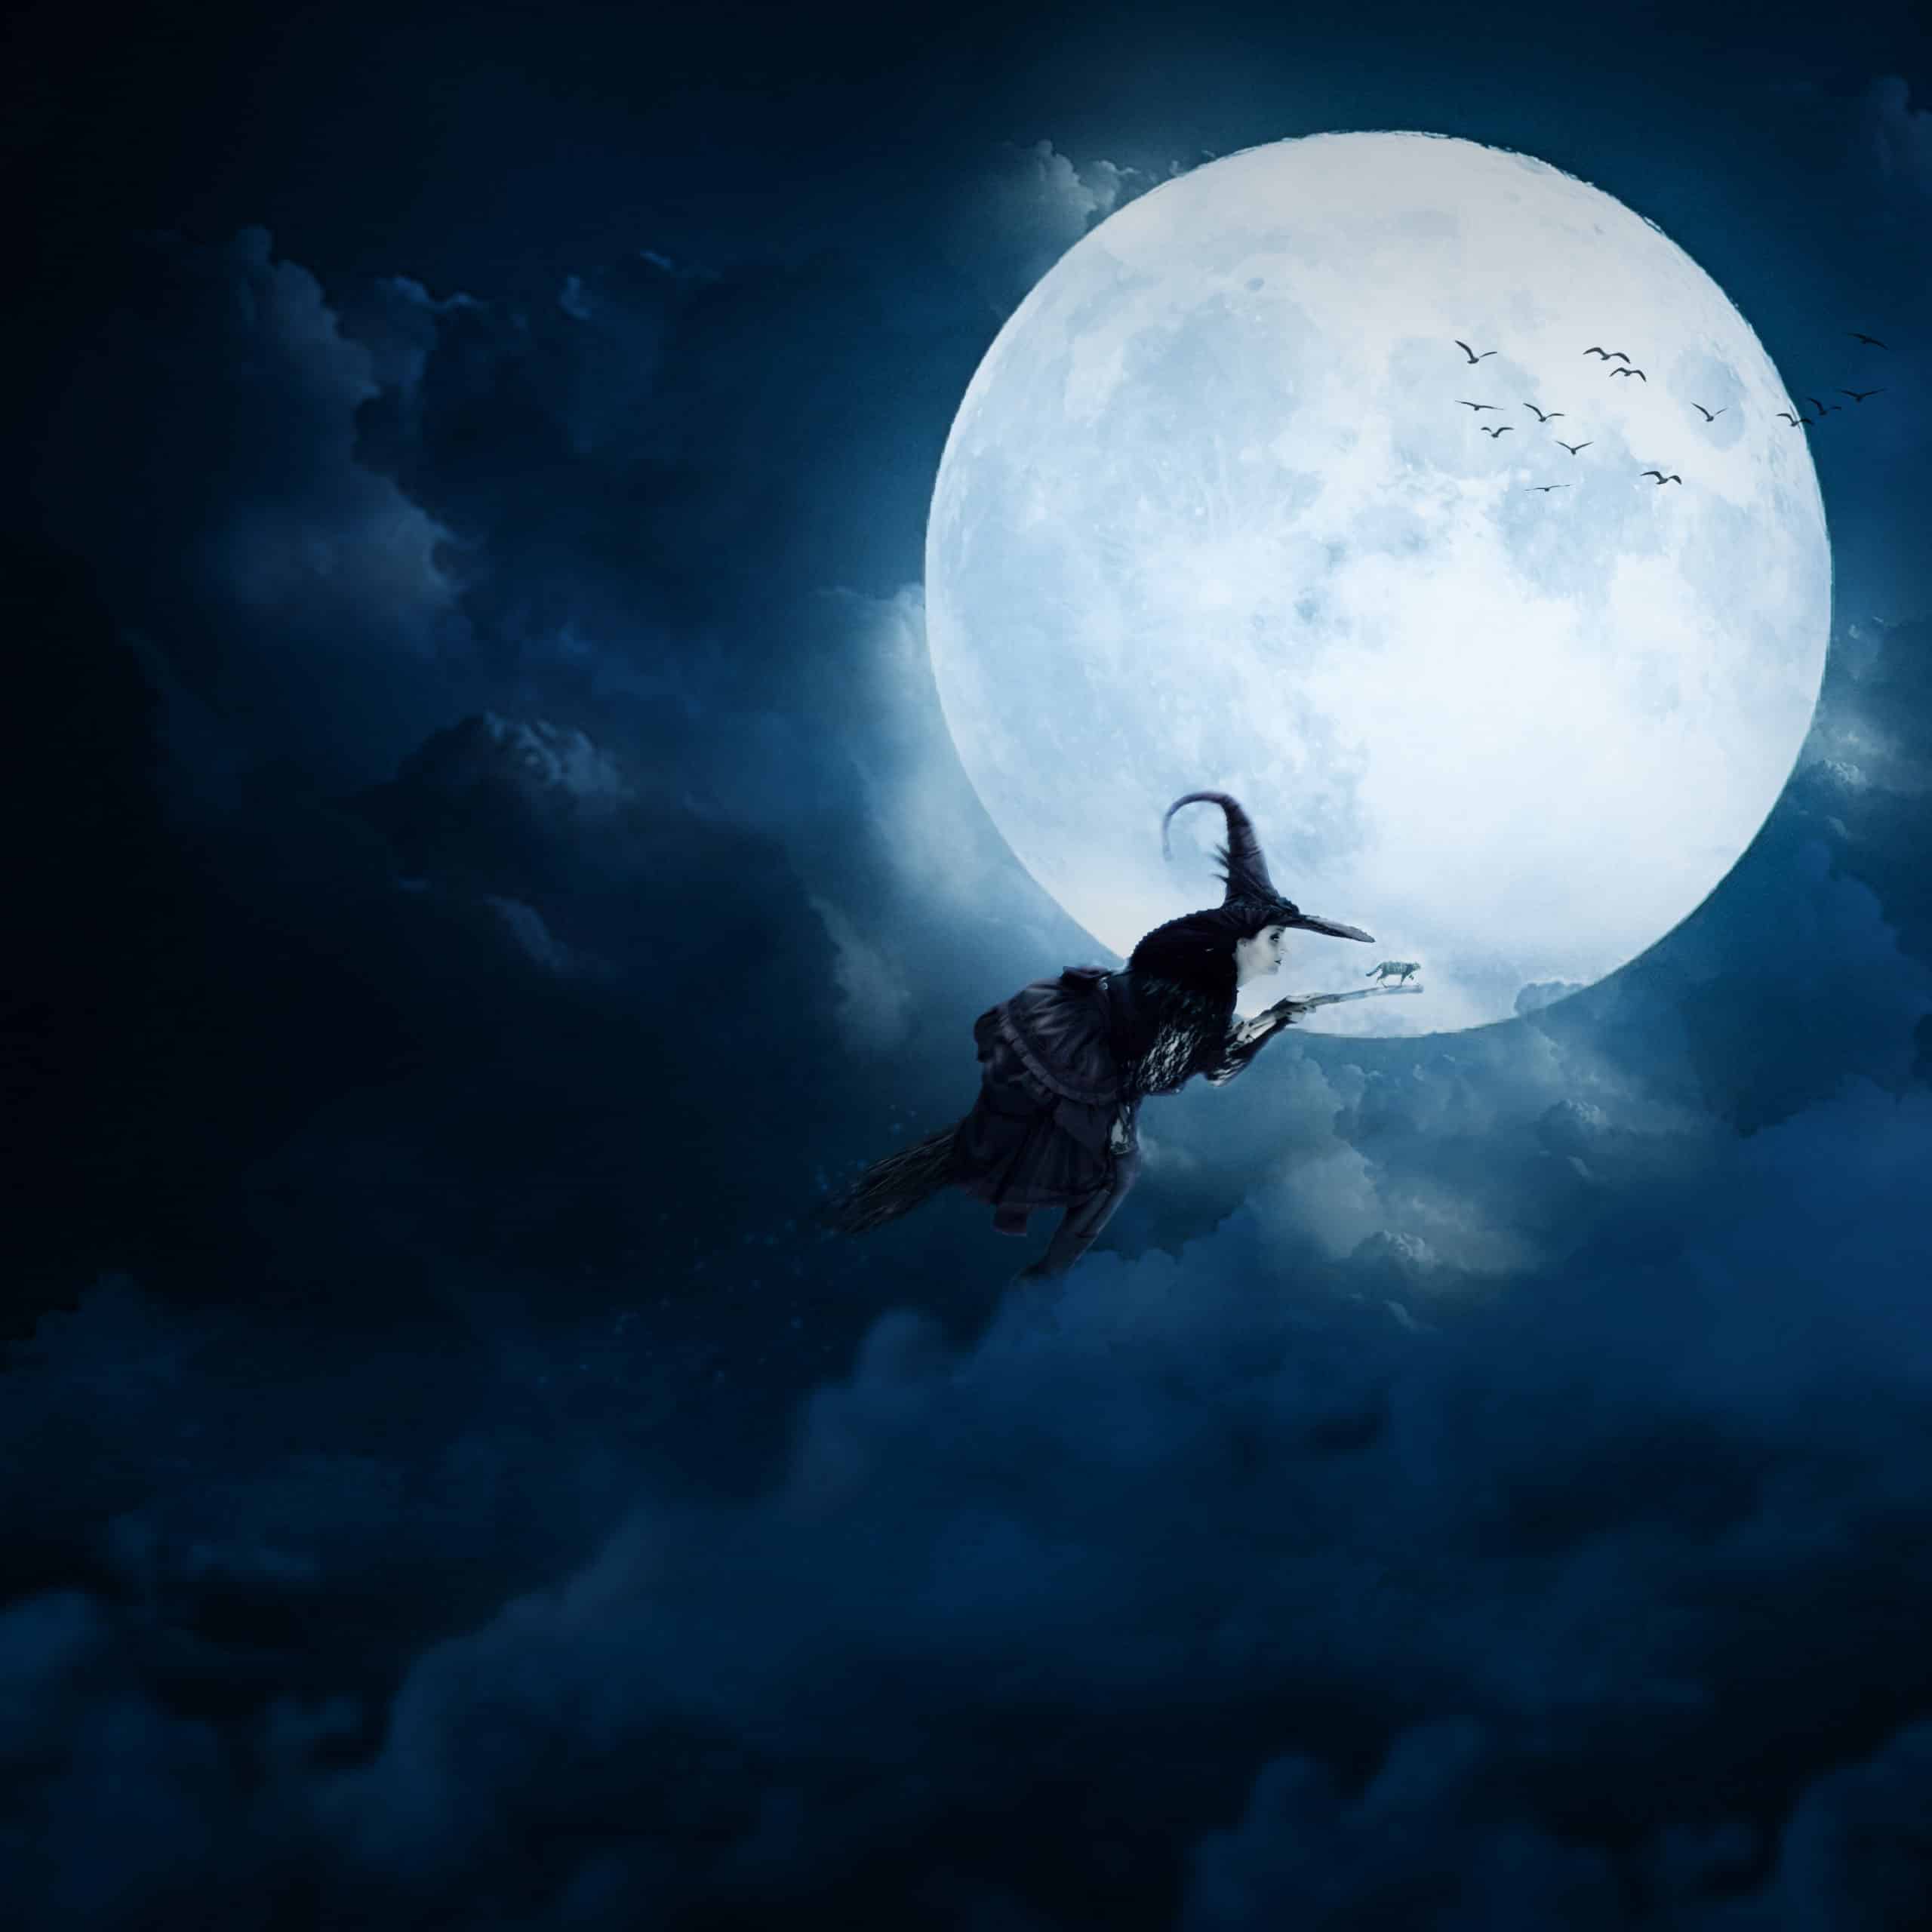
And finally, everything should look like this.

Final Results
Download the PSD
2 responses to “Create a Halloween scene in Photoshop”
-

i cant download any of the images, because they all link to deviantart, and i dont want to make a account
-
A Halloween tutorial in July?
Leave a Reply