

Step 52
Double click the leaves layers which are on the road, choose Drop Shadow. Set the color of shadow to black to have the shadow of these leaves on the road.


Step 53
Create a group for the leaves and make a Hue/Saturation adjustment layer to desaturate the ones around the road’s end. Paint on the rest of the leaves to keep their color.

Add another Hue/Saturationadjustment layer and later the Mastervalues Use its layer mask to show the change of the color of the leaves to fit the trees’ one.

Make a Curves adjustment layer to darken the right of the leaves. Paint on the rest so they won’t be or less be darkened by this adjustment layer.
Create another Curvesadjustment layer to brighten the right of the leaves. The selected areas show where to paint on the layer mask.

Step 54
Create a Gradient Mapadjustment layer on top of the layers and pick the colors #290a59and #ff7c00. Lower the opacity of this layer to 20%.

Make another Gradient Mapadjustment layer and pick the colors #2f0101and #8ab3b0. Change this layer mode to Soft Light 100%.

Add a Color Fill layer and pick the color #220101. Change this layer mode to Exclusion 100%.

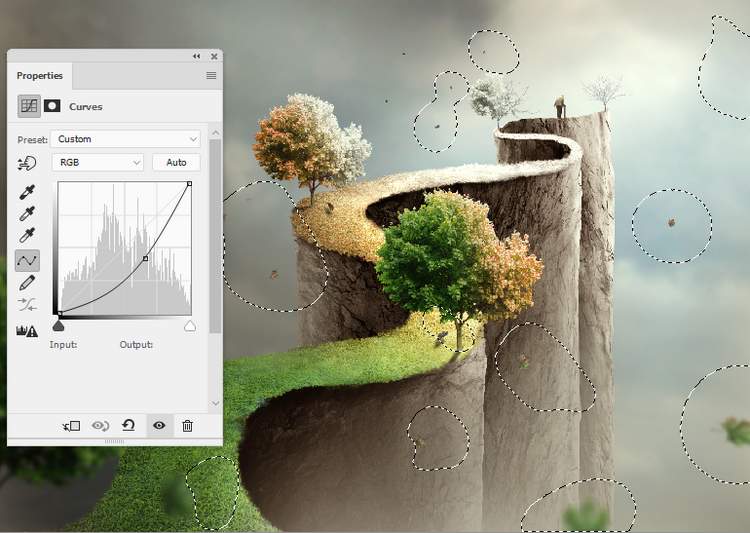
Step 55
Create a Color Balanceadjustment layer and change the Midtones and Highlightssettings:


Make a Curvesadjustment layer to darken the edges of the canvas. Paint on the middle section to reveal the light and make a nice contrast for the whole scene.

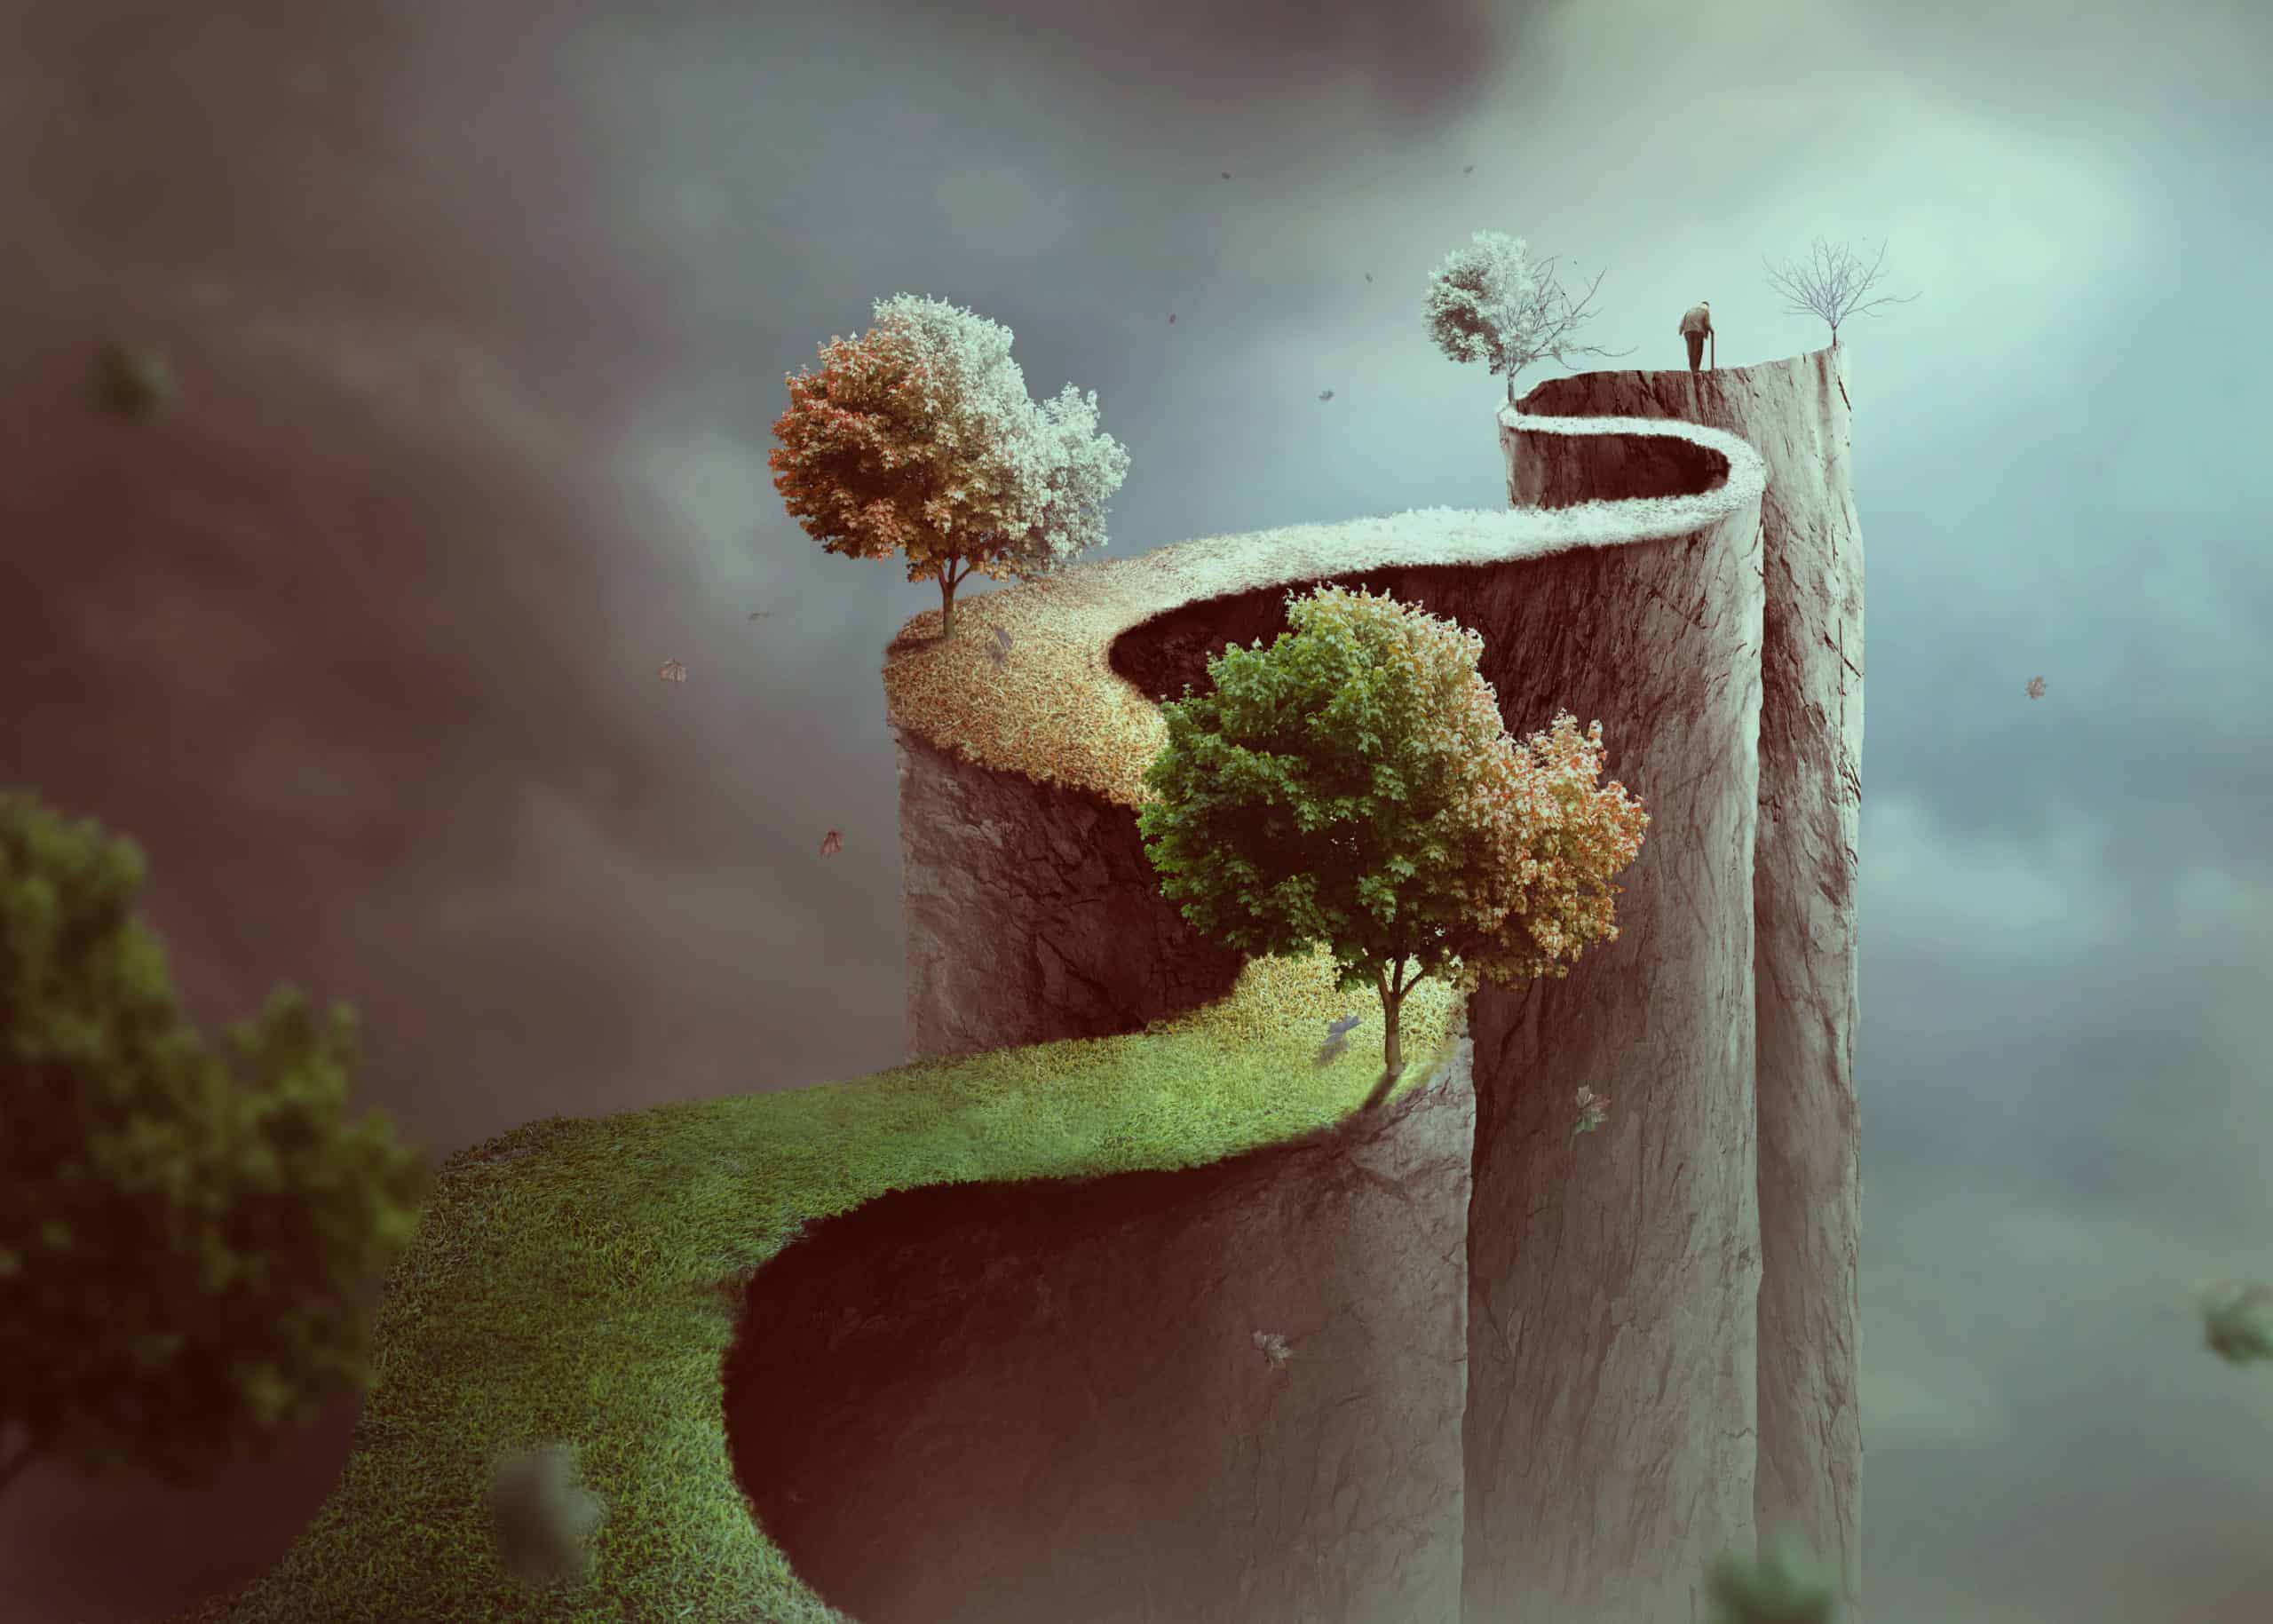
Final Result

Download the PSD
6 responses to “How to Create a Conceptual of Life Photo Manipulation with Photoshop”
-

Nice step by step Tutorial.
-
so imformative
-
Thank you for sharing your methods! I didn’t follow the tutorial but I looked at your steps and it helped me understand how it’s done.
-
Very insightful! Thanks.
-
WONDERFUL!! Thank you!
-
It was so wonderful totally loved it 😊
Leave a Reply