


Step 9
Make another Hue/Saturation adjustment layer and alter the Green values to change the color of the plants.

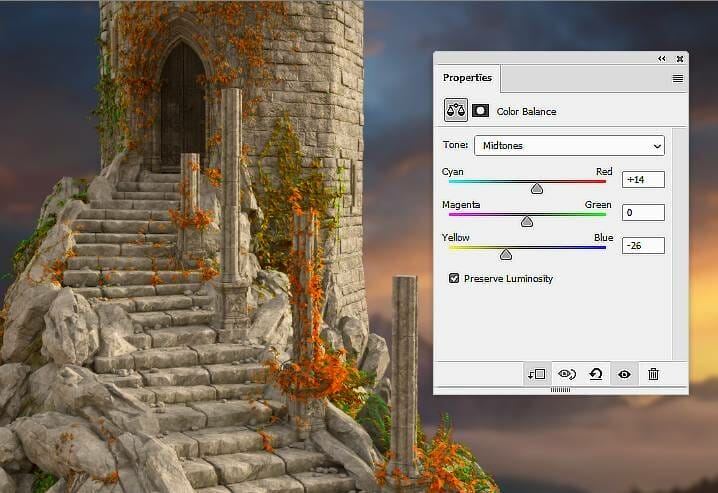
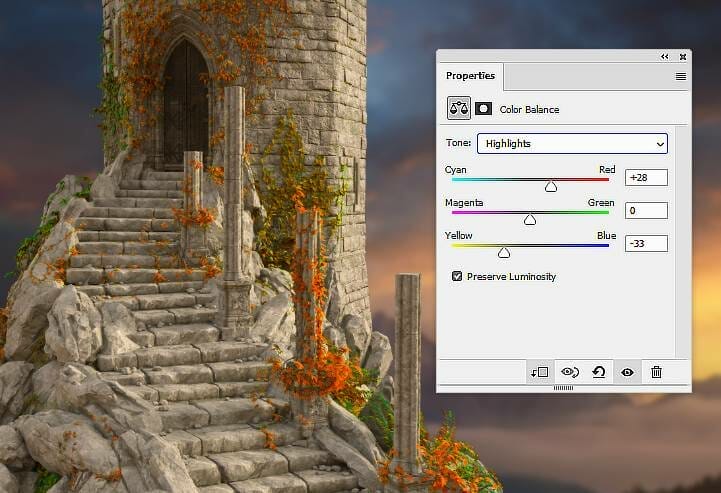
Step 10
Create a Color Balance adjustment layer and change the Midtones and Highlights settings.
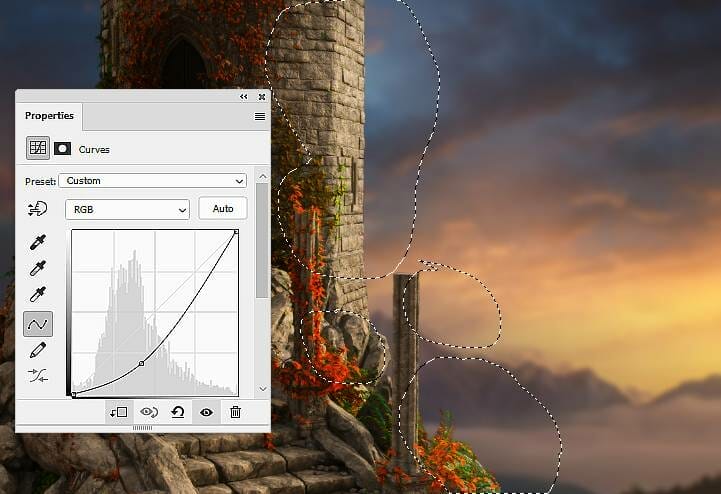
Step 11
Add a Curves adjustment layer and decrease the lightness. On this layer mask, use a soft black brush with the opacity about 20-30% to reduce the effect on the front of the castle.
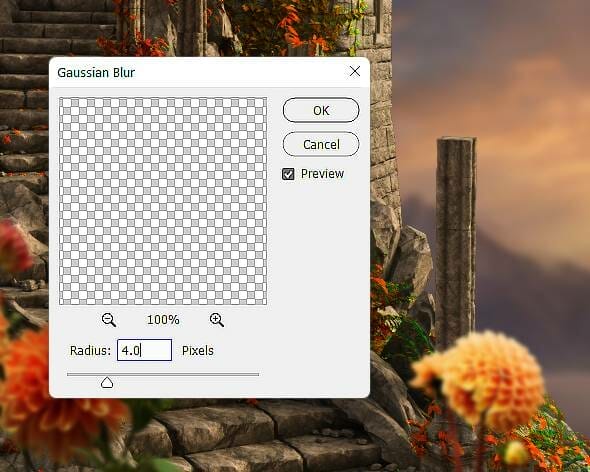
Step 12
Open the flowers 1 image and drag it into our working document using the Move Tool (V). Place it in the bottom left of the canvas and convert it to a Smart Object. Set this layer above the castle ones and apply a Gaussian Blur of 4 px to this layer to increase the depth of the scene.

Step 13
Make a Hue/Saturation adjustment layer (set as Clipping Mask) to desaturate the yellow on the flowers’s stalk and leaves. On this layer mask, use a soft black brush to erase the effect on the front of these parts of the flowers to fit the light on the background.

Step 14
Create a Color Balance adjustment layer and alter the Midtones settings:

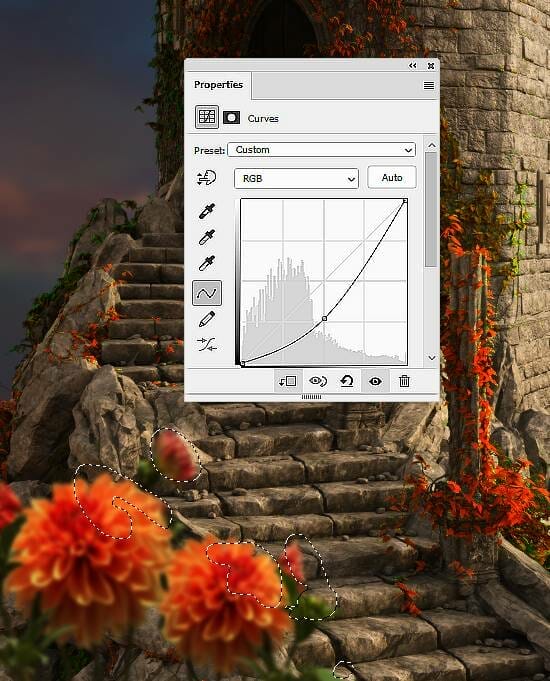
Step 15
Make a Curves adjustment layer to darken the flowers. On this layer mask, use a soft black brush with the opaciy about 30% to reduce the dark effect on the stalk/leaves and 100% to work on the flowers.
Step 16
Open the flowers 2 image drag it onto the top left of the tower. Use the Free Transform Tool (Ctrl+T) to rotate it as shown below.

Step 17
Add a mask to this layer and use a soft black brush to remove the green part of this bunch.

Step 18
Create a Hue/Saruration adjustment layer to change the color of the flowers.

Step 19
Make a Curves adjustment layer to darken the flowers to make them fit the lightness of the tower.

Step 20
Drag the flowers 3 into the main document and place them in the bottom right of the stairs. Convert this layer to a Smart Object and apply a Gaussian Blur of 4 px to this layer.
Step 21
Create a Hue/Saturation adjustment layer and change the Reds values to turn the flowers’ stalk into green. On this layer mask, use a soft black brush to erase the effect on the flowers..

Step 22
Make a Curves adjustment layer to darken the flowers. On this layer mask, use a soft black brush to erase the dark effect on the front of the flowers’ parts.
2 responses to “How to Create a Fantasy Castle Scene with Adobe Photoshop”
-

This is excellent, thank you!
-
Great learning resource thank you,pity about all the annoying advertisments
Leave a Reply