

Step 35
Create a new layer, change the mode to Overlay 100% and fill with 50% gray. Use the Dodge and Burn Tool to change the light and shadow of the bird to fit the background.

Step 36
Make a group for the bird layers and change the group’s mode to Normal 100%. and add a Hue/Saturation adjustment layer within this group. Bring the Saturation values down to -50:

Step 37
Make a Color Balance adjustment layer and change the Midtones settings:

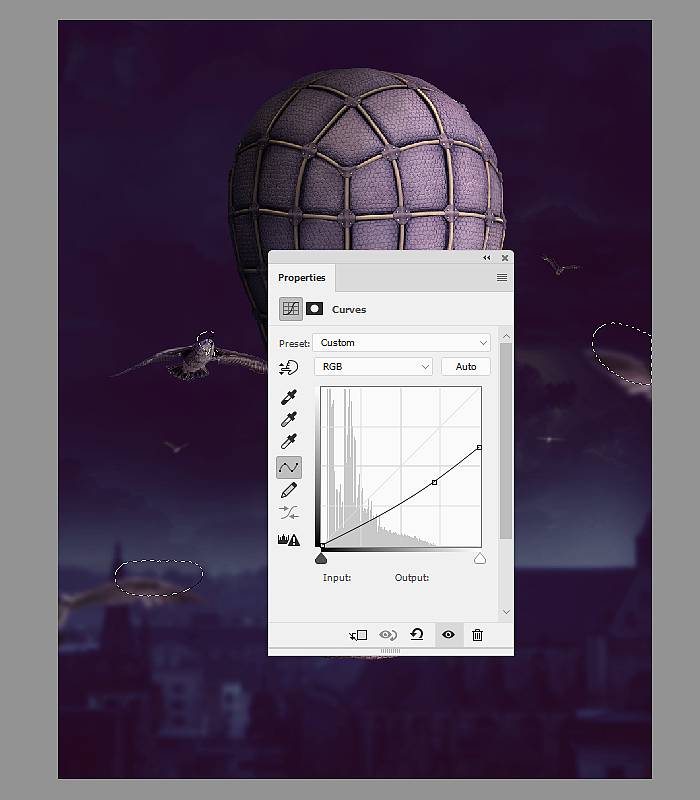
Step 38
Add a Curves adjustment layer to darken the birds. On this layer mask, use a soft black brush with an opacity about 50% to reduce the dark effect on some details of the birds.
Step 39
Make a new layer below the kitten 2 layer and use a soft brush with the color #291735, the opacity about 40% to paint shadow for him on the basket.

Final Result

Download the PSD
6 responses to “How to Create a Fantasy Fly Photo Manipulation with Adobe Photoshop”
-

Beautiful 😍
-
Hi! in step 18, what is the envelope layer?
-
You can download the psd and see the layer structure
-
-
This is neat! Thank you!
-
Lovely! Many thanks
-
Great jop
Leave a Reply