

Step 8
Now create a layer mask and use Brush Tool(B) Soft Round with foreground color black and start painting.


Step 9
Add Adjustment Layer “Levels”
Step 10
Add Adjustment Layer “Hue/Saturation”
Step 11
Next, Select Waves layer and duplicate it (Ctrl/Cmd +J) and use Transform Tool(Ctrl/Cmd + T) reduce the size slightly. Create layer mask and use Brush Tool(B) with foreground color black and start painting.

Step 12
Add Adjustment Layer “Levels”
Step 13
Add Adjustment Layer “Hue/Saturation”
Step 14
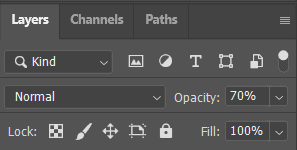
Create a new layer and use Brush Tool(B) Soft Round size 35px. Foreground color set to white and paint on the headlights. Opacity set to 70%
Step 15
Go to File > Place and select Lighting Strikes. Transform image (Ctrl/Cmd + T) and resterize it like image below.

Step 16
Add Adjustment Layer “Hue/Saturation”
Step 17
Add Adjustments Layer “Color Balance”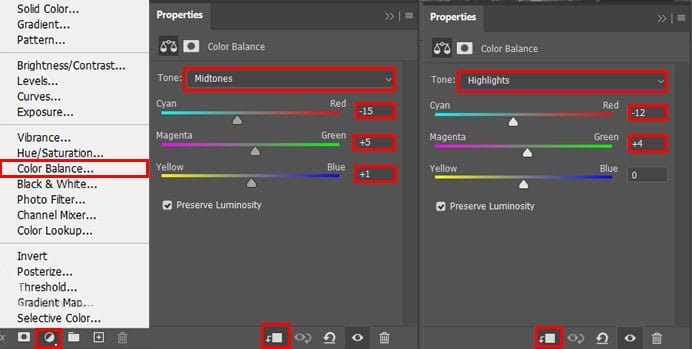
Step 18
Add Adjustment Layer “Levels”
Step 19
Now we will add a more lights, go to panel and click on icon create new layer and select color picker (Foreground color) set code #d58a29. Now select Brush Tool(B) Soft Round with size 1065px and paint on the man. Opacity set to 8%.

Step 20
Create another layer and repeat the same process from step 19. Use Brush Tool(B) Soft Round 1700px size and foreground color white. Opacity decrease to 25%.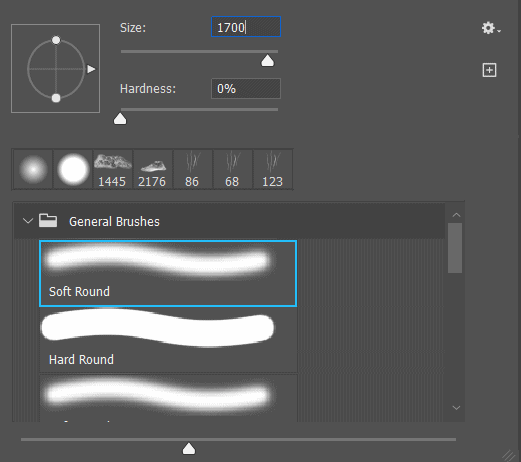

Step 21
Next, create new layer and use Brush Tool(B) Soft Round with foreground color white start painting on waves, blend mode change to Overlay with opacity 38%.

Step 22
Create a last two layers and on first layer use foreground color #d28928 and paint on left side od road with Brush Tool(B) Soft Round 2225px. Decrease opacity to 8%.


Step 24
In this step we will create a rain effect. First create a new layer and change colors to black and white (D) then hold Alt + Delete to make layer black.4 responses to “How to Create a Flooded Road in Photoshop”
-

Thanks for sharing this tutorial. Step by step explanation is wonderful.
-
mano ya lo hiciste? me lo han dejado como trabajo pero no me sale
-
-
Um excelente trabalho, muito didático. Parabéns.
-
Fabulous , thanks for sharing !!!
Leave a Reply