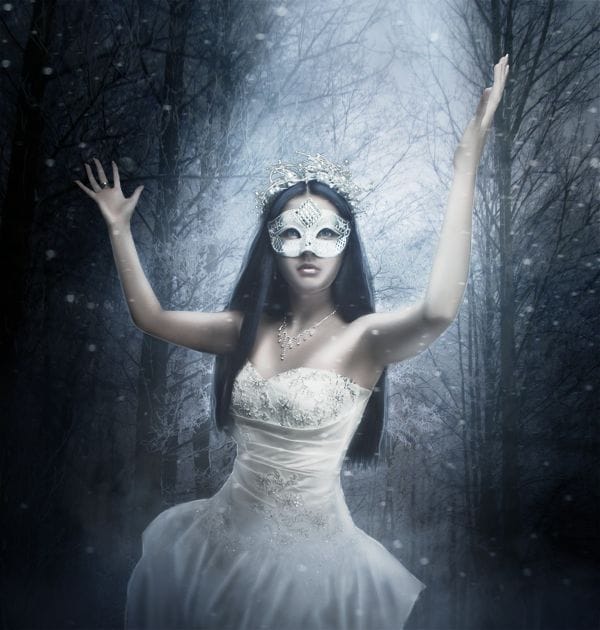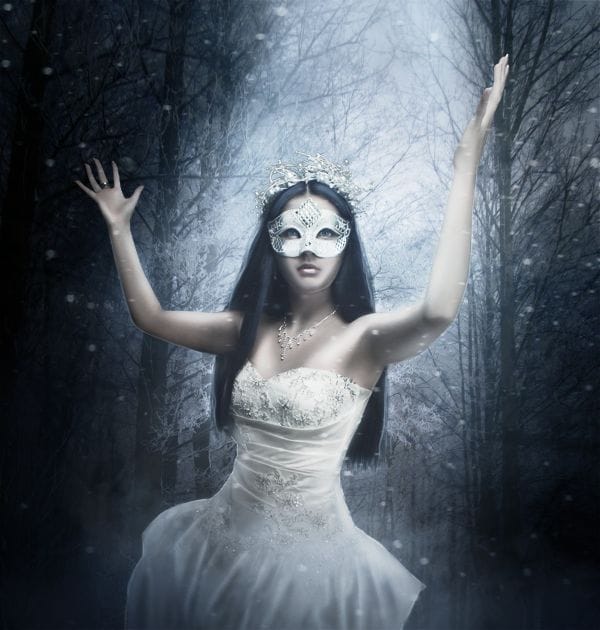
Step 7 – Final Adjustments
Create a new layer. Pick the color #999da4 and paint something like the image you see below.

Set the Layer to Linear Dodge with Opacity and Fill at 50%.

Add a Curve Adjustment Layer and choose the ‘Linear Contrast’. Set the Layer to Luminosity.


Merge the whole work with CTRL + ALT + SHIFT + E. Go to Filter > Lens Correction and choose ‘Custom’. In the Vignette Amount put -50.


Duplicate last layer with CTRL + J. Go to Filter > Other > High Pass and put 1px. Set the Layer to Overlay.

Next two Adjustments are both on last Overlay layer. Go to Image > Adjustments > Levels. On the popup window click on ‘Auto’.

Go to Image > Adjustments > Curves. Leave RGB alone and modify the colors curves like below.


Final Results
![final-results[1]](https://cdn.photoshoptutorials.ws/wp-content/uploads/2016/06/Winter.jpg?strip=all&lossy=1&webp=82&avif=82&ssl=1)
Download the PSD
Tutorial by Fabrizio Panattoni
4 responses to “How to Create a Stunning Winter Princess Artwork in Photoshop”
-
Excellent tutorial
-
Mediocre Tutorial
-
Thanks for sharing.
-
Awesome! Excellent tutorial…Thanks for sharing.

 Thank you for reading my tutorial. I hope it helped you. If you want to see more artworks made by me, check my art page
Leave a Reply