Step 40
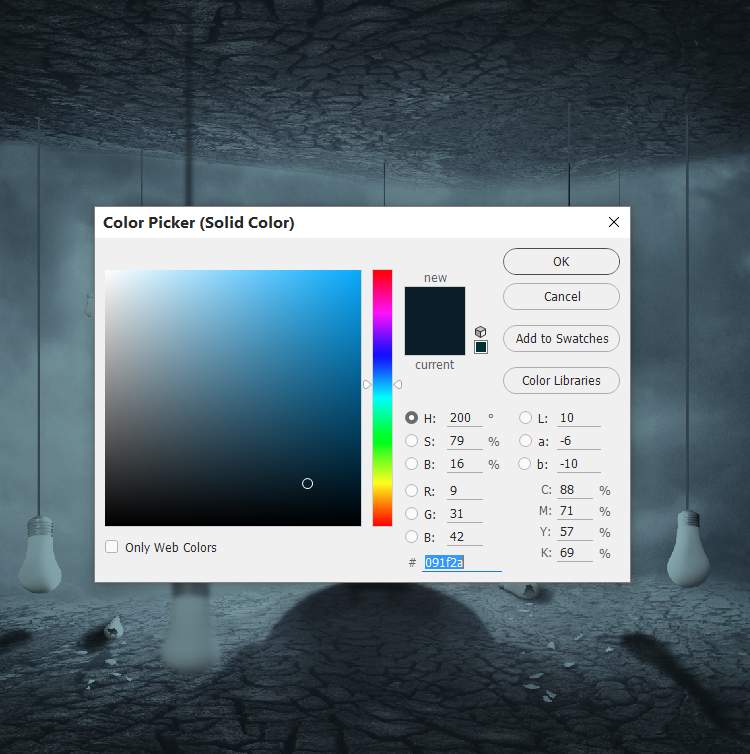
Create a Photo Filter adjustment layer and pick the color #7a9dd9.

Make a Brightness/Contrast adjustment layer to increase the brightness of the scene a bit. Paint around the sides/edges to keep their contrast, leaving the effect visible only around the model’s head.

Step 41
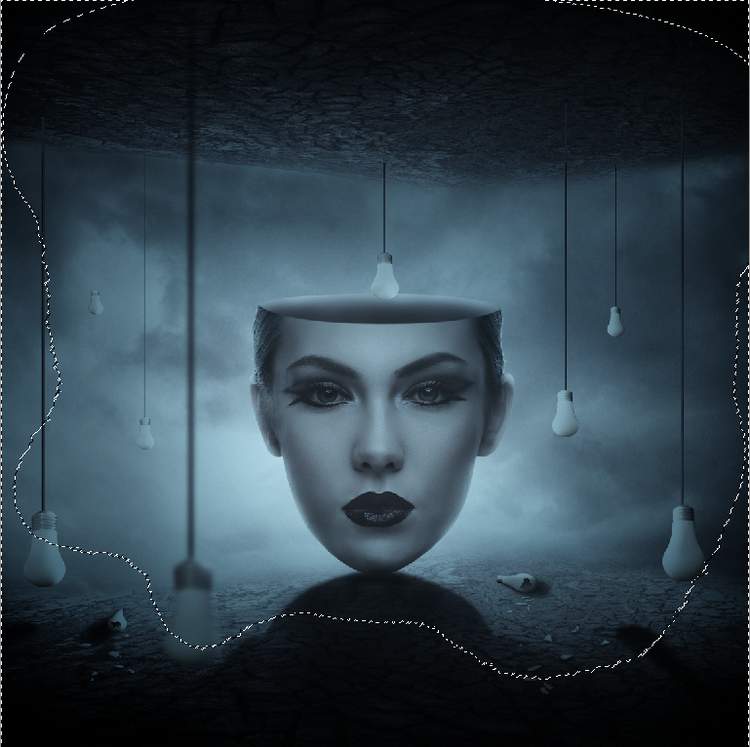
Create a Curves adjustment layer to darken the sides of the scene. Paint on the middle to keep its brightness.

Step 42
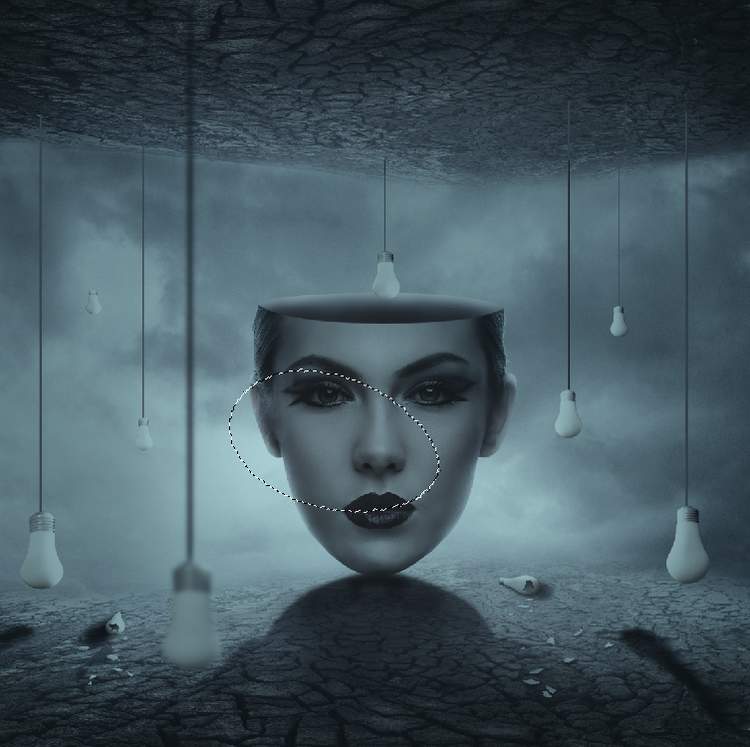
Make a new layer and activate the Gradient Tool (G) and select Radial Gradient with default colors (black and white). Drag a line from the middle to the left (or right) of the canvas to get a result like below:

Change this layer mode to Soft Light 100% and use a layer mask to reduce the effect on the middle or any details you feel too dark.
Step 43
Create a new layer and use a soft brush with the color #a5abc1 to paint on the bulb above the head’s hole. Change this layer mode to Screen 100% and use a layer mask to reduce the light on top of the bulb and the lower area.

Add a new layer and use a soft brush with the color #f6f8ff to make the glowing light around the bulb stronger. Alter this layer mode to Soft Light 100%.

Step 44
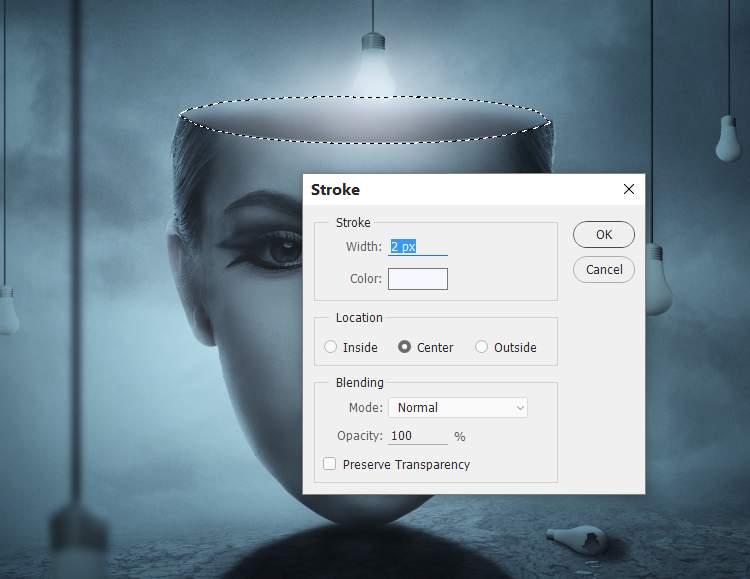
To add some light to the head contour, make a new layer on top of the layer. Use the Polygonal Lasso Tool to select the contour of the head’s hole and stroke it with the following settings. Set the stroke color to #f6f8ff and add a mask to this layer. Use a soft black to reduce the effect and apply a Gaussian Blur of 4 px to this layer.


Final Result:

5 responses to “How to Create a Surreal, Conceptual Head Photo Manipulation with Photoshop”
-

would be happy to see the psd file which is not listed on the tut. thanks
-
This is cool! Thank you!
By the way, I found a broken light bulb on DeviantArt.
https://www.deviantart.com/absurdwordpreferred/art/Broken-Light-Bulb-PNG-160293712-
Thank you! I added it as a free alternative in the tutorial.
-
-
I just want to thank you so much for allowing this tuts to be available. I have been trying to get better at photo manipulation for so long but I just don’t do well with video tuts, my brain just does not learn well that way. I need to be able to read the steps and then implement.
Thank you so much!-
These are how I learned Photoshop. They’re awsome!
Su
-
Leave a Reply