
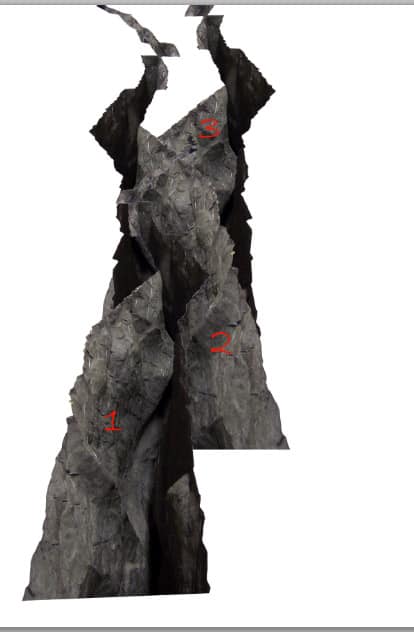
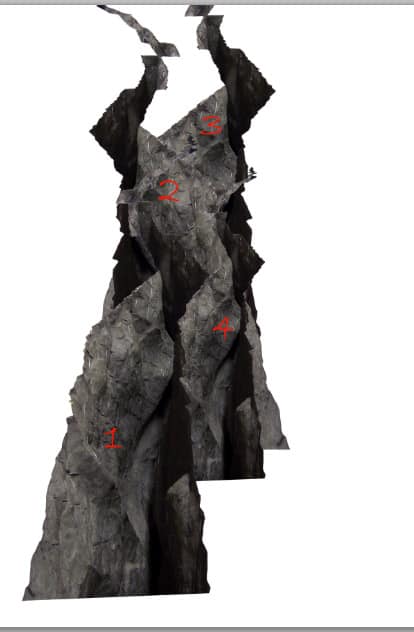
Finally, add the fourth smaller crack and place it between the first and second one.
Step 3
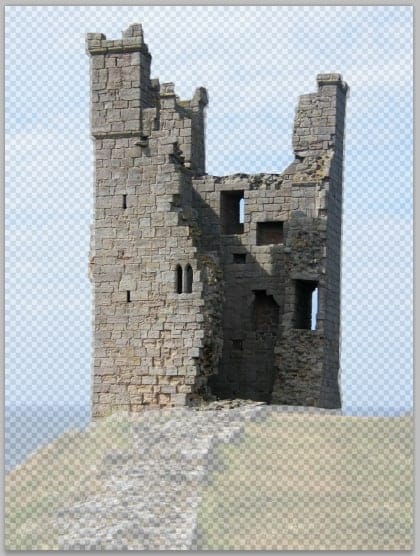
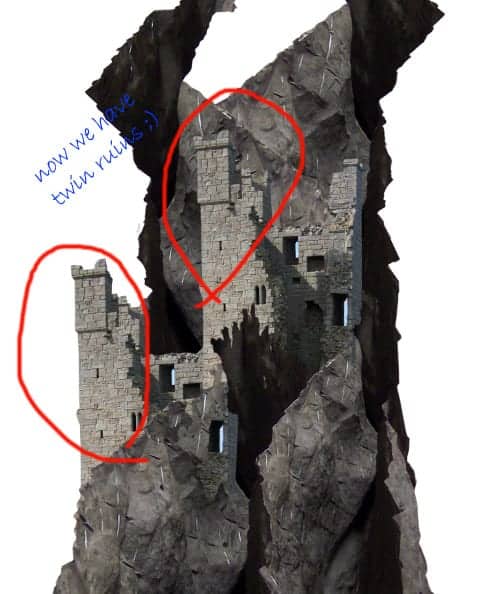
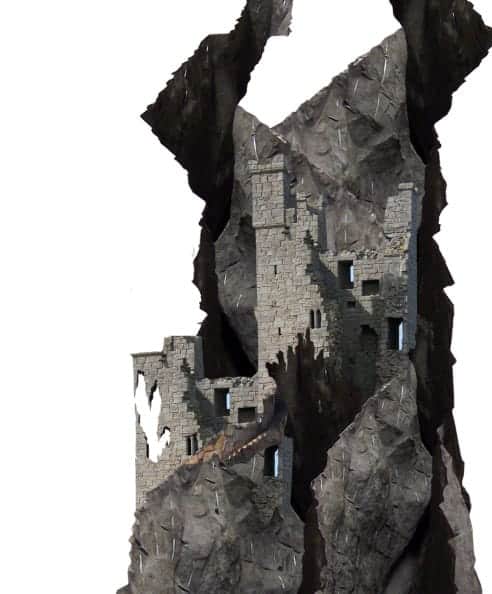
Proceed to add some ruins to the rock. Cut out the ruin.
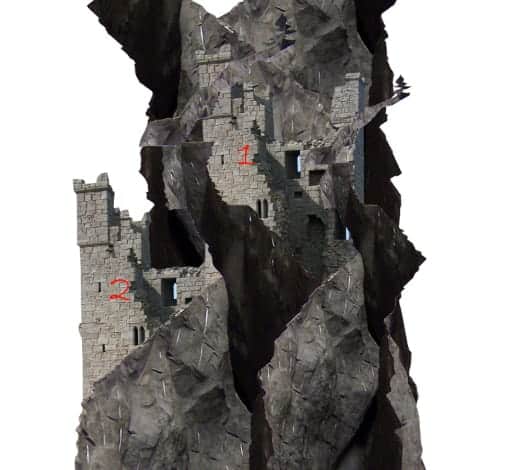
Scale the ruin to the size needed and place it behind the second crack.

Duplicate (Ctrl+J) the first ruin and place the duplicate on the lower left side behind the first crack.
Step 4
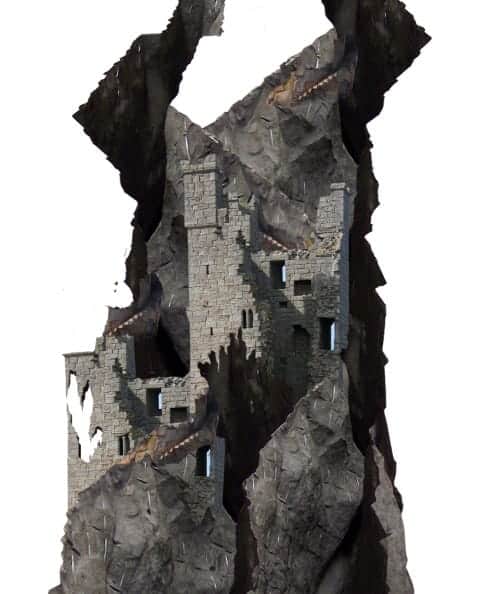
Now select the first ruin and give it a layer mask by going to layer > layer mask > reveal all. Take the brush tool (B) and choose the chalk brush 17 pixels in the brush panel (F5). With black color, stroke the brush on areas where needed to mask them. The red highlighted parts show us the masked ones.
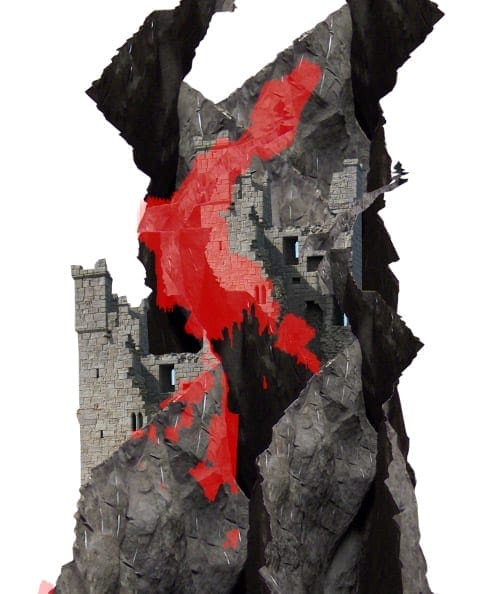
Next, we need to hide some part of the fourth crack that overlaps the first ruin. To do this, give the fourth crack a layer mask (Layer > layer mask > reveal all) and mask where needed as shown in the screenshot.
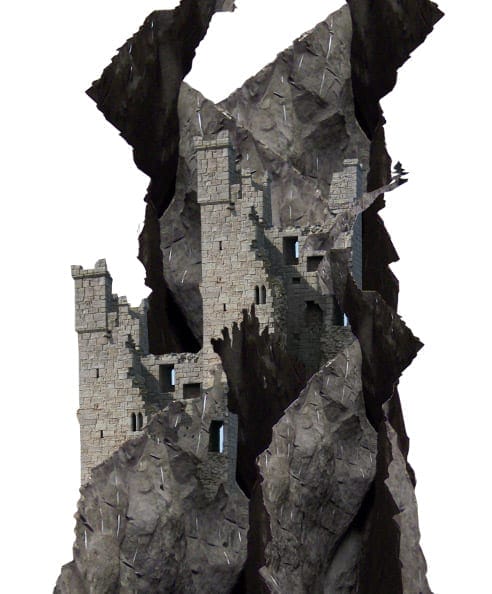
But the problem is we have the uniform looking ruins………………
Step 5
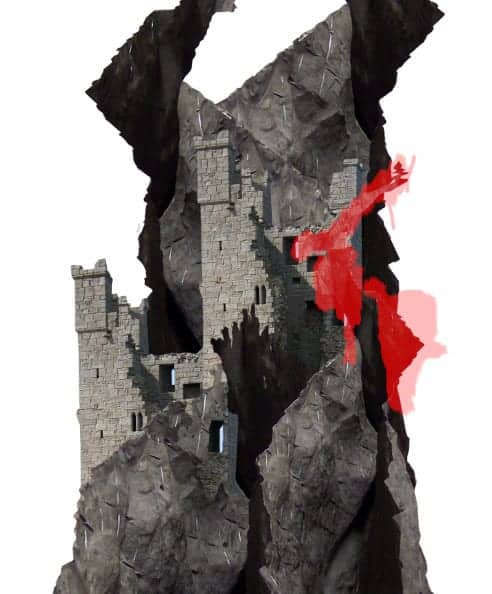
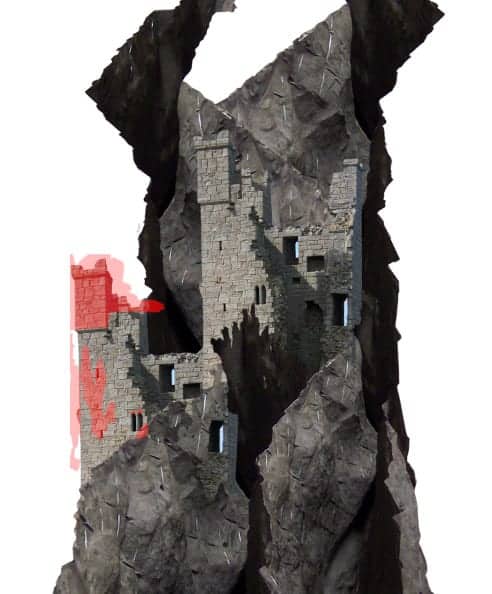
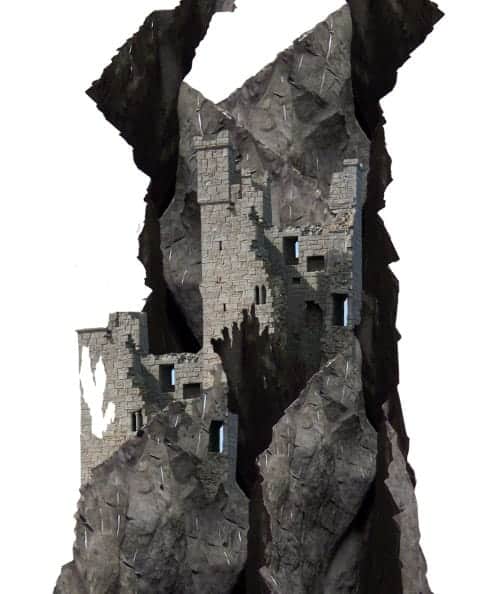
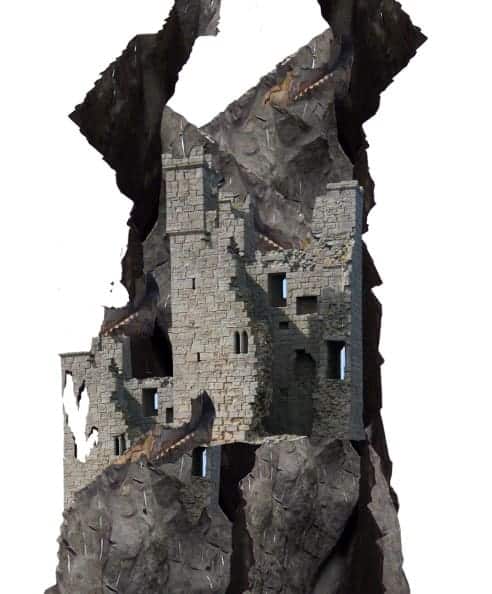
Well, don’t worry, we will fix this “twin” ruin. Give the second ruin a layer mask. Mask some parts of this layer. We’ll do a similar thing for this masking as the one in previous step 4. The red highlighted part is where masking should be done.
Step 6
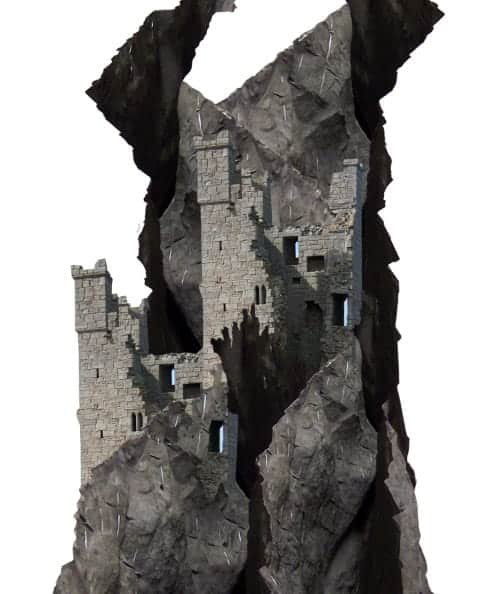
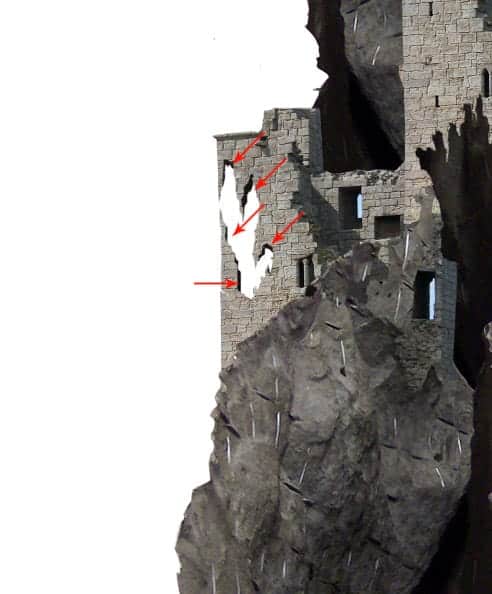
The second ruin looks flat now. We will add some shading behind the ruin. Create a new layer (Shift+Ctrl+N) behind the second ruin layer. On this new layer, paint dark shading behind the ruin as indicated in red arrows in the screenshot.
Step 7
Proceed to add another object to the scene. We will add stairs. Open the tower with stairs image first, the next steps we do are the similar steps as the ones in previous steps. Cut out the tower. Scale and place the tower in front of the first crack.
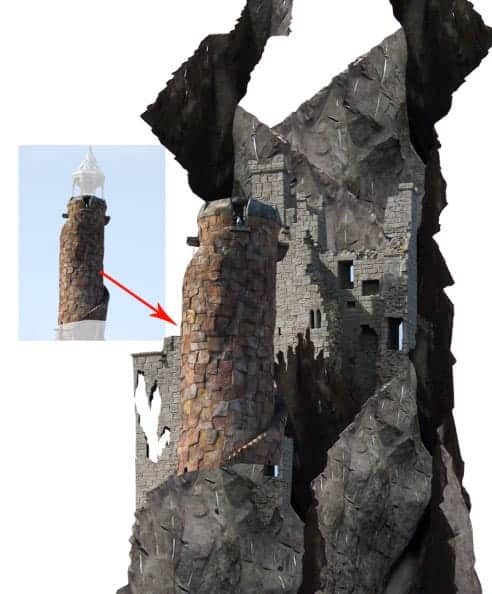
Give this tower layer a layer mask. Mask unneeded part.
Duplicate the tower layer some times. Place the duplicates where needed.
Step 8
On this step, we will alter the shape of the first ruin. To do this, duplicate (Ctrl+J) the first ruin. Scale its size bit bigger than the first one. Place this duplicate layer in front of the first crack layer.
Give this duplicate layer a layer mask. Mask parts where needed as shown in the red highlight.
10 responses to “How to Create a Surreal Pirate House Photo Manipulation in Photoshop”
-

The way tutorial has been illustrated by the pictures it gives easy learning tips. Awesome!
-
Fantastic & original concept.Very inspiring.Thanks for sharing.
-
Wow! 7 hours hard work!
Thanks :) -
nothing there, just get shadowed out stuff
Ted -
please give ma the authentic link for downloadin the photoshop setup
-
Can’t get past step 2 need help :(
-
Woooooow
This amazing -
The most inspiring web ever. I tried to sign for for subscription but couldn’t. Can I do it from here? Thanks
-
Wonderful tutorial, thank you so much for sharing it
-
Awesome manipulation, Dek wid.
Leave a Reply