
Step 16
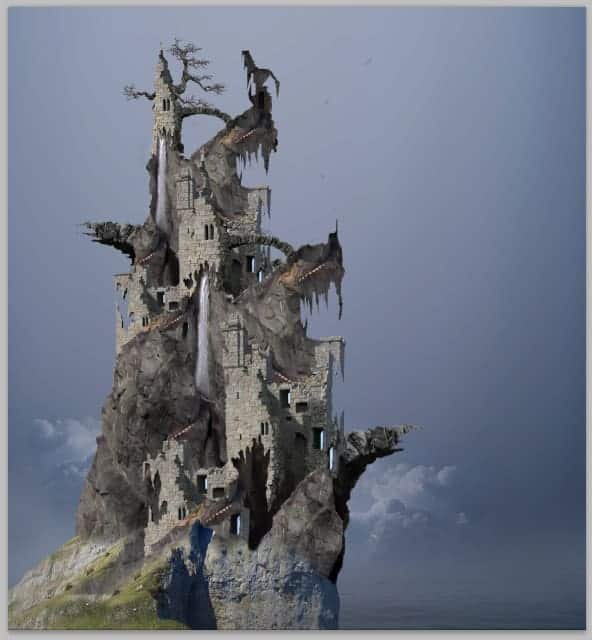
Proceed to add cloud texture to the background. Open the BG folder and add the cloud image within the folder. Scale the size of the image to the size as needed and place in the position where the brightest cloud in behind the lower right side of the pirate house.
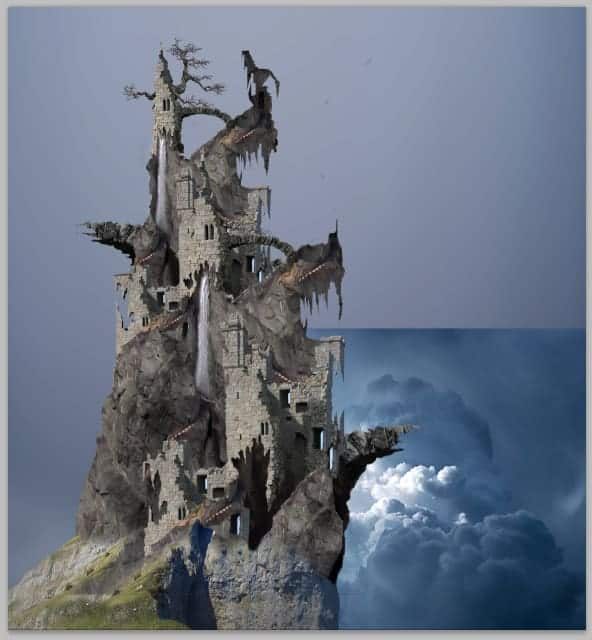
Mask unnecessary part of the image. We will use the brightest part of the cloud as the main cloud texture.
Set this cloud layer to normal blending at about 40% opacity.
Duplicate (Ctrl+J) the cloud layer. Flip it horizontally and place the duplicate on the left side behind the building.
Step 17
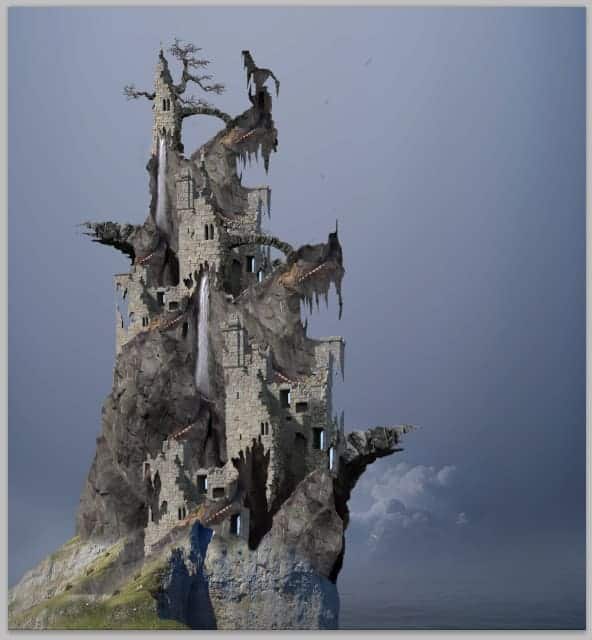
On this step, we will add more texture to the background. We will use the cosmos image for it. Open the image on the document. Place it above the cloud layer within the BG group.
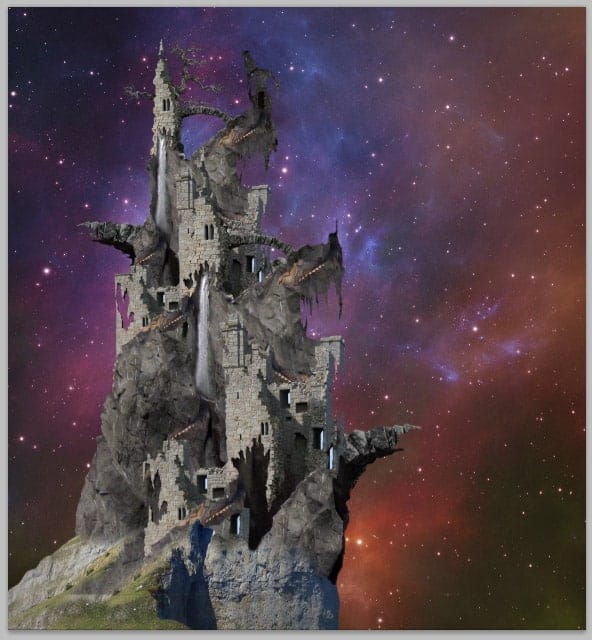
Set this cosmos layer to soft light blending at about 87% opacity.
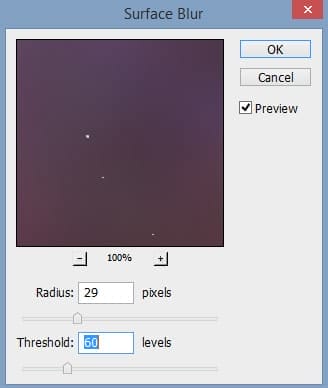
Then, give this layer surface blur filter by going to filter > blur > surface blur.
Type your instructions here.
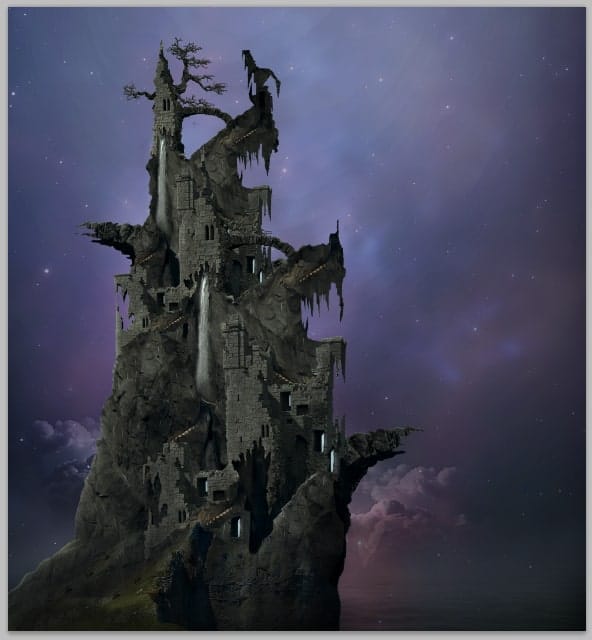
Step 18
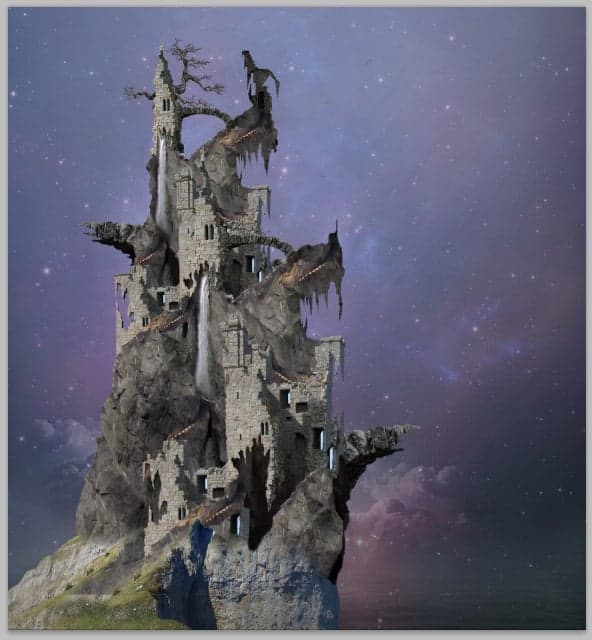
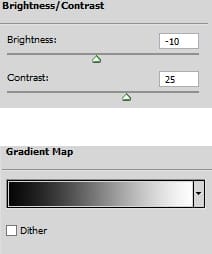
Now create two new adjustment layers above the BG folder. Go to layer > new adjustment layers > brightness/contrast and gradient map.
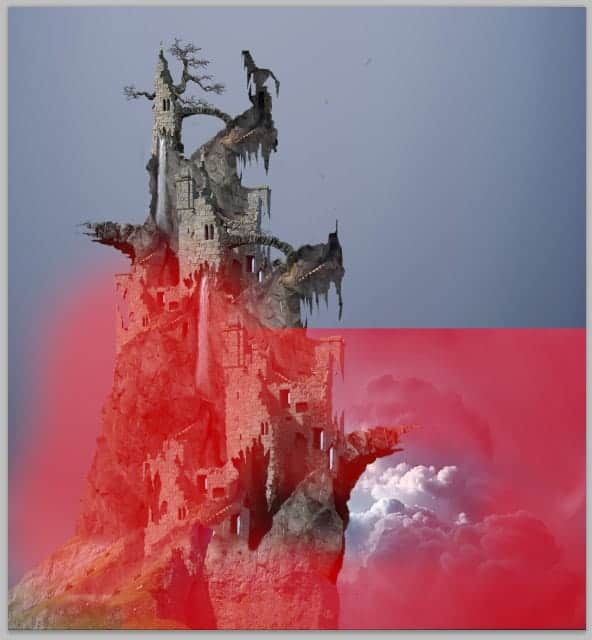
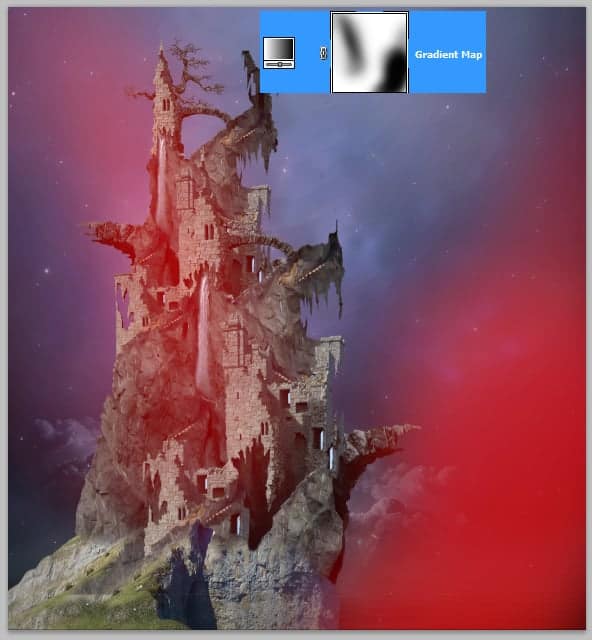
Select gradient map layer and give it a layer mask. With a very soft round brush (0% hardness) set at low opacity at 15%, mask some areas indicated in red highlight.

Step 19
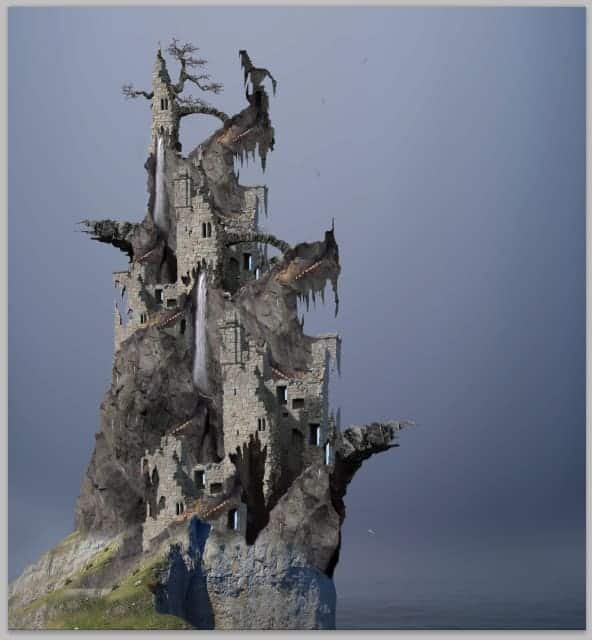
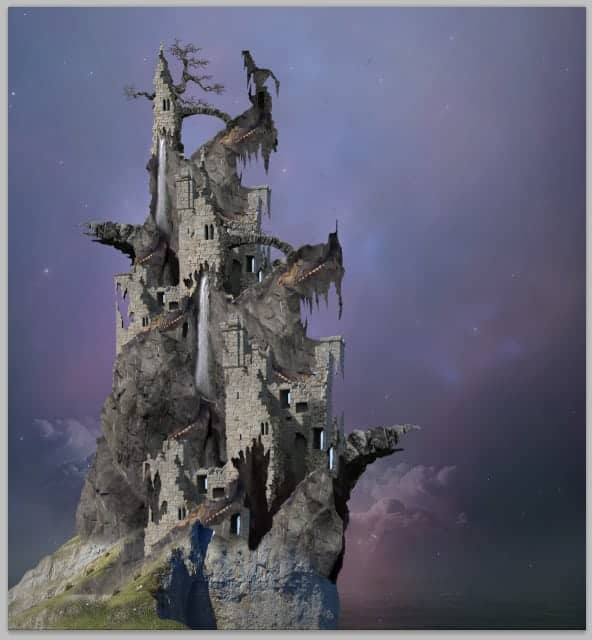
Next, we should do color adjustments to the pirate house layer to match the background color. Open the pirate house group and select the layer. Create a new layer (Shift+Ctrl+N) with a clipping mask above the pirate house layer. On this layer, paint some soft shading with black on areas around the lower part of the building and some others.
Then, give this pirate house layer a new adjustment layer with a clipping mask. Go to layer > new adjustment layers > brightness/contrast.

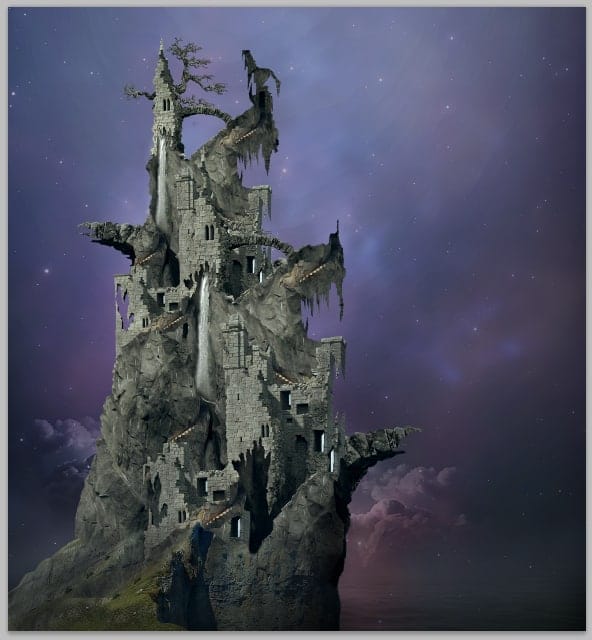
Mask some parts around the building as indicated in red highlight. If we feel the value of the new adjustment layer is too much, we can lower the opacity of this layer a bit. With this value, set this layer to normal at about 87% opacity to have the result below:
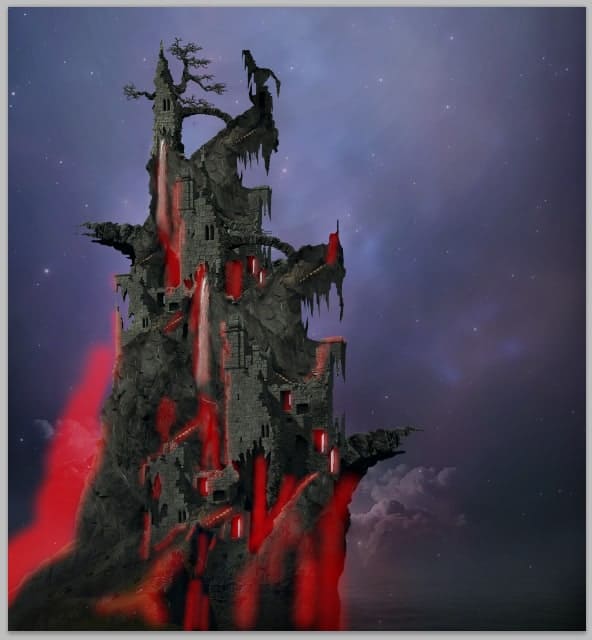
Give more new adjustment layer: hue/saturation. Set this layer to normal at 100% opacity.
10 responses to “How to Create a Surreal Pirate House Photo Manipulation in Photoshop”
-

The way tutorial has been illustrated by the pictures it gives easy learning tips. Awesome!
-
Fantastic & original concept.Very inspiring.Thanks for sharing.
-
Wow! 7 hours hard work!
Thanks :) -
nothing there, just get shadowed out stuff
Ted -
please give ma the authentic link for downloadin the photoshop setup
-
Can’t get past step 2 need help :(
-
Woooooow
This amazing -
The most inspiring web ever. I tried to sign for for subscription but couldn’t. Can I do it from here? Thanks
-
Wonderful tutorial, thank you so much for sharing it
-
Awesome manipulation, Dek wid.
Leave a Reply