
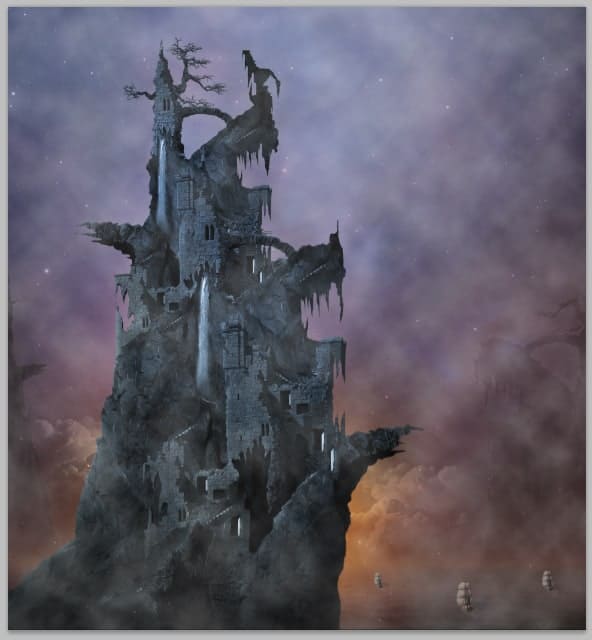
Set this cloud layer to screen blending at about 27% opacity.
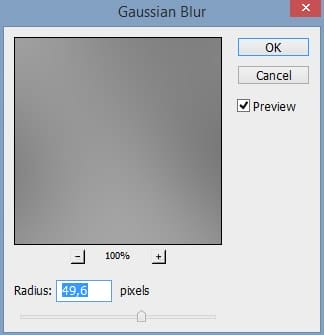
Go to filter > blur > Gaussian blur.

Mask the cloud a bit. Let the cloud around the lower part of the building a bit thicker.
Step 25
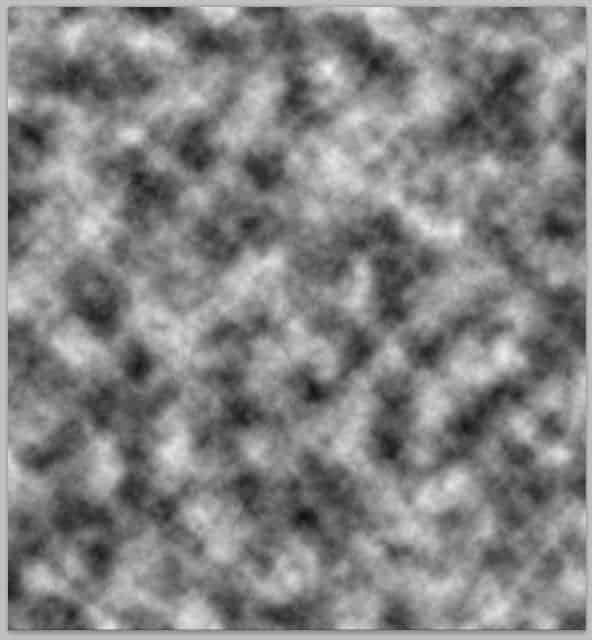
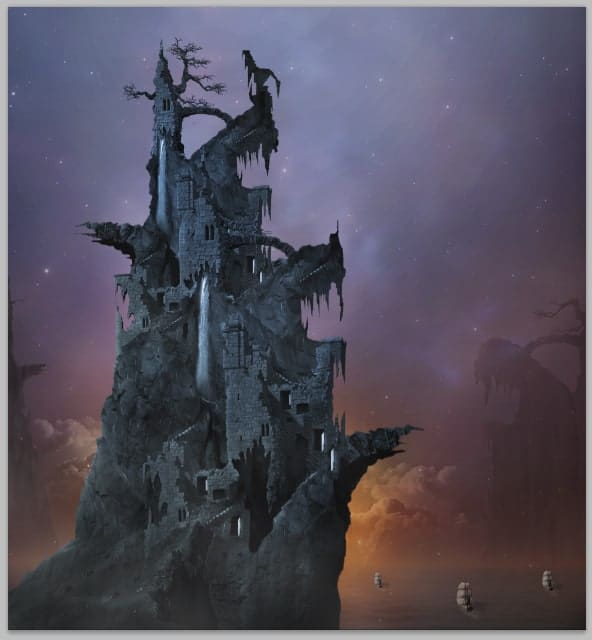
To add more mist to the scene, we can use the background texture previously created. Duplicate the texture and position the duplicate above the cloud layer.
Set the texture to screen at about 30% opacity.
Step 26
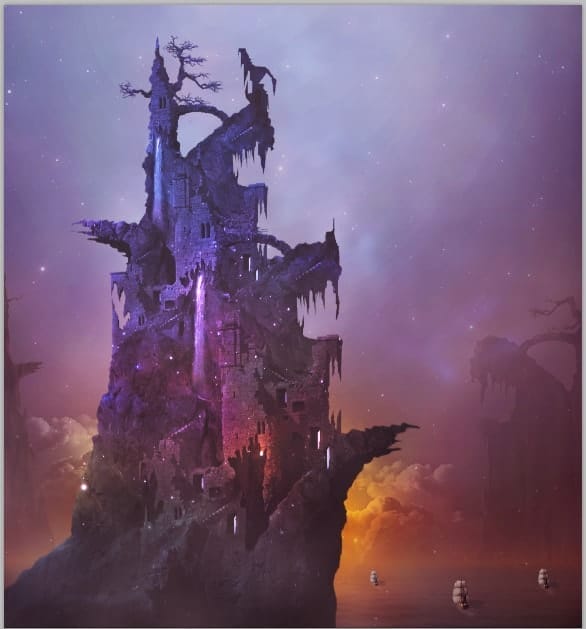
Now we will do some color adjustments. First, we give the scene selective color layer. Place this layer above all the other layers. Set this layer to normal at above 55% opacity.
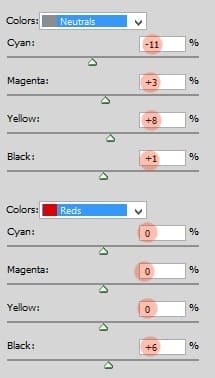
More two other adjustment layers: color balance and vibrance.
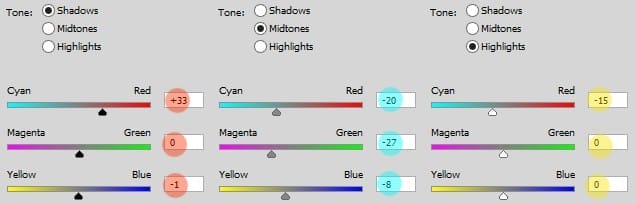

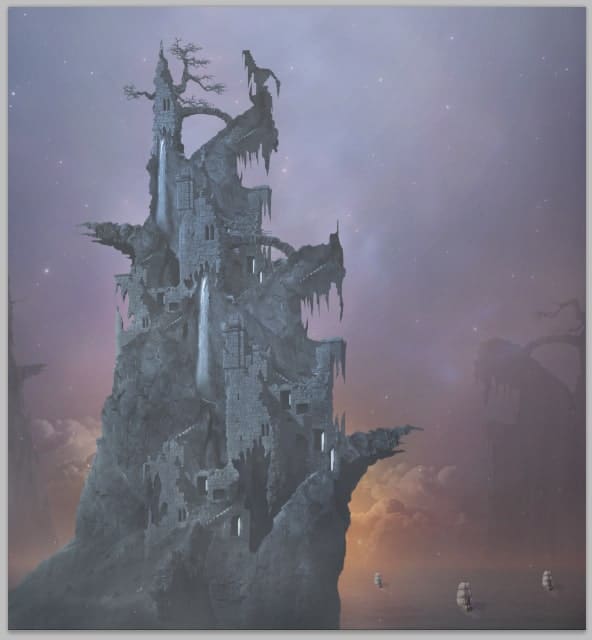
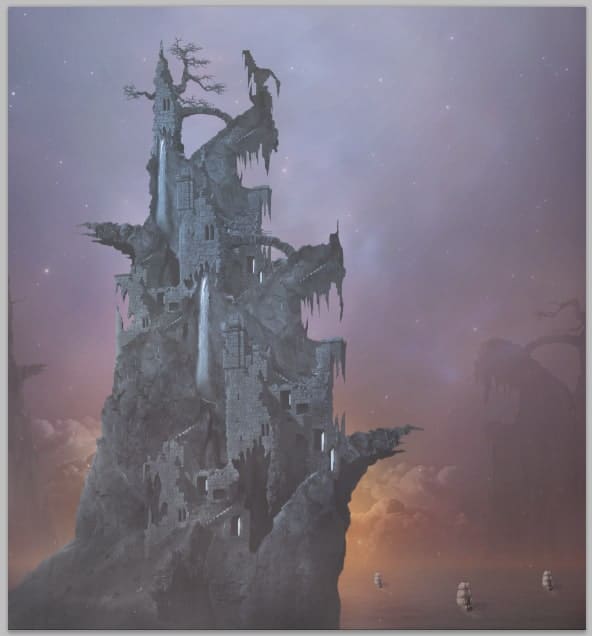
The result should be:

Step 27
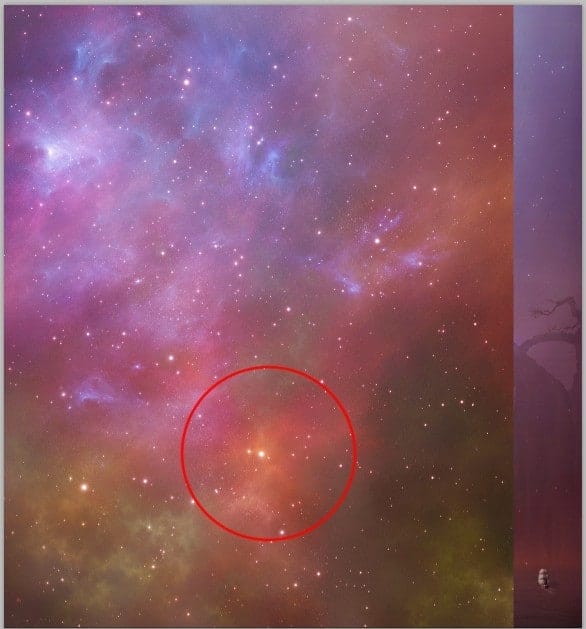
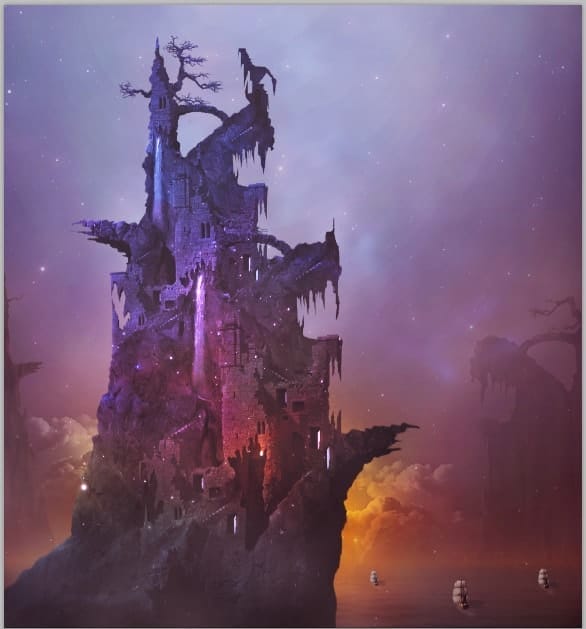
Finally, after doing overall color adjustment, we will do some tweaking on the pirate house layer. We will add some lightning on it. We just make use of the provided cosmos image to achieve this. Duplicate the cosmos layer and place the duplicate above the gradient map layer within the pirate house folder. The part circled in red is the one we will use to create the light on the building. Make sure to give this cosmos layer a clipping mask.
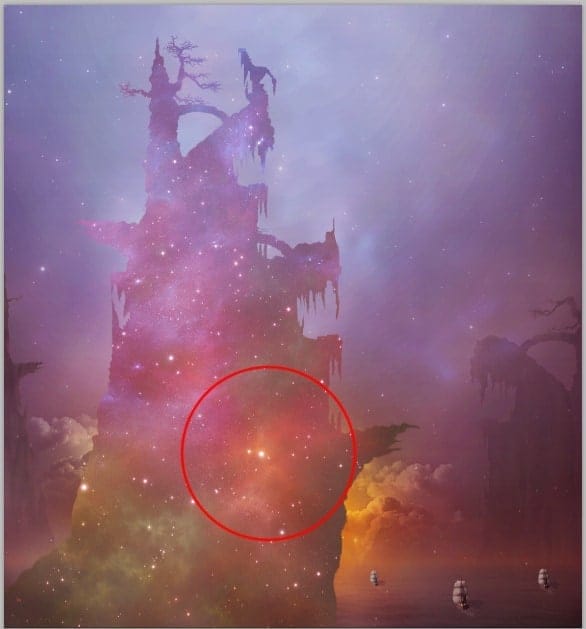
Set the cosmos layer to overlay at 100%
Duplicate the cosmos layer and set the duplicate to color dodge. There it goes, the building got some light now. If we feel the light is very strong around certain parts, we can mask this duplicate layer round the parts.
Step 28
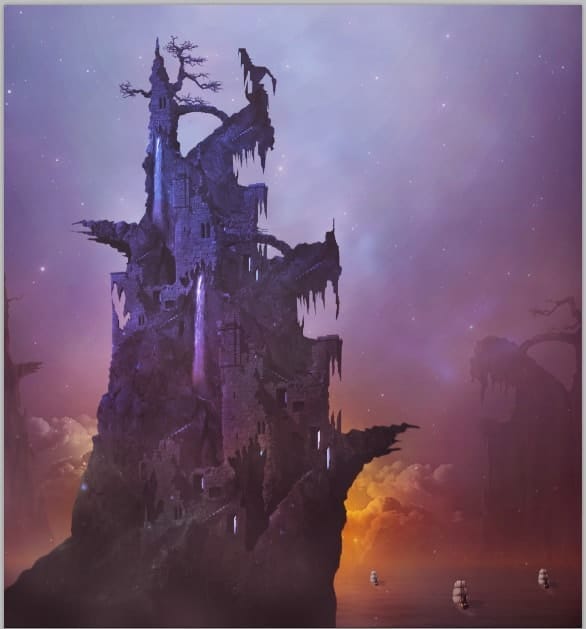
Create a new layer with clipping mask above the cosmos layers within the folder. On this layer, paint reddish orange color as the one below to give red highlight.
Provided this color, we should set this layer to soft light at 100% opacity.
To give more vivid red highlight, we can duplicate this provided color and set this duplicate to color dodge blending. Mask to some areas if we feel the color is overlapping to them.
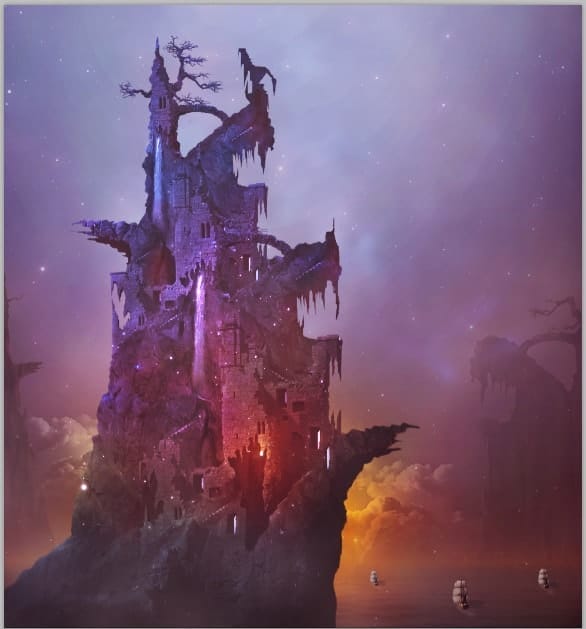
Step 29
Finally, again, create a new layer with a clipping mask above the reddish layers within the folder. Take a very soft round brush. On this layer, paint subtle combination color of yellow white and a bit blue.
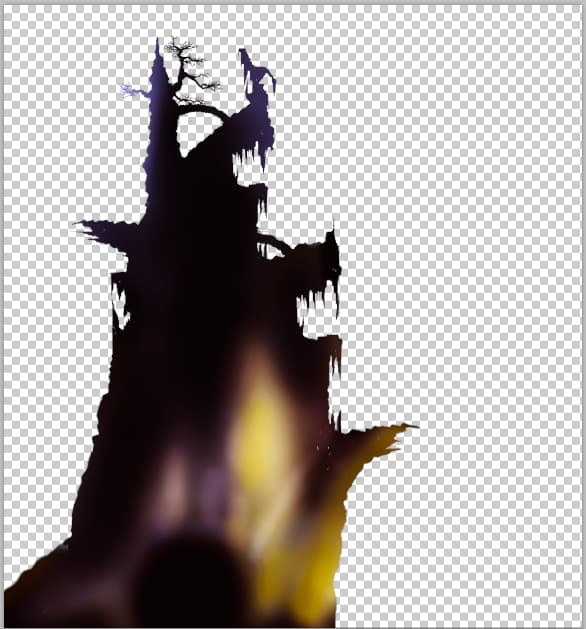
Referring to this provided color combination, we will set this layer to soft light to have result below:
10 responses to “How to Create a Surreal Pirate House Photo Manipulation in Photoshop”
-

The way tutorial has been illustrated by the pictures it gives easy learning tips. Awesome!
-
Fantastic & original concept.Very inspiring.Thanks for sharing.
-
Wow! 7 hours hard work!
Thanks :) -
nothing there, just get shadowed out stuff
Ted -
please give ma the authentic link for downloadin the photoshop setup
-
Can’t get past step 2 need help :(
-
Woooooow
This amazing -
The most inspiring web ever. I tried to sign for for subscription but couldn’t. Can I do it from here? Thanks
-
Wonderful tutorial, thank you so much for sharing it
-
Awesome manipulation, Dek wid.
Leave a Reply