
Step 19
Duplicate “Water Splash 3” layer by pressing Ctrl + J and move rotate it slightly to the left.
Step 20
Place “Water Splash 4” on the back of the horse.
Step 21
Duplicate “Water Splash 4” by pressing Ctrl + J and make it smaller. Place it on the back foot.
Step 22
Duplicate the layer you just placed on the foot one more time and position it on the other foot.
Step 23
Duplicate on the foot layers and place it on the front foot.
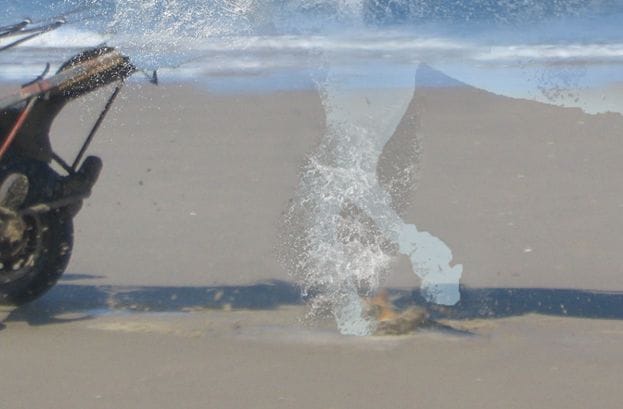
Step 24
For the elongated foot duplicate one of the water layers you used on the feet but use Warp to stretch it a bit. Also make it a little bigger. To use Warp with the Free Transform press Ctrl + T inside the box that encompasses the layer and choose Warp.

Step 25
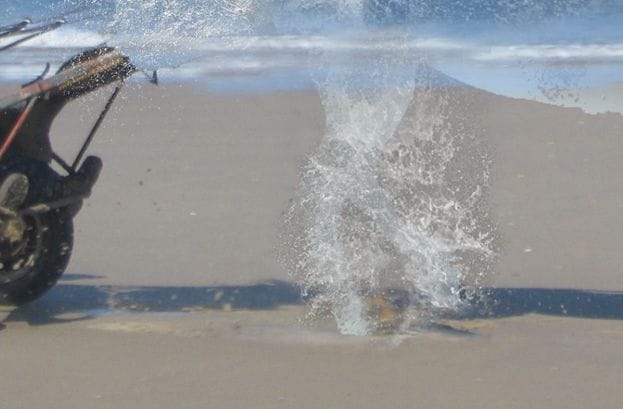
Place “Water Splash 5” on the chest of the horse with some water coming out from his mouth.
Step 26
“Water Splash 6” goes on the belly. Notice that this has a gray color and it is not very bright. That’s because we need something to fill in that big area and a very bright splash would be in conflict with all the other splashes.
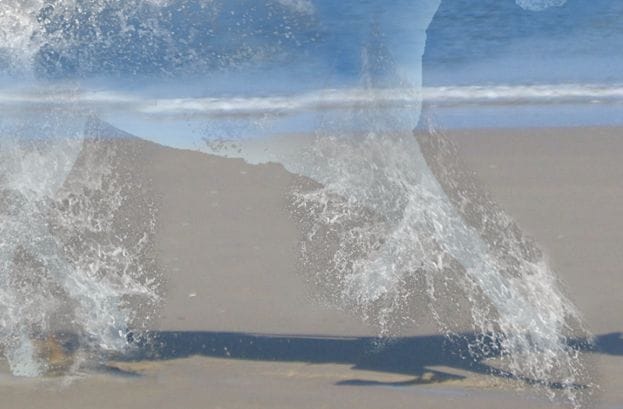
Step 27
“Water Splash 7” goes on the rear foot. It adds some nice random water drops
Step 28
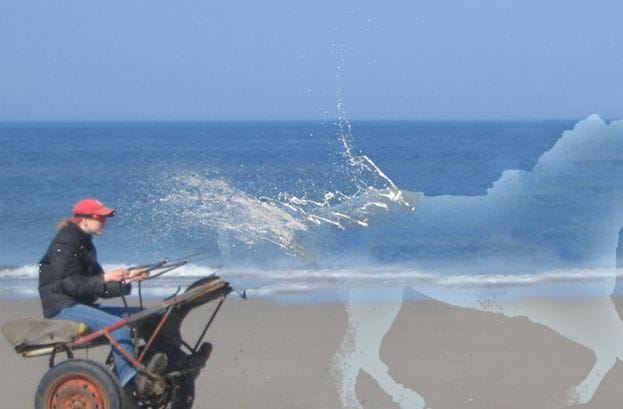
“Water Splash 1” goes on the back and on the head
Step 29
Make a duplicate of “Water Splash 1” and use Warp to fit it on the head
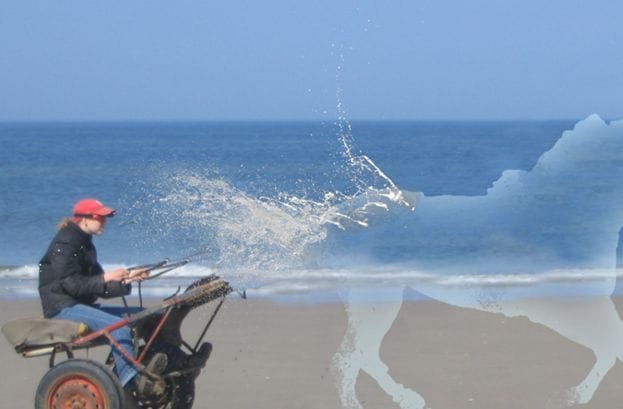
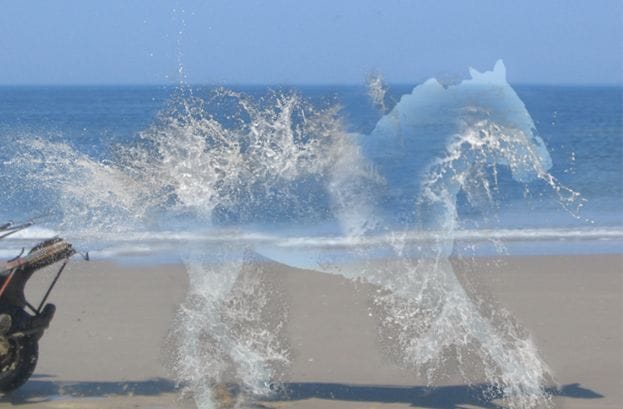
Step 30
Duplicate the original “Water Splash 1” again and place it somewhere on the chest to fill in the gaps. It looks too bright so use a Curves Adjustments to lower it’s brightness (drag the curve downwards).
Step 31
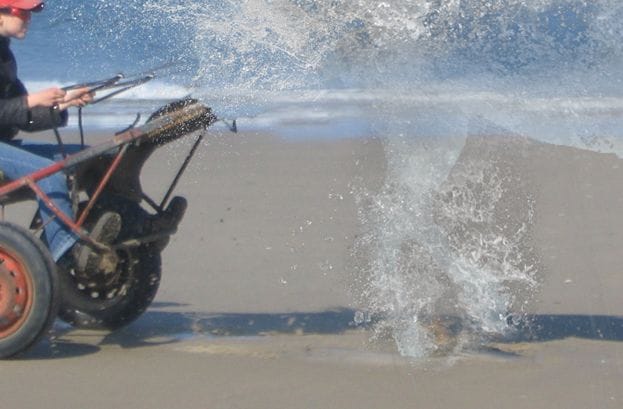
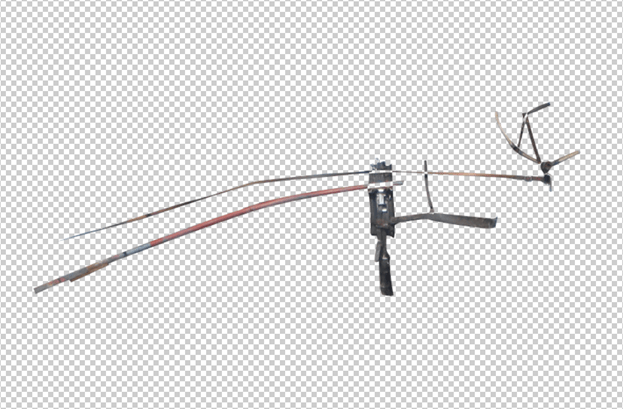
Now that the water horse it is done let’s put the original harness over. To do this turn off all the layers except the original background layer and using the pen tool select all the bigger parts of the gear
Step 32
After you’ve finished with paths press Ctrl + Enter to make selection from path. Now press Ctrl + J to make a new layer from selection and now you should have the harness on a new layer.
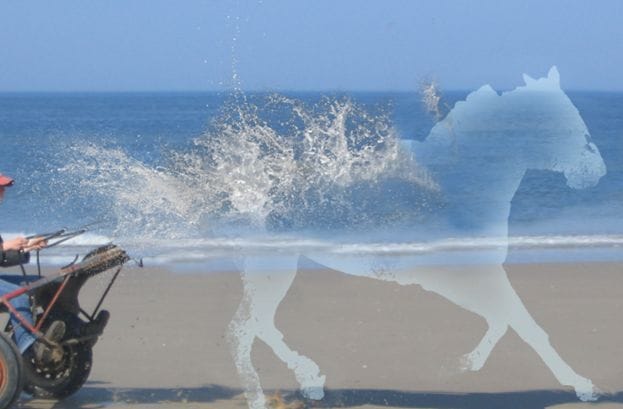
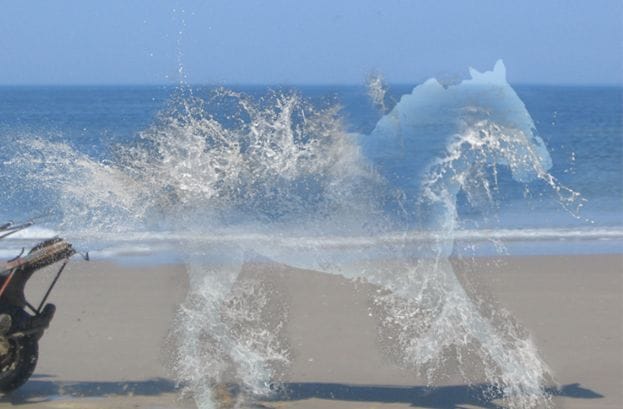
Step 33
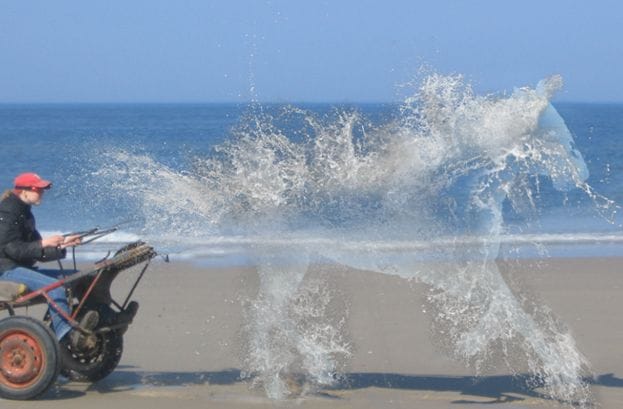
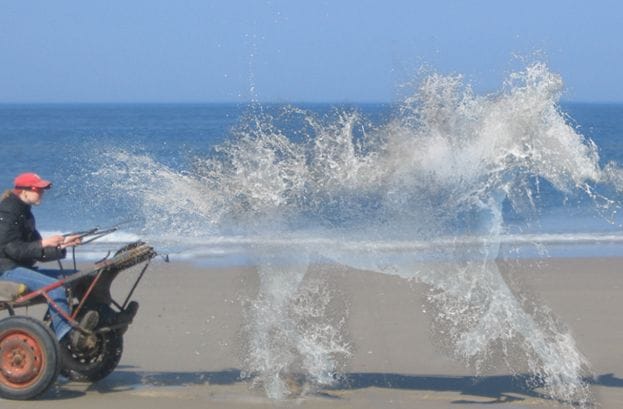
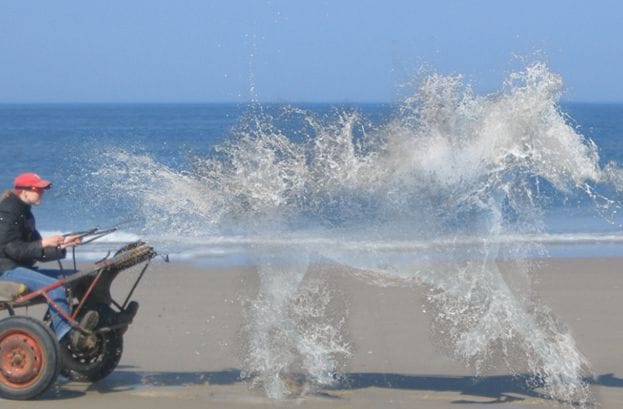
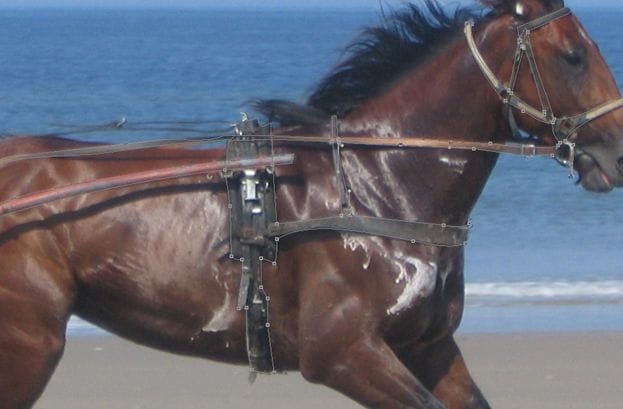
Move the harness layer above all layers then turn back on the visibility of all the layers. You should have something like the image below. It looks pretty nice but it not quit complete yet. Because we can see objects through water some of the harness on the other side of the horse should be partially visible too. The problem is that we don’t know how the back of the harness looks and we don’t have any photo reference of the same harness. In these situations it is good to remember that the elements in a photoshoped should look real but they don’t necessarily have to be from a real reference. When you’re doing a scene like that you’re selling an illusion so any tricks to make the illusion look real will do.
18 responses to “How to Create an Awesome See-Through Water Horse in Photoshop”
-

How make seethrough clothes on people? In Photoshop CC
-
Edit > Content-Aware Remove. Enable AI option. Viola clothes removed.
-
-
Valuable Post
-
yep
-
Now that’s some amazing, funny and beautiful work, loving it!
-
Awesome. Very thankful! Learned much more than creating a beautiful image. Finding water splashes for my own image forced me to learn curves, color balance, and other PS tools by following your instructions. Just awesome, cut down my learning curve greatly.
Just transitioning from PSE to CS6, thank you again. -
o meu muito obrigado, por estares ai desse lado passando essas técnicas e ensinando.podes crer que já aprendi muito..
continua, teu trabalho esta espectacular……. -
so nice thank you
-
Please dont be so rude
-
-
yes
-
so… nice i really like it thanks adrian
-
hi
-
-
I don’t get this desgin. It doesnt work/make sense
-
very nice and i’d really like to make this, but I think you posted one link of the stock images twice. I also can’t seem to get the ‘watery’ effect on the splashes I plaste on the horse. Could it be because i’m working in Photoshop Cs 3? thanks!
-
I dont get it…
-
me eithaaaaaaa
-
-
so nice ♥♥♥♥♥
-
Very cool effect but the shadows are too fake. And it would look better on a different photo
Leave a Reply