
Step 15
Duplicate this layer and use Ctrl+T with the Warpmode to bend the wing part to fit the body of the model.

Add a mask to this layer and use a hard black brush to erase the top and bottom of this part.

Step 16
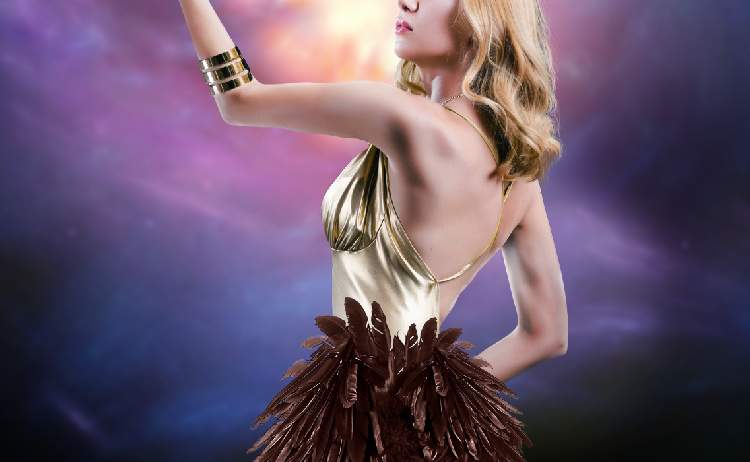
Select all wing layers and hit Ctrl+Gto make a group for them. Change the group mode to Normal 100%and make a Hue/Saturation adjustment layer to desaturate the wing dress.

Create a Curves adjustment layer to brighten the wing dress. On this layer mask, paint on some shadow areas of the dress to keep its contrast.

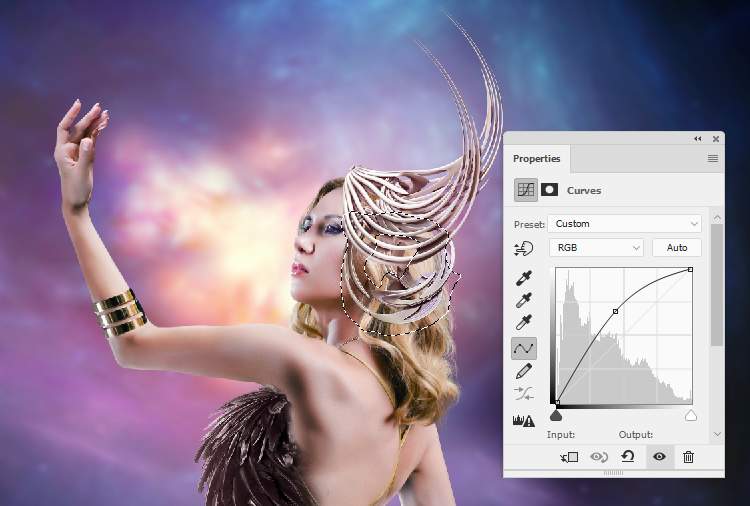
Step 17
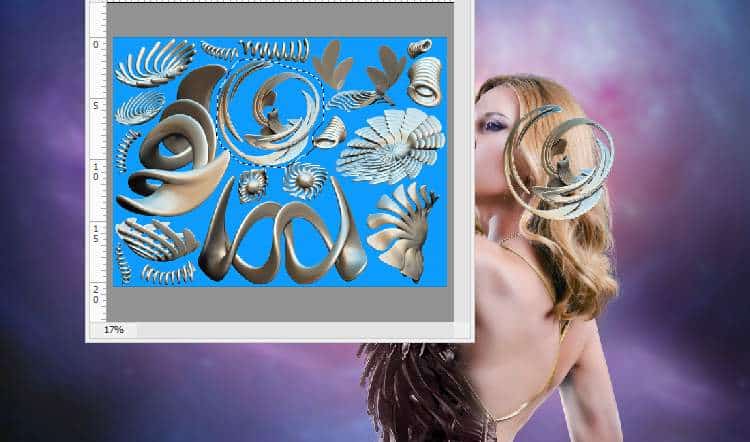
We’ll add some 3D objects to make a headpiece for the model. Open the 3D 1 image and isolate the objects using the Magic Wand Tool (W). Use the Lasso Toolto select one object in the middle to add to the model’s head.
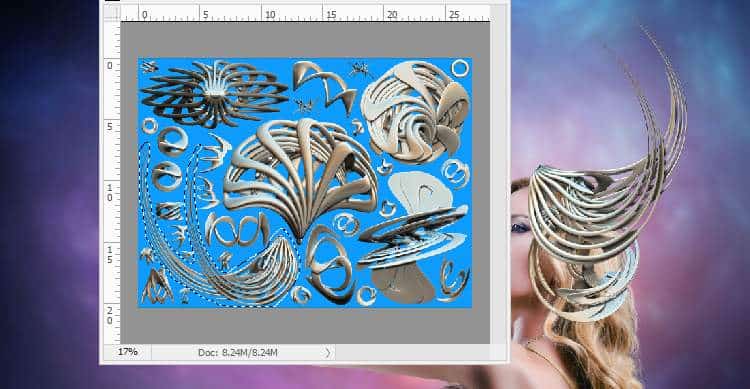
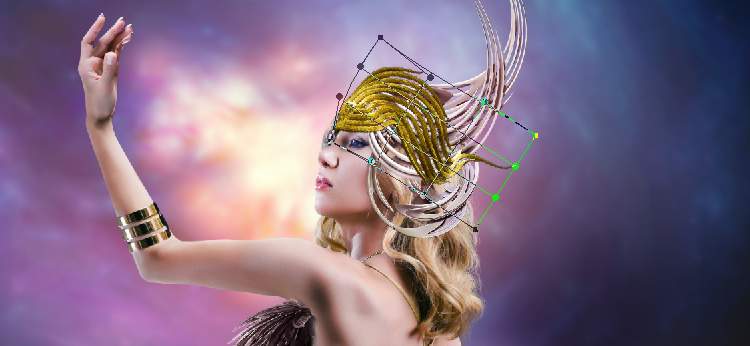
Open the 3D 2 image and take the object in the left bottom to add to the higher position on the model’s head and flip it horizontally.
Step 18
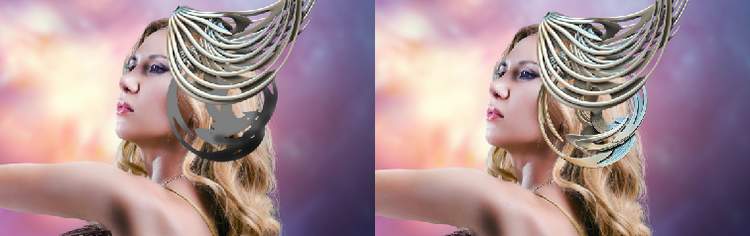
Make a new layer above the 3D 1 layer, change the mode to Overlay 100%and fill it with 50%gray. Use the Burn Toolto darken thebottom right of the object.
Step 19
Make a group for all 3D and the burning layers and create a Color Balanceadjustment layer within this group. Change the Midtonesand Shadows settings:


Add a Hue/Saturationadjustment layer and alter the Master values:

Create a Curvesadjustment layer to brighten the top of the 3D objects. On this layer mask, paint on their bottom to keep its lightness.
Step 20
Open the dragon statue image and isolate it from the dark background. Use the Lasso Tool to take the tail to add to the model’s head. Use Ctrl+T with theWarpmode to bend it to fit the head’s form.

Use a layer mask to erase the small detail at the bottom of this part.

Step 21
Select two fringe parts of the dragon to add to both sides of the model’s head. Use Ctrl+Tto distort the part on the right to fit the pose of the head.

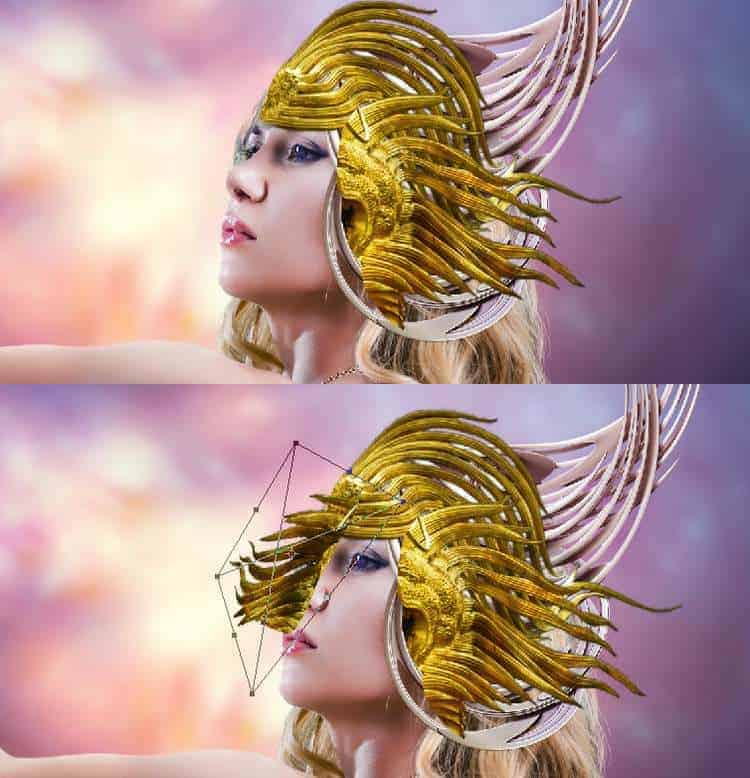
Add a mask to each of these layers to remove the part covering the face and blend them with the existing headpiece parts.

Step 22
On each of the dragon layers, make a new layer, change the mode to Overlay 100%and fill with 50%gray. Use the Dodge Toolto brighten some details on these parts.
6 responses to “How to Create a Fantasy Woman Photo Manipulation with Adobe Photoshop”
-

Is there a way to filter tutorials on this site to this author?
-
Amazing
-
thanks denny .. Same as the problem is always here
-
great manip :)
just probllem with the psd link-
Thanks for letting us know! The PSD link has been fixed
-
-
Amazing work….
Leave a Reply