

Step 23
Make a group for the dragon layers and add a Hue/Saturationadjustment layer to desaturate the dragon parts.

Create a Curvesadjustment layer to brighten the dragon parts. On this layer mask, paint on two small parts on their middle and left to reduce the lightness there.

Make a new layer and use a small brush with the color #e5deda to paint more light on the end of the fringeand the top of these parts.

Step 24
Open the armor image and take a small part at on the right leg to add to the waist of the model. Use Ctrl+Twith the Warpmode to tweak this part to fit the body of the model.

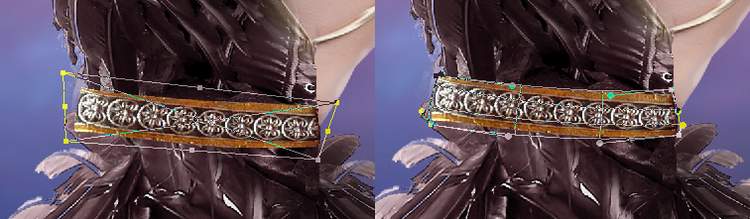
Add a mask to this layer to remove the small part on the left.

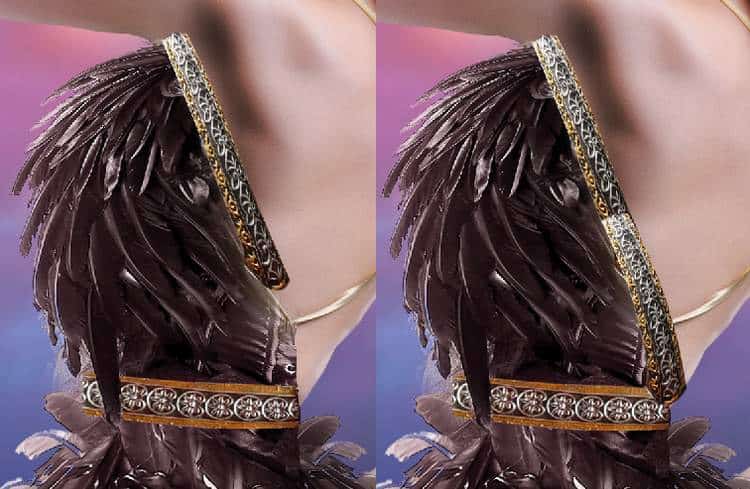
Step 25
Duplicate this layer twice and move them to the back to make a contour for the dress.
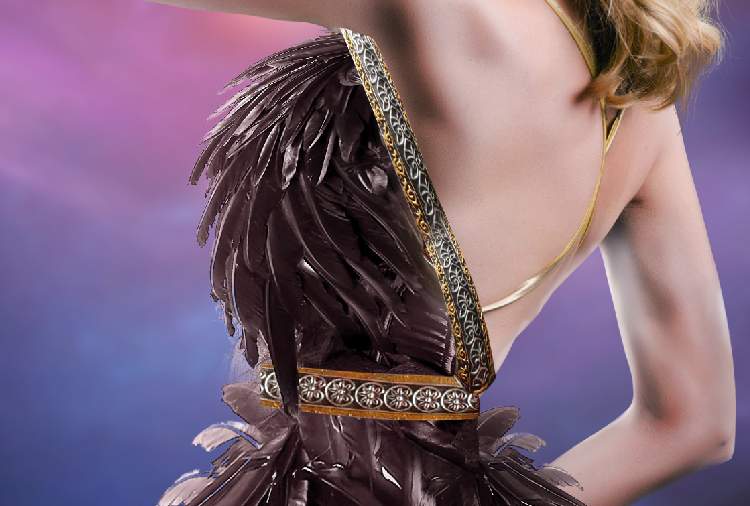
Step 26
Make a group for these layers and add a Hue/Saturationadjustment layer within this group and change the Master settings:

Create a Curvesadjustment layer to darken these parts a bit. On the layer mask, paint on the middle of the contour on the back to reduce the effect there.

Step 27
Drag the nebula 1 image into our main canvas and use Ctr+Tto enlarge it a bit to fit the size of the main document.

Add a mask to this layer to erase the middle around the model, leaving the effect visible subtly on the corners of the canvas and the bottom of the model’s dress.

Step 28
Make a Color Balance adjustment layer to change the color of the effect to fit the background.

Add a Curvesadjustment layer to change the color and brighten the nebula effect . Paint on the top middle so it won’t be affected by this adjustment layer.
Step 29
Place the nebula 2 image onto ourmain canvas and use a layer mask to erase the middle part around the upper body of the model,leaving some dreamy effect on the bottom of her dress and the corners.


Step 30
Create a Hue/Saturation adjustment layer and alter the Redsvalues:

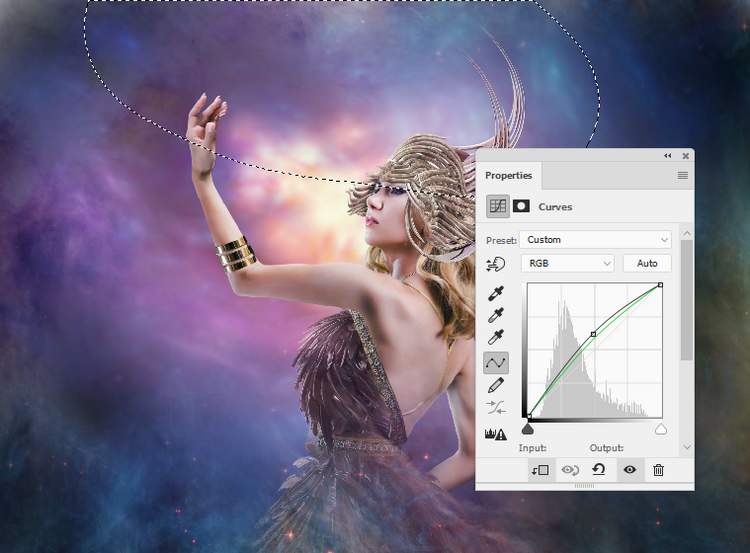
Step 31
Open the asteroids image and use the Lasso Toolto select one to add to the rising hand of the model. Add a mask to this layer to remove the part covering the thumb to make the asteroid look like being held within the hand.
6 responses to “How to Create a Fantasy Woman Photo Manipulation with Adobe Photoshop”
-

Is there a way to filter tutorials on this site to this author?
-
Amazing
-
thanks denny .. Same as the problem is always here
-
great manip :)
just probllem with the psd link-
Thanks for letting us know! The PSD link has been fixed
-
-
Amazing work….
Leave a Reply