The best way to create a circle that’s perfectly centered is to click on the corner of the triangle, hold Alt+Shift, then drag outwards. This will give you a perfect circle that expands from the center.

Step 19
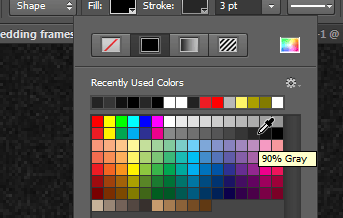
In the options bar, change the fill to black and stroke to 90% gray.
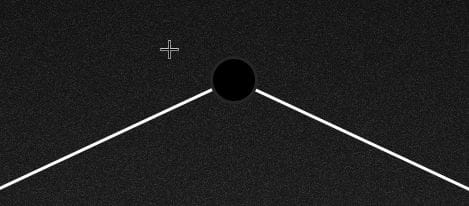
Here’s what your pin should look like.
Step 20
Next, we’re going to apply several layer styles to give it a metallic look. Go to Layer > Layer Style > Bevel & Emboss. Set the technique to Chisel Hard, size to 3px, and angle to 90 degrees.

Enable the Contour style then use the settings shown below.

Step 21
Enable the Drop Shadow option and set the Spread to 25% and Size to 9px.

Step 22
To give it a metallic look, we’re going to add a noise gradient. Enable the Gradient Overlay option then click on the gradient to open the Gradient Editor. In the Gradient Editor, change the color model to HSB, drag the S black input slider to the very left, then drag the B black input slider towards the right like shown below. Keep clicking the Randomize button until you get a gradient that looks metallic.
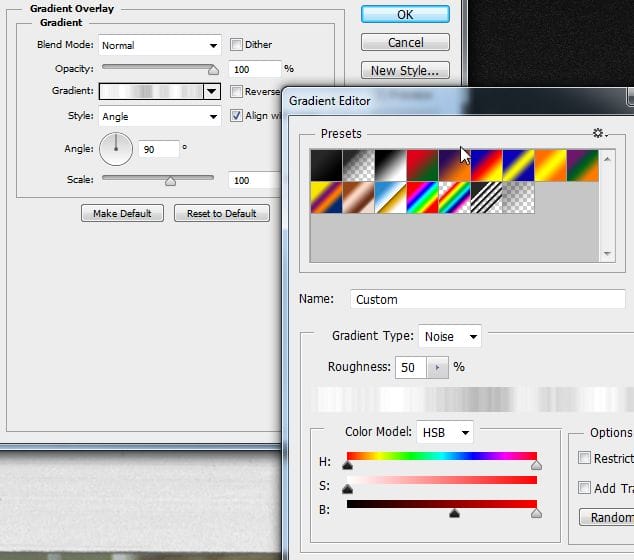
Here’s what our button looks like.

Step 23
Duplicate the layer with the string (Ctrl/Cmd+J) then drag it towards the right so that it appears near the right frame. Repeat this to create a string for the left frame. Rename your layers and you’re done!

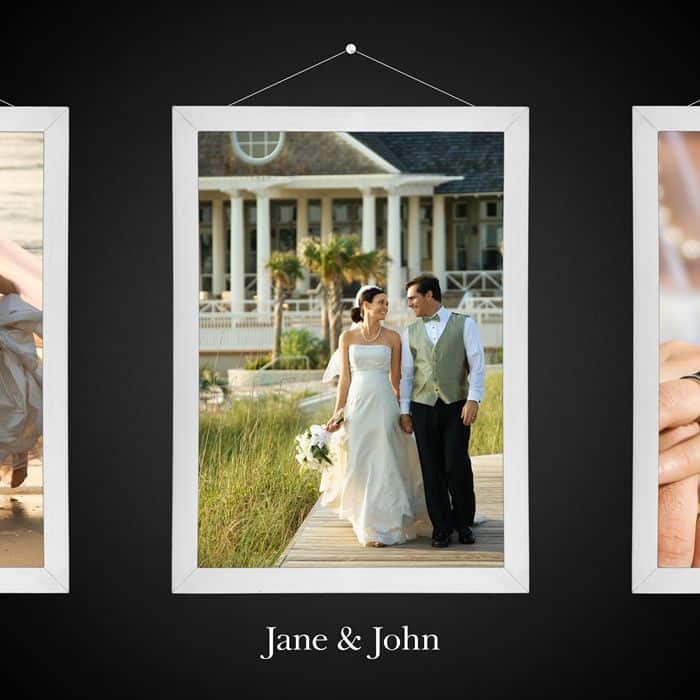
Final Results

Download the PSD
[vc_column width=”1/1″ el_position=”first last”]
[vc_cta_button title=”Download” href=”https://downloads.photoshoptutorials.ws/Wedding Frames.zip” color=”btn” size=”btn-large” icon=”none” target=”_self” position=”cta_align_right” call_text=”Wedding Frames.zip | 42.7 MB” width=”1/1″ el_position=”first last”]
[/vc_column]
8 responses to “Create a Skeuomorphic Wedding CD Cover Using Only Nondestructive Layers”
-

This is perfect for a wedding photographer! Great post!
-
Wow, these are really creative! They remind me of those Chip Fosse drawings from Overhauling’. Great work!
-
I’ve the C6 but could not find the poly option for 3 sides…also I couldn’t find the steps for text. Thanks i advance for help it is appreciated.
-
I have a problem man when I tried to save it as picture A window came and reporting that the operation couldn’t be completed!
What I do :(? -
Thanks brother for good work and perfect design I just made changes that I just made metallic with LAB instead of HSB
and thanks again finished like you exactly . :) ^^ Yours:Alaa -
Oh goodness!!Simple tutorial and nice :DBut i wanna ask how could you do the 10 step above?I mean, i just got one selection rectangular tool ( middle only)
How to make the selection as above?-
@ZakiiAydia hey man to make many selections just press shift when you are making new selection will make it with the previous selection and press again shift and will again make the third selection :D .
Hope it works ^-^.
-
-
Your organizational skills are marvelous! This is a nice tutorial! Thank you
Leave a Reply