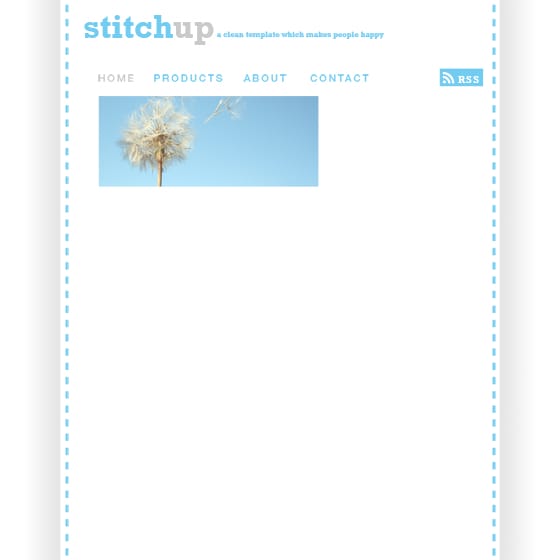
Step 14
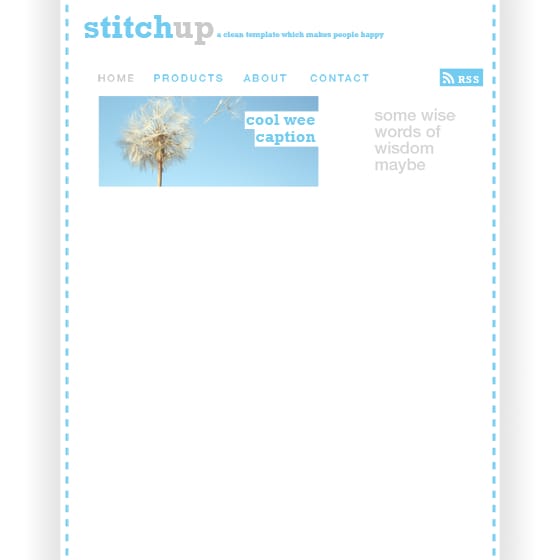
Using the font ‘Rockwell’ again type a wee caption with the text tool. Next create a new layer and drag the layer below the text then draw two white rectangles behind the words then change the text color to the same blue that we used before.


Step 15
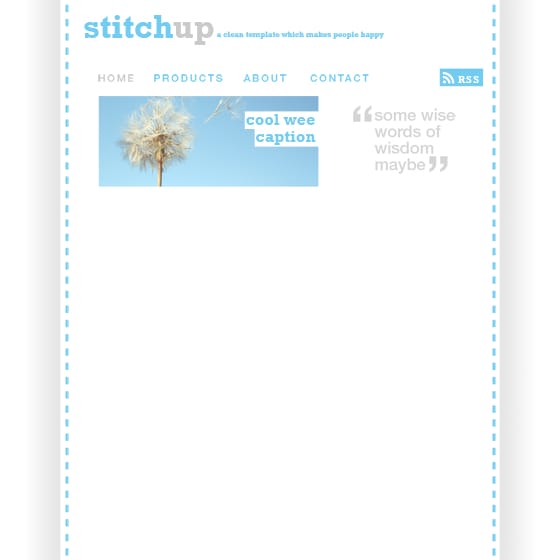
To the right of the slideshow image I left a space for a small quote or maybe a ‘welcome to our site’ thing. I put in the quote by drawing a text box then typed a a few words in a sans serif font in the grey color. Next I added some oversized quote marks by doing each one in a separate text layer and boosting up the pt size and positioning them accordingly.
Step 16
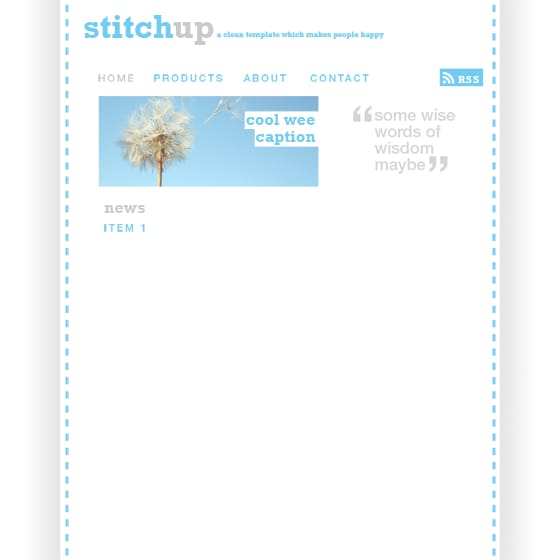
In the middle of the page I wanted to display some news items in a sort of blog format. First I typed ‘news’ using the grey color and ‘Rockwell’ as the font. Next I created a new layer group called ‘Item 1’ where I would put in all the the elements that make up the first news item. Type the title of the first news item and place it within this group.
Step 17
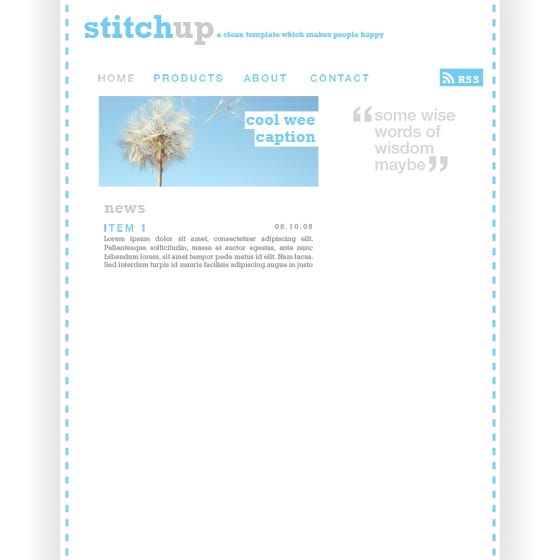
Next I added some text which would make up the news item then a date at the top right. I put all this within the same news item group.
Step 18
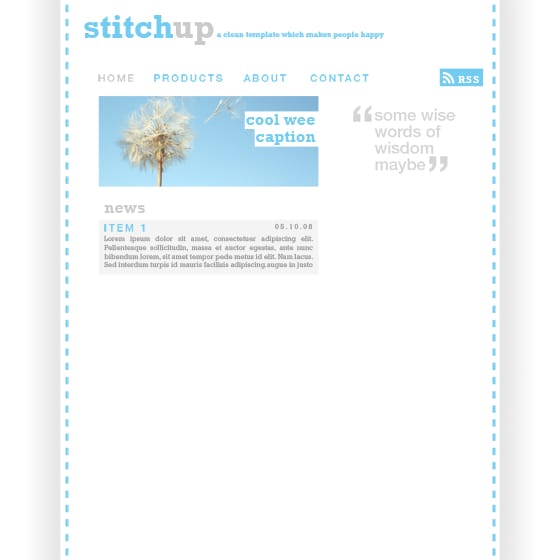
Using a light grey color draw a rectangle around the first news item like shown in the image below.
Step 19
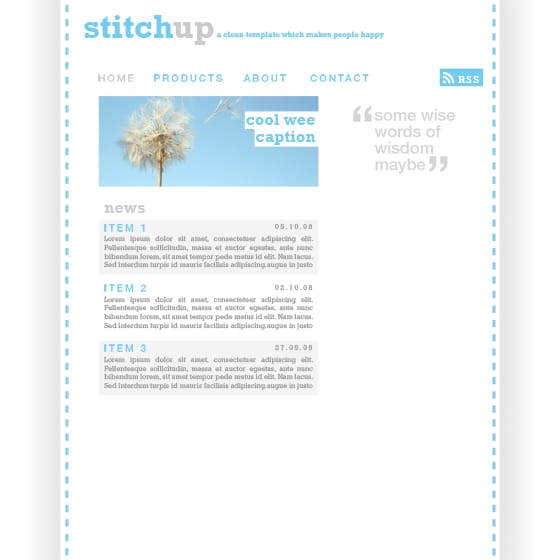
Now right click on the layer group and duplicate it then move it down and change the title. Now do this again so you have three news items then delete the rectangle layer from the second news item.
Step 20
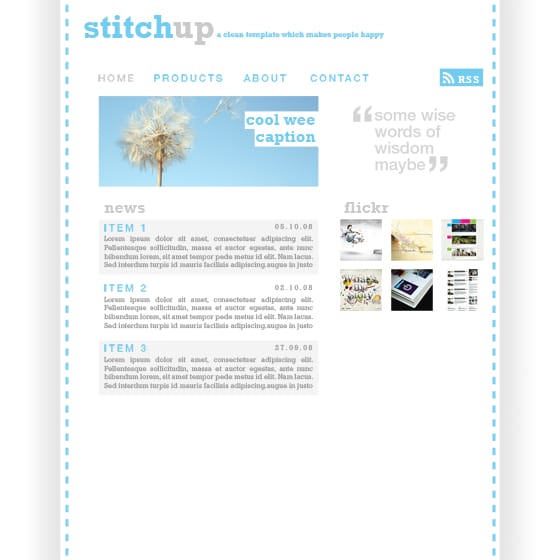
I thought a good use of space in the sidebar would be a Flickr group display which is quite popular in design sites now and can be seen on sites such as PSDlearning and Fuel Your Creativity. Firstly put in a suitable title in the same style as the news title. Now add some images with dimensions; 75x75px, If you want you can copy the thumbnails from the sites I mentioned above then paste them in. Now just arrange them like I’ve shown below.
Step 21
Select all of the thumbnail image layers then hit Ctrl+E to merge them. Now right click on this layer then go to the blending options and add the styles shown below then with another line of text you should have something similar to the bottom image.
16 responses to “Design a Web Template using the “960 Grid System””
-
A fast Skin Retouching Tutorial in Adobe Photoshop.
-
In step 4 , Layer > Layer mask > Hide selection. I’m new in photoshop and you wasted hours of my time.
-
An outstanding share! I have just forwarded this onto a co-worker who was doing a little homework on this.
And he in fact ordered me lunch due to the fact that I discovered it for him…
lol. So allow me to reword this…. Thanks for the meal!! But yeah,
thanks for spending some time to talk about this issue here
on your internet site. -
Good post. I will be experiencing a few of these issues as well..
-
very good
-
I love what you guys are usually up too. This kind of
clever work and coverage! Keep up the fantastic works guys I’ve included you guys to my blogroll. -
nice tutorial let me know the link to down the grid
-
This article shows just the basics and is very good if you are new or just learned photoshop and take your skills further. The use of 960 grid is not limited to just setting the width but it is used whenever you need to position anything. Suppose you are positioning an image you can do it easily with the help of the grid.
You can also do it without it but it becomes much easier by using the grid
-
We need to know how you use the template to section out all the content in your wrap – not how to make the wrap 12 columns wide…
-
This article is pointless. You say you’re designing using the 960 grid system, but the only time you do anything with it is when you download it and plop the column graphic into your document. You’re not telling anyone about HOW you are using the 960 grid system. Who cares what the template looks like? We want to know how you’re using 960 grid!
-
Thanks for u r brief tutorial but how to download the template ?
-
now… where did you exactly used the grid template???
-
agree.
author only use the grid at first (only for the width). it didn’t help user to know how use the 960gs in photoshop.
-
The 960 grid system is only used for width purposes, its just a pre-made document with the width pre-made. The only other uses is using the other bars for aligning things.
-
-
thanks for your brief & clean tutorial.
-
How to download????? plzzzzz


Leave a Reply