Step 22
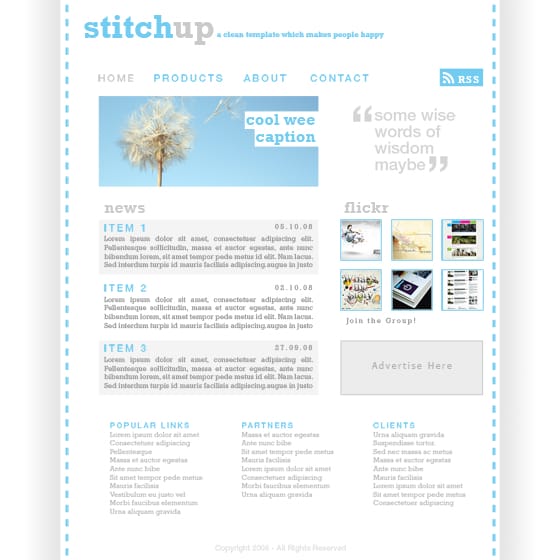
I added an advertising space box using a simple rectangle with a stroke applied then some text within it. You can personalize this advertising box if you want so I’ve not gone into much details her.
Step 23
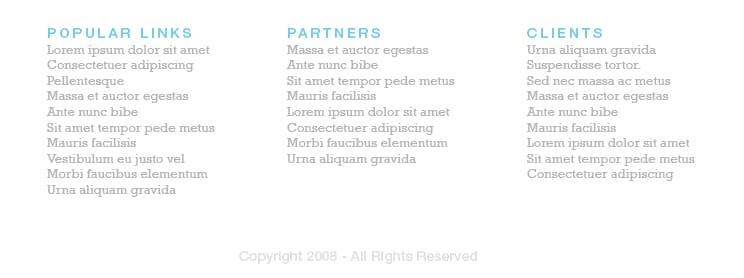
Next I added a footer area which gives some extra information like external links, clients etc. as well as a copyright notice. By know you should know exactly how to put this together so I’ve just shown a couple of images of it.
Step 24
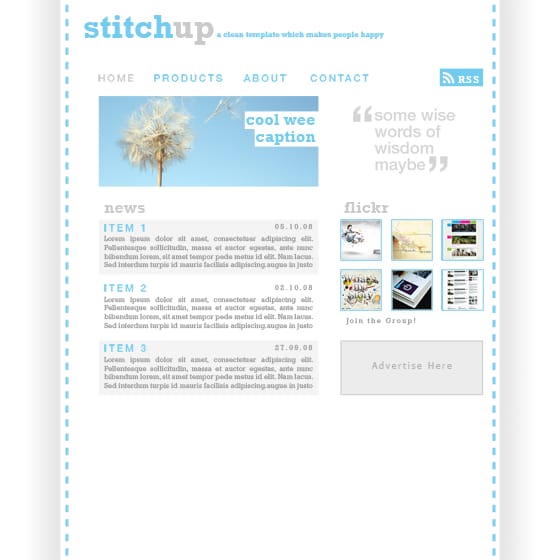
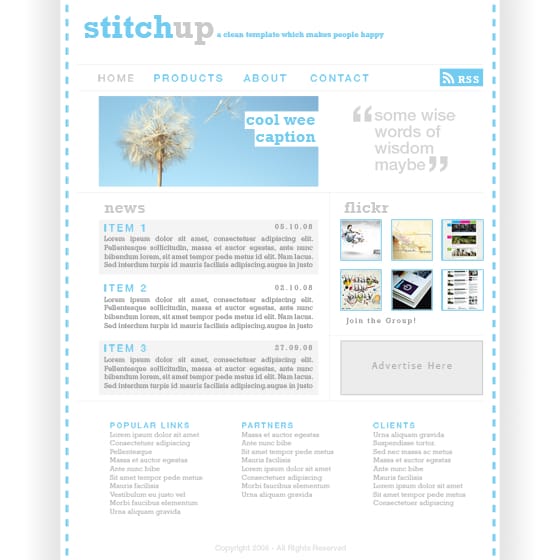
The last thing I did was to add some thin lines that would act as dividers and make the page look more organized. Create a new layer. Select the line tool and set the weight at 1px and the foreground color to a medium grey. Now draw some lines in the same places that I have, using the image below as a reference, remember to hold shift to get horizontal and vertical lines.
16 responses to “Design a Web Template using the “960 Grid System””
-
A fast Skin Retouching Tutorial in Adobe Photoshop.
-
In step 4 , Layer > Layer mask > Hide selection. I’m new in photoshop and you wasted hours of my time.
-
An outstanding share! I have just forwarded this onto a co-worker who was doing a little homework on this.
And he in fact ordered me lunch due to the fact that I discovered it for him…
lol. So allow me to reword this…. Thanks for the meal!! But yeah,
thanks for spending some time to talk about this issue here
on your internet site. -
Good post. I will be experiencing a few of these issues as well..
-
very good
-
I love what you guys are usually up too. This kind of
clever work and coverage! Keep up the fantastic works guys I’ve included you guys to my blogroll. -
nice tutorial let me know the link to down the grid
-
This article shows just the basics and is very good if you are new or just learned photoshop and take your skills further. The use of 960 grid is not limited to just setting the width but it is used whenever you need to position anything. Suppose you are positioning an image you can do it easily with the help of the grid.
You can also do it without it but it becomes much easier by using the grid
-
We need to know how you use the template to section out all the content in your wrap – not how to make the wrap 12 columns wide…
-
This article is pointless. You say you’re designing using the 960 grid system, but the only time you do anything with it is when you download it and plop the column graphic into your document. You’re not telling anyone about HOW you are using the 960 grid system. Who cares what the template looks like? We want to know how you’re using 960 grid!
-
Thanks for u r brief tutorial but how to download the template ?
-
now… where did you exactly used the grid template???
-
agree.
author only use the grid at first (only for the width). it didn’t help user to know how use the 960gs in photoshop.
-
The 960 grid system is only used for width purposes, its just a pre-made document with the width pre-made. The only other uses is using the other bars for aligning things.
-
-
thanks for your brief & clean tutorial.
-
How to download????? plzzzzz


Leave a Reply