
Step 26
Now select all three layers we created in step 16 and copy it (Ctrl/Cmd + C) and Paste (Ctrl/Cmd + V) abowe water reflections. Select all three layers (Hold Ctrl/Cmd + click) and open Transform Tool(Ctrl/Cmd + T) right click and Flip Vertical.

Step 27
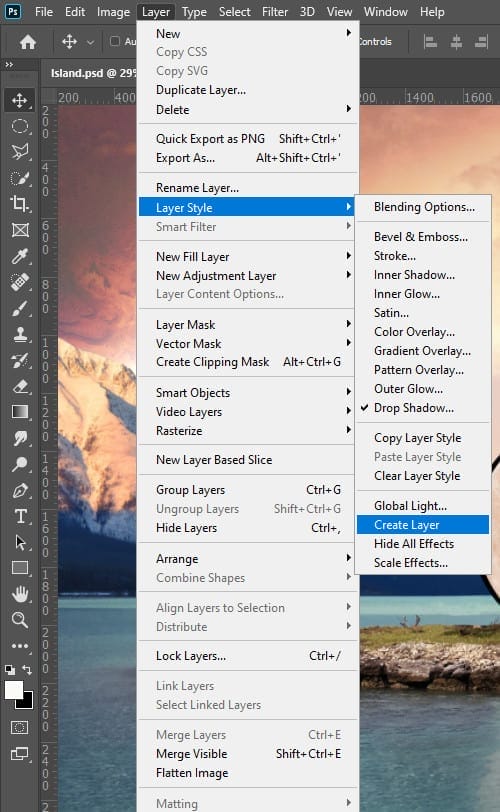
Now select Moon layer and Right Click > Blending Options. Check “Drop Shadow” and Blending Mode set to Multipy with black color, Angle 0, Distance 20, Spread 0 and Size 0. Go to Layer > Layer Style > Create Layer.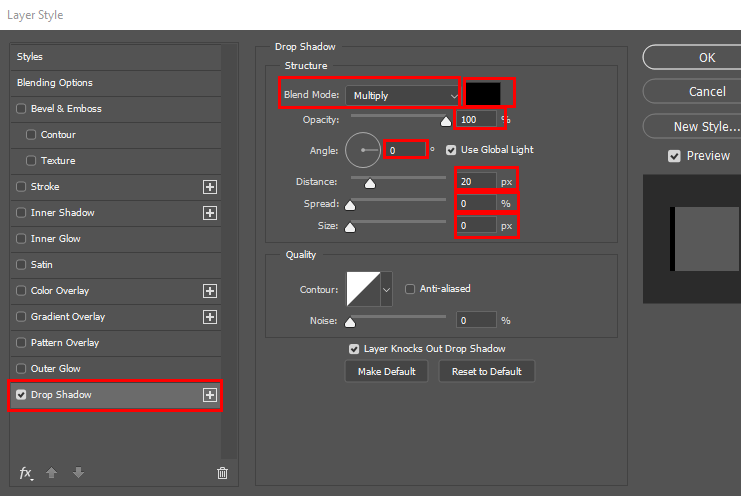
Step 28
We have now created a separate layer of shadow and select that. Now use Transform Tool(Ctrl/Cmd + T) and go to the top, midle anchor point and drag it down as in picture below. Go to use Gaussian Blur Filters > Blur > Gaussian Blur and set to 4px. Opacity change to 85%.

Step 29
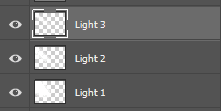
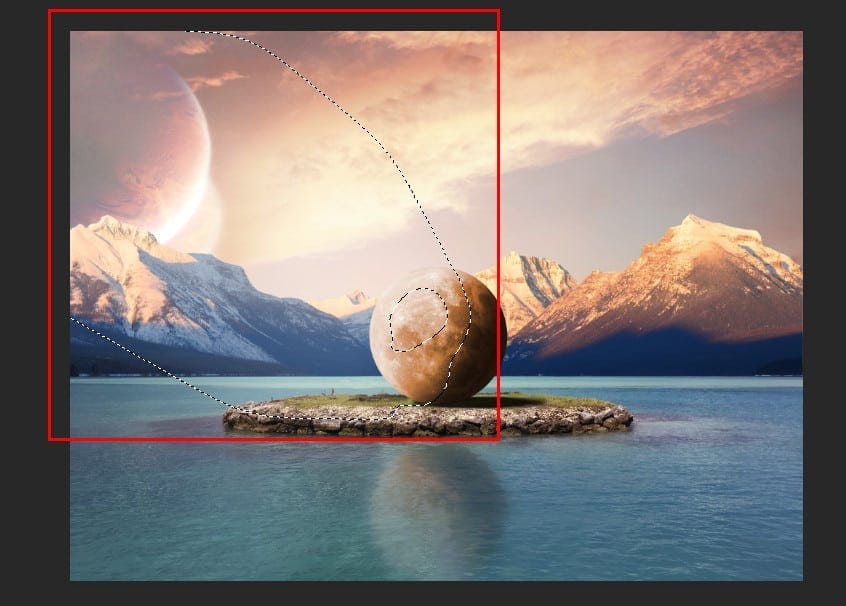
We will now add some Light sources, create new layer abowe all and use Polygonal Lasso Tool(L) and start make selection like that.


Step 30
Create another two layers and repeat the same procedure as in the previous step, but reduce the size, look at the pictures.

Step 31
Add Adjustment Layer “Curves” and press Ctrl/Cmd + I to invert. Then use Brush Tool(B) Round Brush with foreground color White and erase this part. Opacity 22%
Step 32
Add another Adjustment Layer “Curves” and repeat the same process.


Step 33
Add Adjustment Layer “Color Lookup” and open the fly-out list and click FuturisticBleak.3DL and change the Blend Mode to Multipy with Opacity 20%.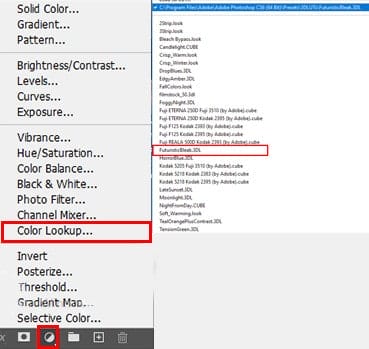
Step 34
Add Adjustment Layer “Curves”
Step 35
Add Adjustment Layer “Selective Color” and change parameters for Reds and Neutrals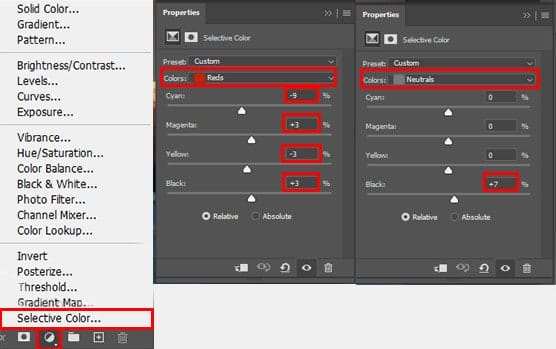
Step 36
Add last Adjustment Layer “Curves” Blend Mode Soft Light with Opacity 35%.

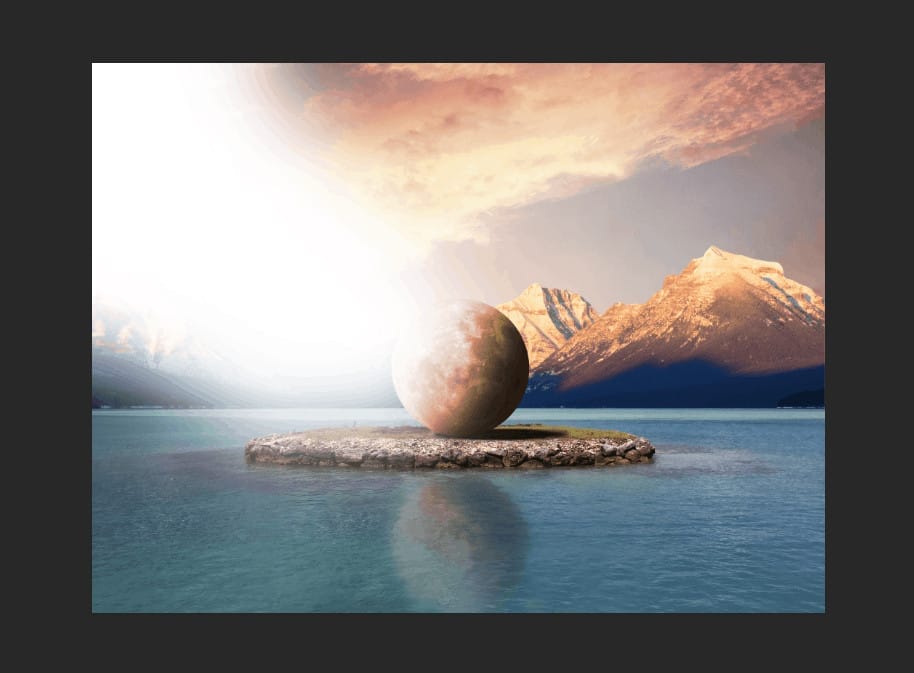
Final Results

Download the PSD
Island Tutorial.zip7 responses to “Create a Surreal Moon on Island Photo Manipulation in Photoshop”
-

My parachute wont deploy. The ground is getting closer and all i can do is watch. This is the last review I will ever write. The moon looks very surreal!
-
I’m trapped. Im almost out of food. I think this may be the end for me…great tutorial. gootbye
-
Caveman Crug approve! GURRUGH
-
Very nice guy, thanks very much for this.. see you later !
-
Nice 👍
-
Wow, was für ein grandioses Bild/Tutorial.
Vielen Dank fürs teilen. -
Thanks I will try it soon
Leave a Reply