


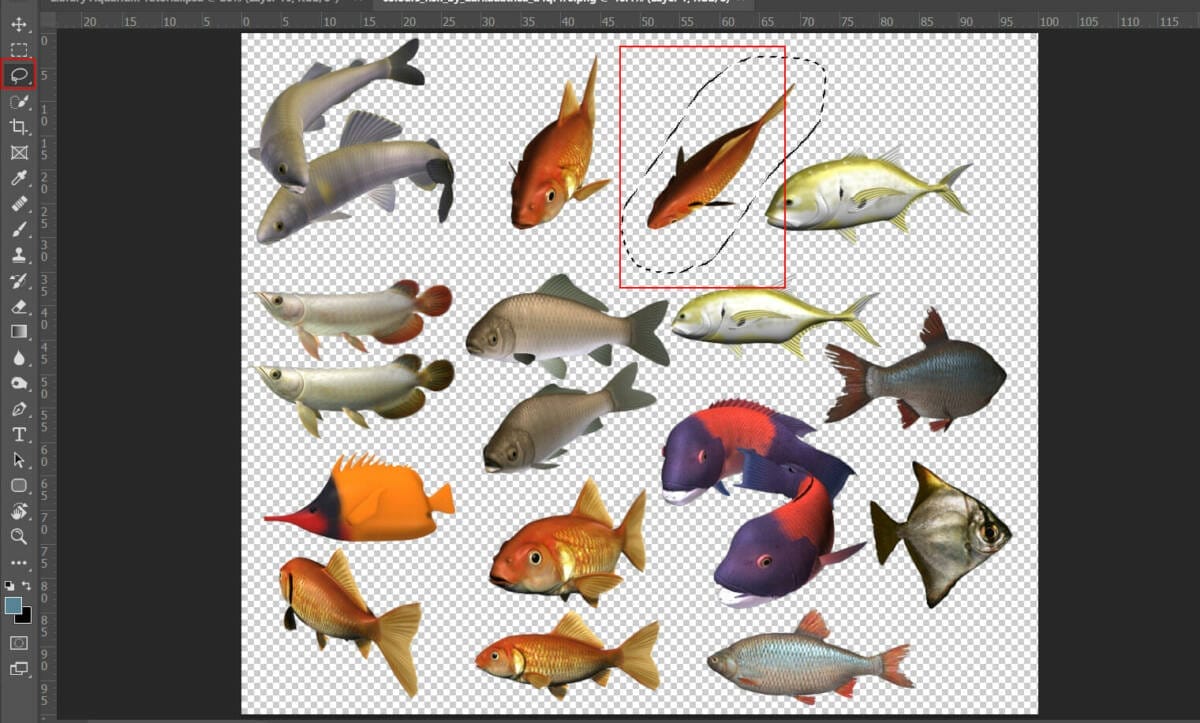
Step 17
Next, Go to File > Open and select Fish 3. After you open the image, use Quick Selection Tool(W) and select fish. After the selection area has been created, simply copy (Ctrl / Cmd + C) and Paste (Ctrl / Cmd + V) it to our work canvas. Then position the image with the transform tool (Ctrl / Cmd + T). Hold Alt + Shift and resterize like image below. In Photoshop CC only hold Alt to resterize al sides together.


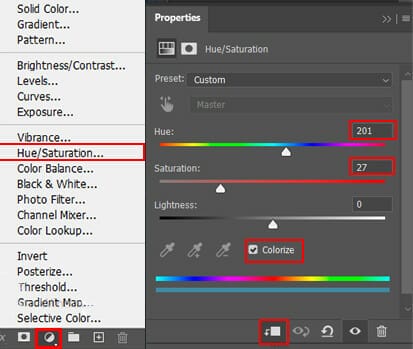
Add Adjustment Layer “Hue/Saturation” and set Opacity to 40%.
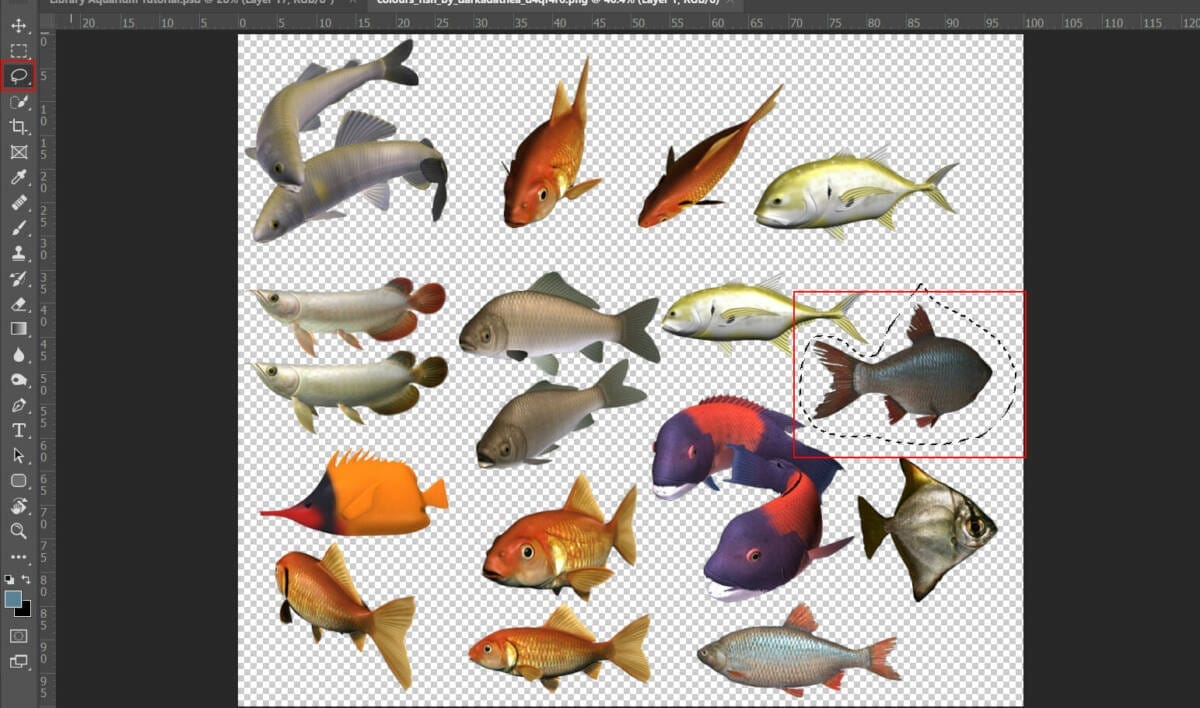
Step 18
Next, go to open another two fishes. File > Open and select Fishes. After you open the image, use Lasso Tool(L) and start selecting fish. After the selection area has been created, simply copy (Ctrl / Cmd + C) and Paste (Ctrl / Cmd + V) it to our work canvas. Then position the image with the transform tool (Ctrl / Cmd + T). Hold Alt + Shift and resterize like image below. In Photoshop CC only hold Alt to resterize al sides together

Add Adjustment Layer “Hue/Saturation”

Step 19
Next, go to open last fish. File > Open and select Fishes. After you open the image, use Lasso Tool(L) and start selecting fish. After the selection area has been created, simply copy (Ctrl / Cmd + C) and Paste (Ctrl / Cmd + V) it to our work canvas. Then position the image with the transform tool (Ctrl / Cmd + T). Hold Alt + Shift and resterize like image below. In Photoshop CC only hold Alt to resterize al sides together.

Add Adjustment Layer “Hue/Saturation”

Step 20
Add Adjustment Layer “Curves” and press Ctrl/Cmd + I to invert and use Brush Tool(B) Soft Round with foreground color white and paint dark part of fish, bottom.

Step 21
Add Adjustment Layer “Curves” and press Ctrl/Cmd + I to invert and use Brush Tool(B) Soft Round with foreground color white and paint Highlights part of fish, top.

Step 22
Add Adjustment Layer “Hue/Saturation”

Now do the same process as Library, add fishes to Group (Ctrl/Cmd +G) and change Blend mode to Normal.
Step 23
Go to File > Place and select Bubbles. Then place it to our work canvas. Then position the image with the transform tool (Ctrl / Cmd + T). Hold Alt + Shift and rasterize like the image below. In Photoshop CC only hold Alt to rasterize all sides together.
8 responses to “Create a Library Aquarium Photomanipulation”
-

It made me super happy! I can’t wait to show my family.
-
Hi you………
-
hi
-
hello
-
it made me happy!!
-
GRRRRRR
-
so beautiful ,thank u
-
its gorgeous
-
Leave a Reply