
Step 21
Add Adjustment Layer “Curves” and reduce Opacity to 55%.

Step 22
Add Adjustment Layer “Hue/Saturation”

Step 23
Add Adjustment Layer “Curves” and press Ctrl/Cmd + I to invert. Then use Brush Tool(B) Soft Round with foreground color white and paint upper left side of earth.


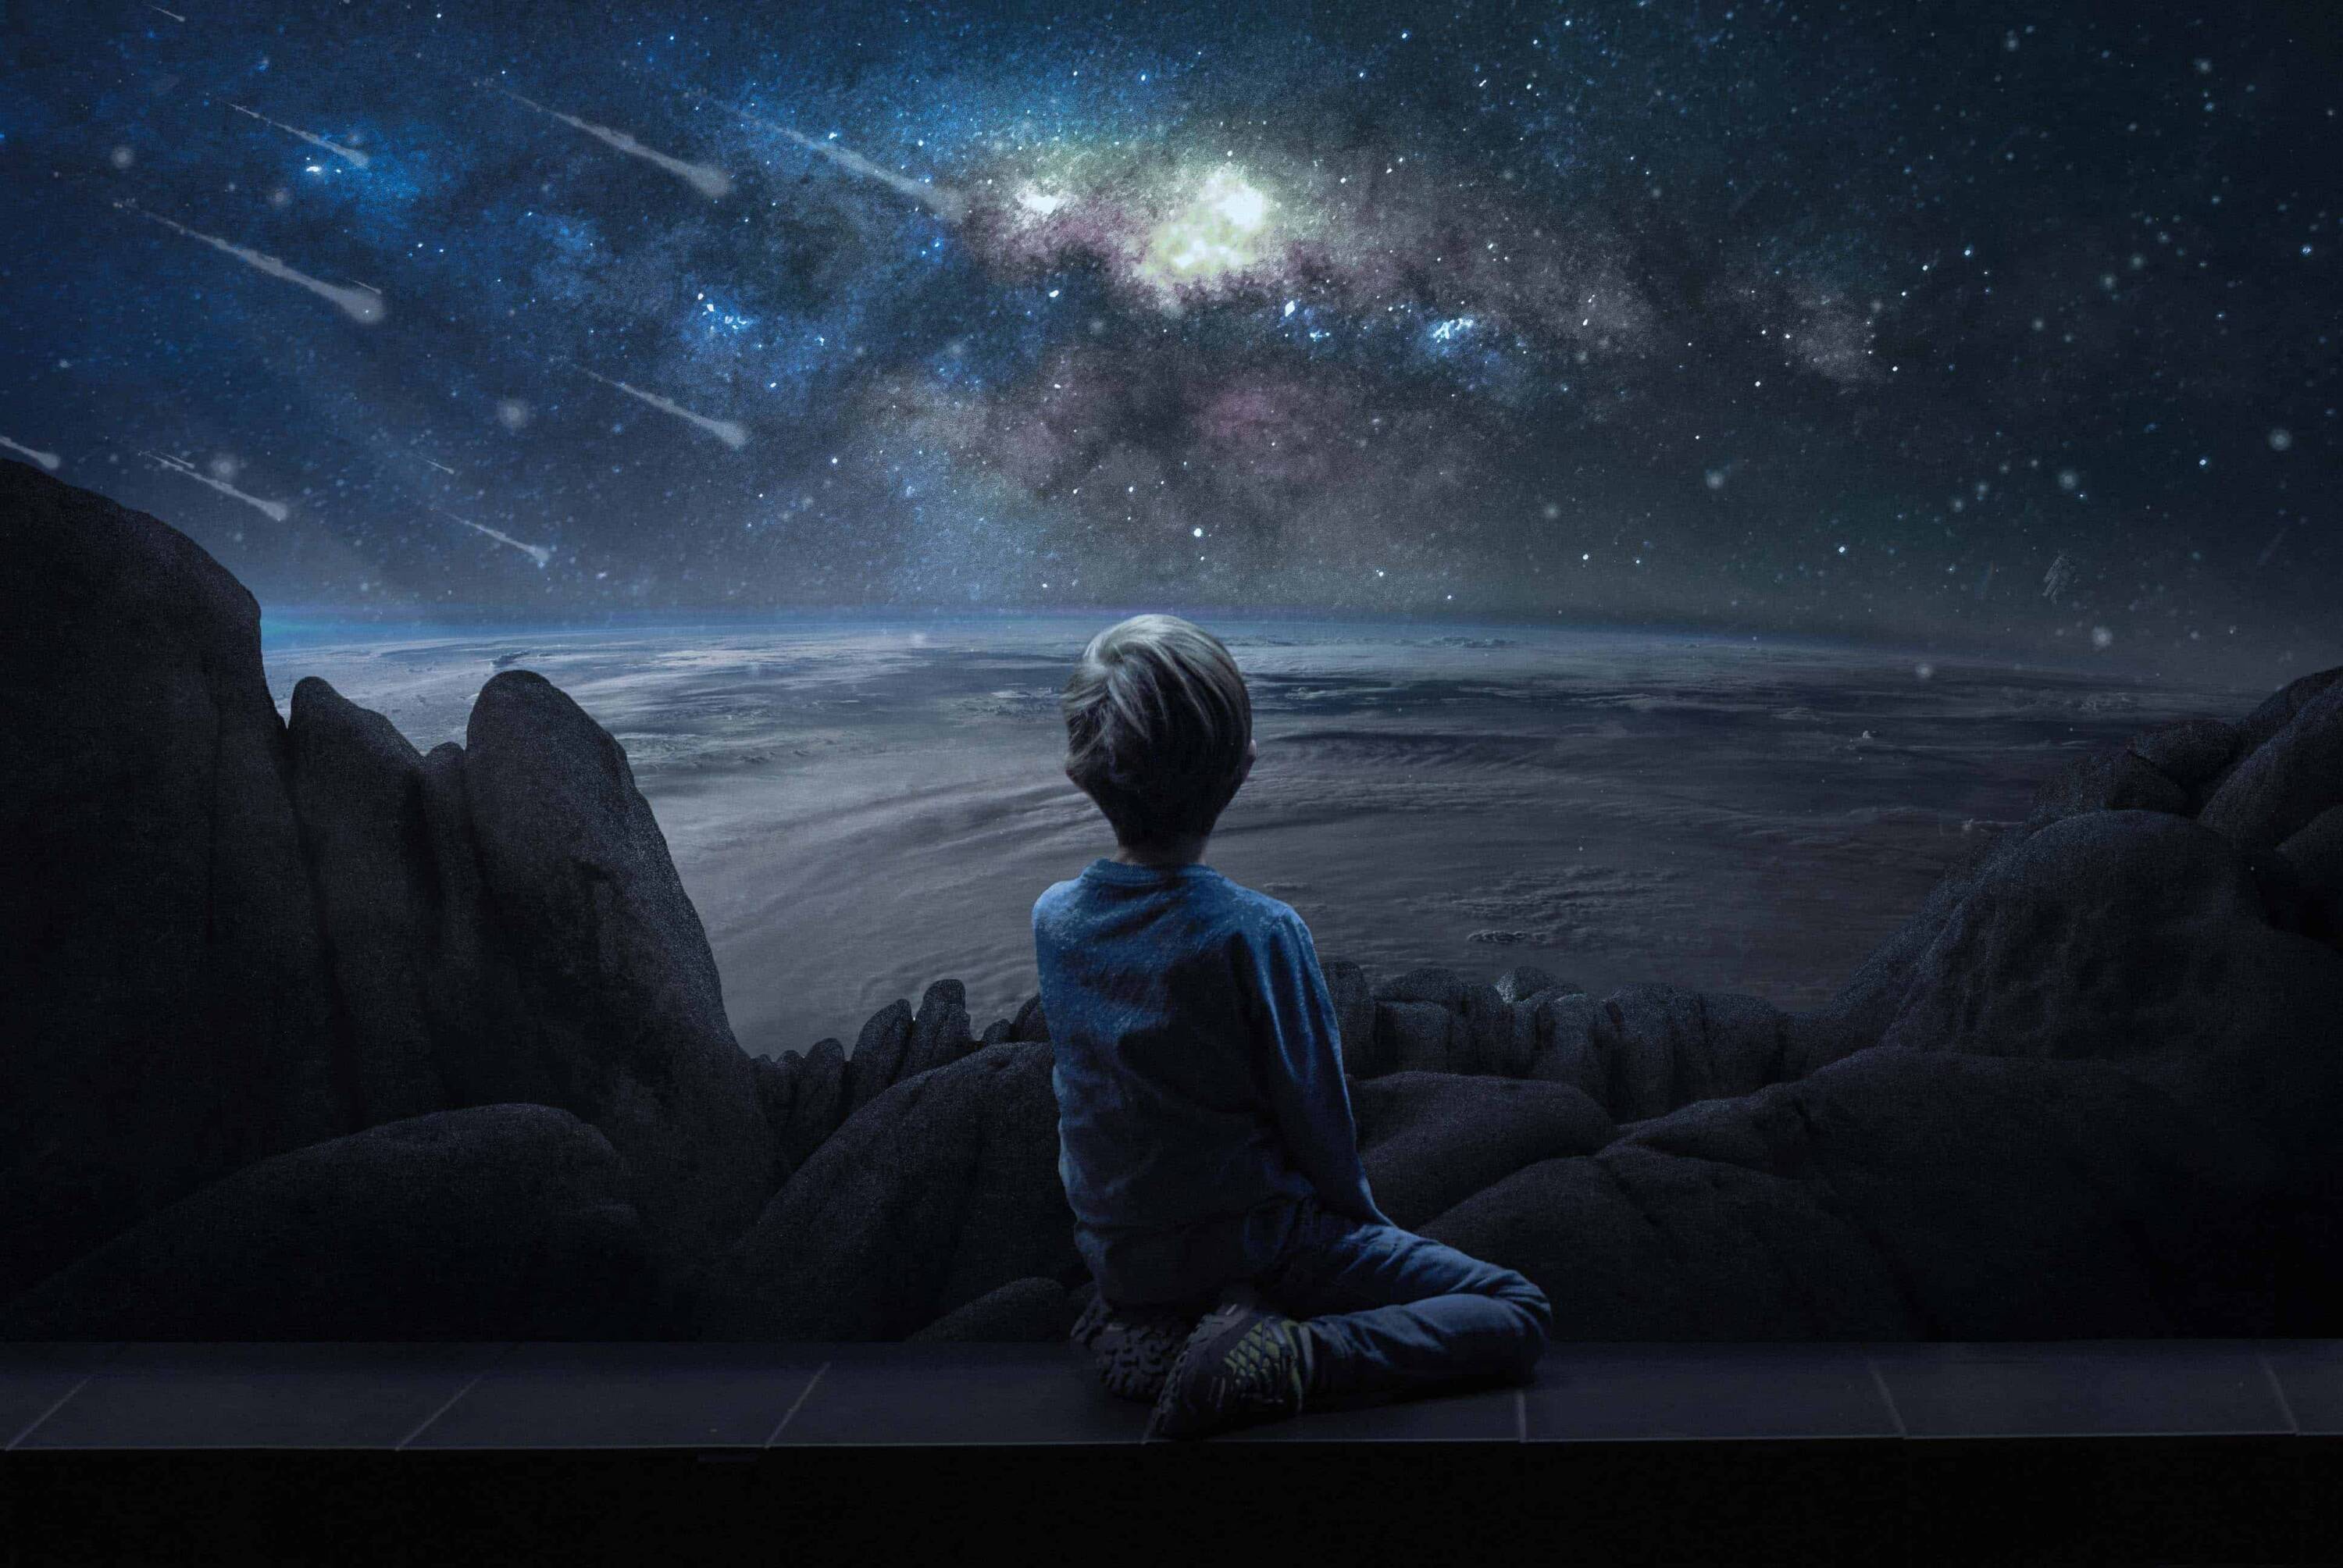
Step 24
Next, we will place a Sky. Go to File > Place and select Sky.

Step 25
Add Adjustment Layer “Levels”

Step 26
Add Adjustment Layer “Hue/Saturation” and set Opacity to 71%.

Step 27
Add Adjustment Layer “Curves” and set Opacity to 50%.

Step 28
In this step we will add the fog effect. The first thing we will do is create a new layer and use Brush Tool(B) Soft Round with largre size and foreground color white. Now start painting betwen earth and sky.


Step 29
Next, we add Comet but first we need to import brushes. Select a Brush Tool(B) and right click on background. Now click on the gear icon and Import Brushes (Select a downloaded brush).

Create a new layer with Foreground color White and opacity 45%. Select Brush Tool(B) and right click on background to select starry night folder.

Now we can paint comets on sky.
Step 30
Now, we will open a texture. Go to File > Place and select Texture. Blend mode change from Normal to Screen with Opacity 21%.
- To reposition the placed art, position the pointer inside the bounding box of the placed artwork and drag, or in the options bar, enter a value for X to specify the distance between the center point of the placed artwork and the left edge of the image. Enter a value for Y to specify the distance between the center point of the placed artwork and the top edge of the image.
- To scale the placed art, drag one of the corner handles of the bounding box or enter values for W and H in the options bar. When dragging, hold down the Shift key to constrain proportions.
- To rotate the placed art, position the pointer outside the bounding box (the pointer turns into a curved arrow) and drag, or enter a value (in degrees) for the Rotation option
 in the options bar. The artwork rotates around the center point of the placed artwork. To adjust the center point, drag it to a new location, or click a handle on the Center Point iconin the options bar.
 - To skew the placed art, hold down Ctrl (Windows) or Command (MacOS) and drag a side handle of the bounding box.
- To warp the placed art, choose Edit> Transform> Warp and then choose a warp from the Warp Style pop-up menu in the options bar.

Step 31
Next, create a new layer and use Brush Tool(B) Soft Round with foreground color white. Now paint the lines, to make it easy for you hold Shift from point A to point B. When you’re done with the lines create a layer mask and press Ctrl/Cmd + I to invert. Now use the same Brush and paint over the lines, but flow put to 7% and blend mode change to Screen with Opacity 40%.


Step 32
Create a new layer with Foreground color White and opacity 39%. Select Brush Tool(B) and right click on background to select starry night folder.

Start painting stars.

Step 33
Next, go to File > Open and select Astronaut. Then use a Pen Tool(P) and start selecting. When we finish the selection press right click on mouse and “Make Selection”.


Feather Radius set to 0px and check Anti-alliased. After the selection area has been created, simply copy (Ctrl / Cmd + C) and Paste (Ctrl / Cmd + V) it to our work canvas. Then position the image with the transform tool (Ctrl / Cmd + T). Hold Alt + Shift and resterize like image below. In Photoshop CC only hold Alt to resterize al sides together. Opacity set to 29%.
6 responses to “Look at Earth Surreal Photomanipulation Tutorial”
-

this is crazy and not teaching. Get real yall terrible
-
This is a super unclear tutorial. You can’t even see step 5… Horrible UX and technical writing.
-
Tutorial is very claer , well done !!! Thanks for sharing . 👍👍👍😉
-
This tutorial could have been a good one if the steps were all visible
-
-
Thank you very much! This is neat!
-
Hi a great tutorial, It would have helpful to see all the layers from start to finish, and even see the PSD file which is not available your link is not there, the missing layers would answer a lot of questions, many thanks
Leave a Reply