


Step 9
Add a Photo Filter adjustment layer and pick the color #efbc0b.

Step 10
Make a Curves adjustment layer and increase the contrast of the whole scene. On this layer mask, use a soft black brush to erase the middle to reduce the effect there.

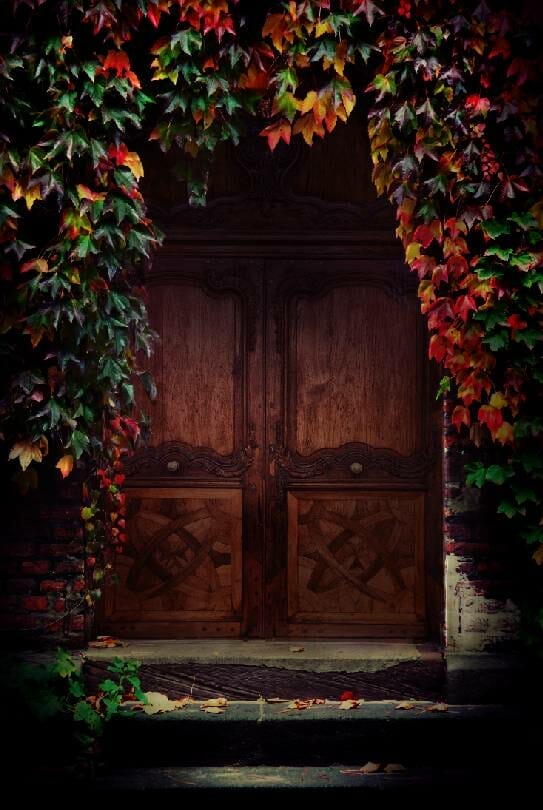
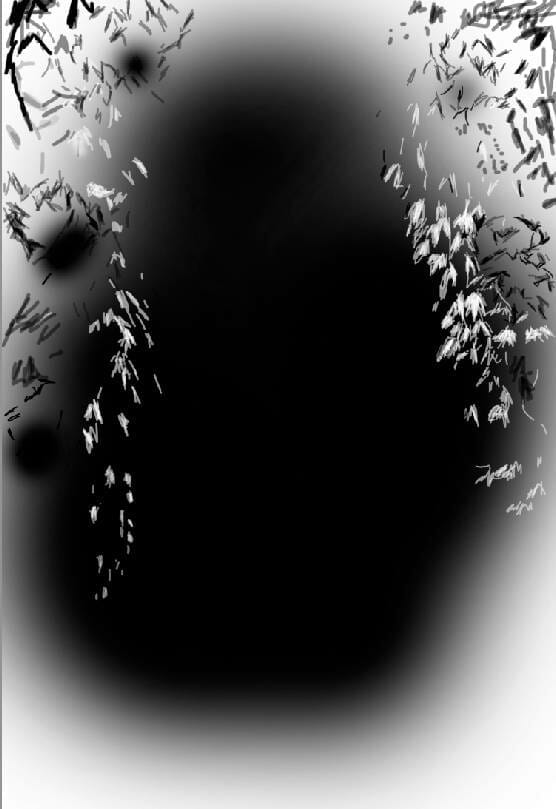
Step 11
Create another Curves adjustment layer to reduce the lightness of the whole scene. On this layer mask, use both soft and black brushes to adjust the light/shadow/contrast of the door, especially the ivies to fit the main light source (we aim to add it to the top middle).


Step 12
Make a Color Fill layer and pick the color #050305. Lower the opacity of this layer to 80% and on this layer mask, continue using both soft and black brushes to enhance the light and shadow of the details.


Step 13
Duplicate the Gradient Map adjustment layer made in the step 7 and move it on top of the layers.

Step 14
Create another Color Balance adjustment layer to give the scene some cyan/blue:


Step 15
Add a Curves adjustment layer to increase the contrast of the whole scene a little.

Step 16
Open the lamp image and isolate the lamp from the background. Place it on the top middle of the door.

Step 17
Make a Color Balance adjustment layer for the lamp layer (set as Clipping Mask) and increase the Red values:

Step 18
Create a Curves adjustment layer and reduce the lightness. On this layer mask, paint on the light part of the lamp so it won’t be darkened by this adjustment layer.

Step 19
Make a new layer on top of the layers and use a hard brush with the color #130818 to paint a bail for the lamp.

Add a mask to this layer and use a small hard black brush to erase the lower middle of the bail covering the small hole on top of the lamp.

Step 20
Make a Hue/Saturation adjustment layer for the bail layer (set as Clipping Mask) and alter the Master settings:

Step 21
Create a Curves adjustment layer to increase the light on the lower part of the bail to fit the main light from the lamp. On this layer mask, paint on the rest to keep its shadow and contrast.

Step 22
Open the butterflies image and use the Lasso Tool (L) to select one butterfly on the lower part to add to the right of our main document.
3 responses to “How to Create a Magical Butterflies Scene Photo Manipulation with Adobe Photoshop”
-

Awesome Work…
-
Awesome Tutorial.
Thank you very much!
Love you … -
This is really nice! Thank you!
Leave a Reply