
Step 23
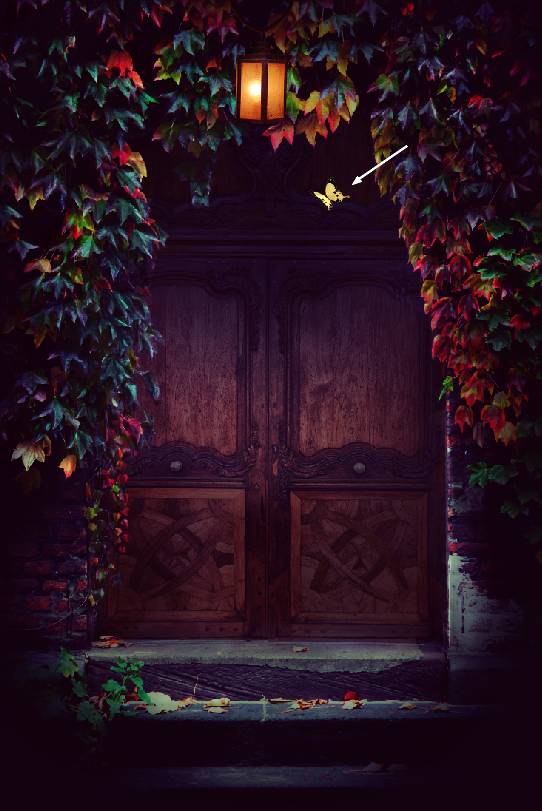
To remove the hard contour around the butterfly, hold down the Ctrl key and click the thumbnail of the butterfly layer to load its selection. Go to Select > Modify > Contrast and set Contrast By to 1 px. Click the Add layer mask icon and you should have a result like the screenshot below shows:

Step 24
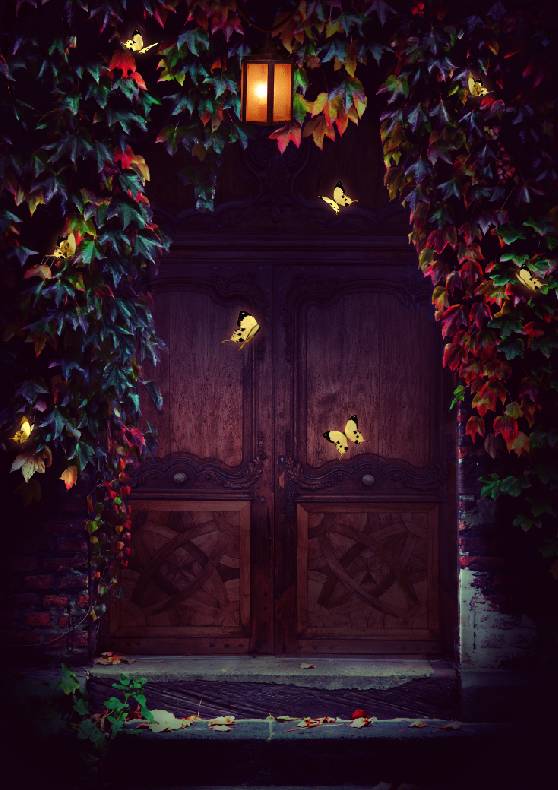
Add more different butterflies around the door and ivies using the same method.

Step 25
Double click the first butterfly layer, choose Outer Glow. Set the color of glow to #fd845e.
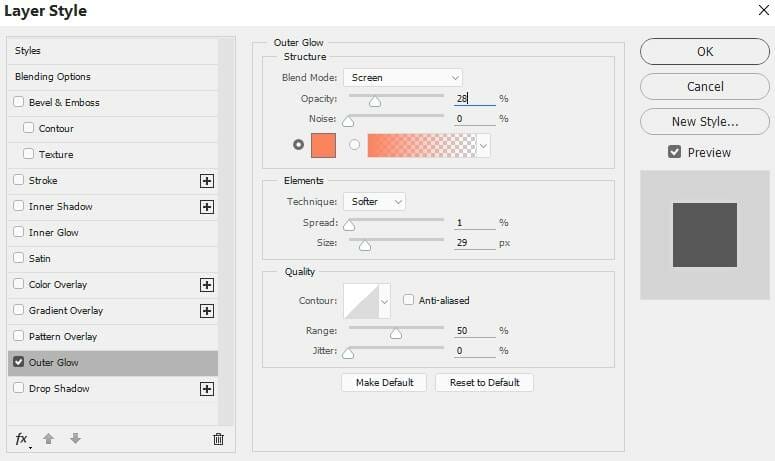

Right click this layer, choose Copy Layer Style. Hold down the Shift key and select all of the butterfly layers and then right click this selection, choose Paste Layer Style.

Step 26
Select all of the butterfly layers and hit Ctrl+G to make a group for them . Change the group’s mode to Normal 100% and make a Curves adjustment layer within this group. Increase the lightness and redness to make the butterflies brighter and fit the color of the background.

Step 27
Make a new layer on top of the layers, change the mode to Overlay 100% and fill with 50% gray:

Activate the Dodge Tool (O) with Highlights Range, Exposure about 50% to paint more light on the ivies and the door. to fit the brightness of the glowing butterflies. You can see how I made it with Normal mode and the result with Overlay mode.


Step 28
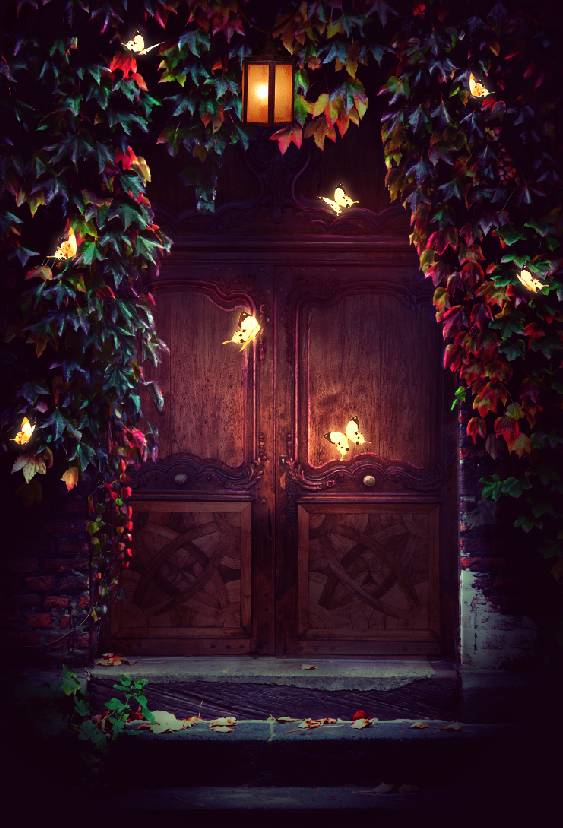
Create a new layer and use a soft brush with the color #f5d87e to paint the light effect on the door and ivies. Change this layer mode to Overlay 100%.

Step 29
Make a new layer and use a soft brush with the color #f8b7c3 to paint light on the top and middle of the door (except the lamp) and the door steps. Change this layer mode to Overlay 100%.


Step 30
Add a new layer and use a soft brush with the color #341104 to paint on the butterflies to add more glow to them. Change this layer mode to Linear Dodge 100%.

Step 31
Make a new layer and use a soft brush with the color #f5ca7e to increase the light on the butterflies and the door steps. Change this layer mode to Overlay 70%.


Step 32
Create another layer and use a small brush with the color #ffdc74 to paint more yellow light for the ivies around the lamp. Alter this layer mode to Overlay 100%.
3 responses to “How to Create a Magical Butterflies Scene Photo Manipulation with Adobe Photoshop”
-

Awesome Work…
-
Awesome Tutorial.
Thank you very much!
Love you … -
This is really nice! Thank you!
Leave a Reply