


Step 20
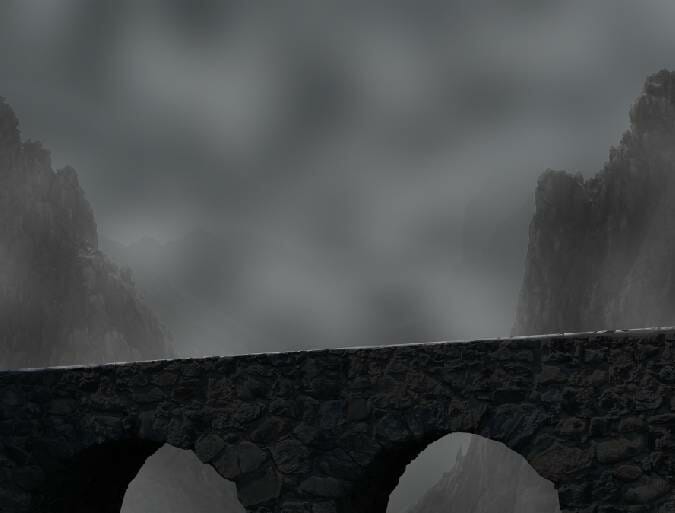
Lower the opacity of this layer to 50% and add a mask to this layer. Use a soft black brush to remove the effect on the sky, leaving some mist visible around the rocks mostly. Vary the brush’s opacity to get a more natural result.

Step 21
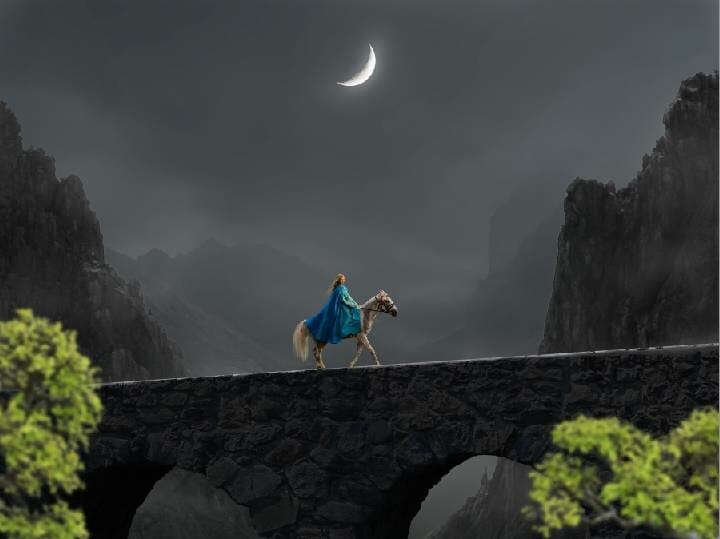
Isolate the moon from the dark background and add it to the top middle and resize it to be much smaller.

Step 22
Make a Hue/Saturation adjustment layer to desaturate the moon.

Step 23
Create a Curves adjustment layer to brighten the moon. On this layer mask, use a soft black brush to remove the light on the bottom of the moon.

Step 24
Create a new layer on top of the layer and use a soft white brush to paint more glowing light for the moon. Add a mask to this layer and use a soft black brush to remove the light on the moon, leaving the effect visible more subtle around the moon.

Step 25
Open the model image and isolate the girl with the blue coat. Place her onto the middle of the bridge and use Ctrl+T to rotate her a bit to fit the direction of the bridge. Add a mask to this layer and use a hard black brush to erase the bottom of the legs of the horse .


Step 26
Make a Color Balance adjustment layer (set as Clipping Mask) and change the Midtones settings:

Step 27
Create a Hue/Saturation adjustment layer and bring the Reds values down to -26.

Step 28
Add a Curves adjustment layer and decrease the lightness. On this layer mask, use a soft black brush to erase the contour of the model and horse to reveal the light there.

Step 29
Make another Curves adjustment layer to bring more light to the contour of the model and horse. The selected areas show where to paint on the layer mask.

Step 30
Make three layers on top of the layers and use a small brush with the colors #81705c, #b9af98, #857a5f to paint more hair for the horse and the model.

Step 31
Isolate the tree and place it in the bottom right of the canvas. Convert this layer to a Smart Object and apply a Gaussian Blur of 4 px to this layer.


Step 32
Duplicate this layer and move it to the left.
Step 33
On each of the tree layers, make a new layer. change the mode to Overlay and fill with 50% gray. Use the Dodge Tool to paint more highlight on the leaves.
Leave a Reply