

Step 11
Open the star background images pack and choose the starry3 one. Place this image onto the sky and change this layer mode to Screen 100%. Set this layer below the moon’s one.


Step 12
Add a mask to this layer and use a soft black brush to remove the hard edges and erase the stars inside the moon.


Step 13
Create a Levels adjustment layer (set as Clipping Mask) to decrease the opacity of the stars and increase the contrast of the starry effect.

Step 14
Make a Hue/Saturation adjustment layer to change the color of the stars to fit the background.

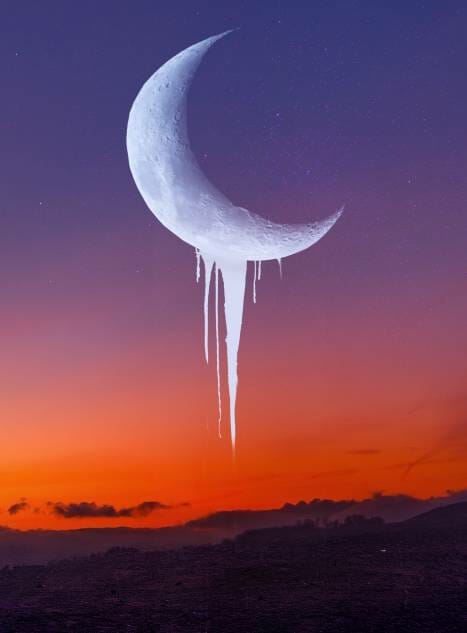
Step 15
Open the splatter image and use the Move Tool to place the splatter below the bottom of the moon.

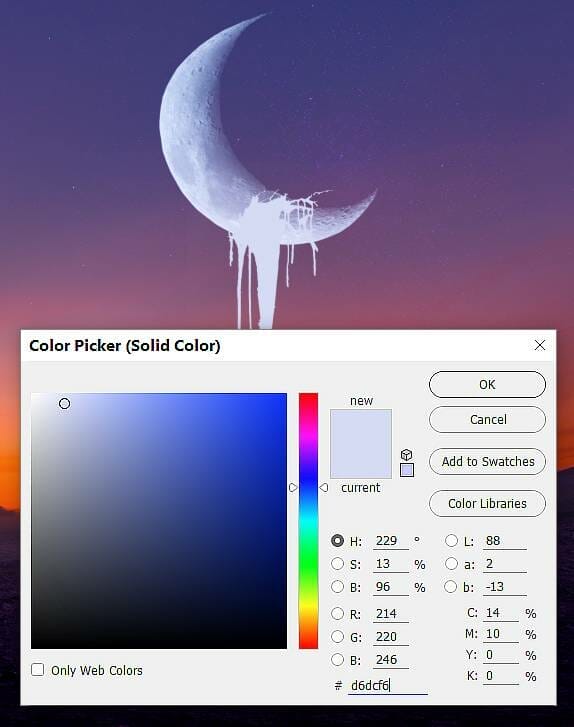
Step 16
Make a Color Fill layer above the splatter layer (set as Clipping Mask) and pick the color #d6dcf6 .
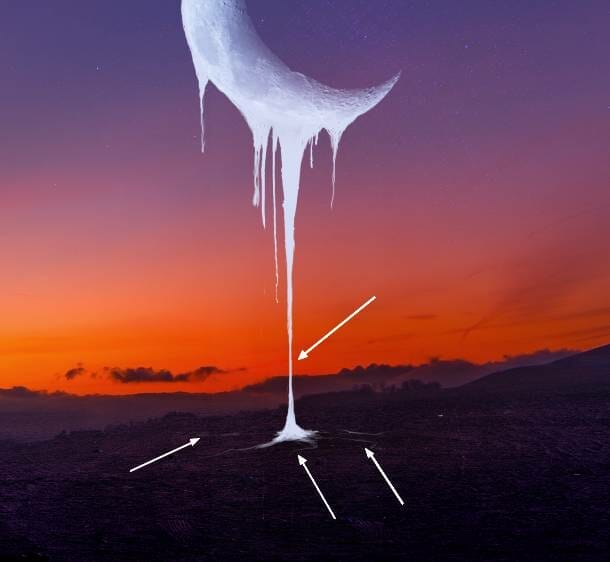
Step 17
Add a mask to the splatter layer and use a medium hard black brush to blend the splatter with the moon and trim the bottom of the splatter.
Step 18
Make a new layer and use a small hard brush with the color #d6dcf6 to paint more details for the existing liquid and on the ground.
Step 19
Create a new layer and use a soft brush with the color #e2e6f8 to paint around the liquid on the ground. Change this layer mode to Screen 100% and add a mask to this layer. Use a soft black brush with the opacity about 50% to reduce the light effect around the bottom of the liquid.


Step 20
Add a new layer and use a small brush with the color #e2e6f8 to paint a network with lines around the liquid on the ground.

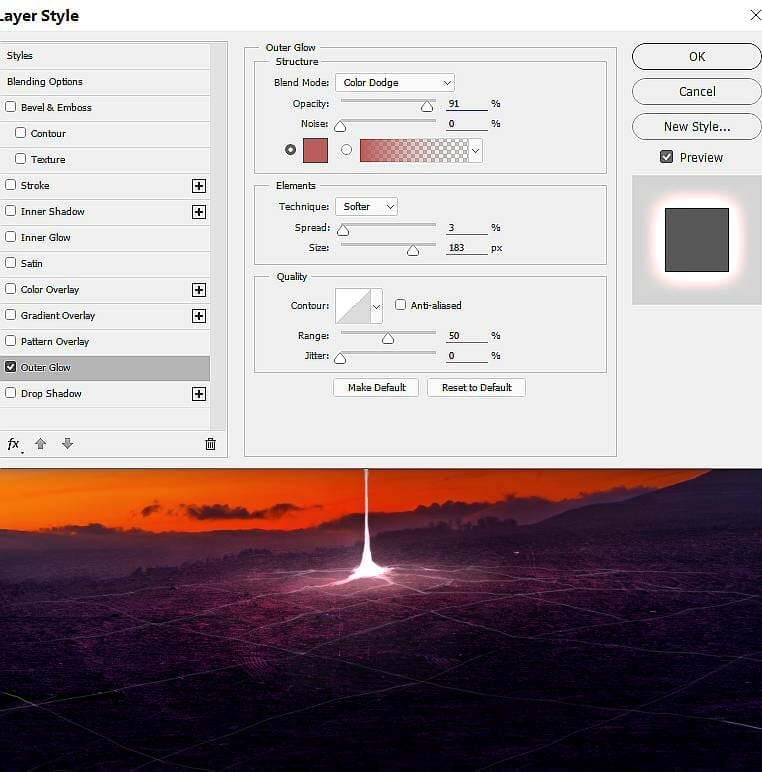
Step 21
Double click this layer, choose Outer Glow. Set the color of glow to #bd5d5d.
Step 22
Add a mask to this layer and use a medium-soft black brush with the opacity about 20% to reduce the visibility of the lines on the foreground.

Step 23
Duplicate this layer and change the Layer Styles to Stroke. Set the color of stroke to #6e1515.

Step 24
On this layer mask, use a soft black brush to refine the effect on the middle ground, making it more subtle.

Step 25
Create a new layer and use a small brush with the color #e2e6f8 to paint some highlights on the lines around the network. Change this layer mode to Linear Dodge 100%.
One response to “How to Create a Surreal, Fantasy Melting Moon Scene with Adobe Photoshop”
-

Genial, muchas gracias, que tenga gran día. Saludos
Leave a Reply