
Step 14
Open Moon photo stock, go to File > Open and select Moon. Use Elliptical Marquee Tool(M). With the Elliptical Marquee tool, drag over the area you want to select.Makes an elliptical selection (or a circle, when used with the Shift key). Hold down Shift as you drag to constrain the marquee to a square or circle (release the mouse button before you release Shift to keep the selection shape constrained). To drag a marquee from its center, hold down Alt (Windows) or Option (MacOS) after you begin dragging.

Step 15
Next make a Smart Object, right click on layer and “Convert to Smart Object”. Smart Object perform nondestructive transforms. You can scale, rotate, skew, distort, perspective transform, or warp a layer without losing original image data or quality because the transforms don’t affect the original data.


Step 16
Add Adjustment Layer “Curves”
Step 17
Add Adjustment Layer “Curves” and change Opacity to 30% and Fill to 65%.
Step 18
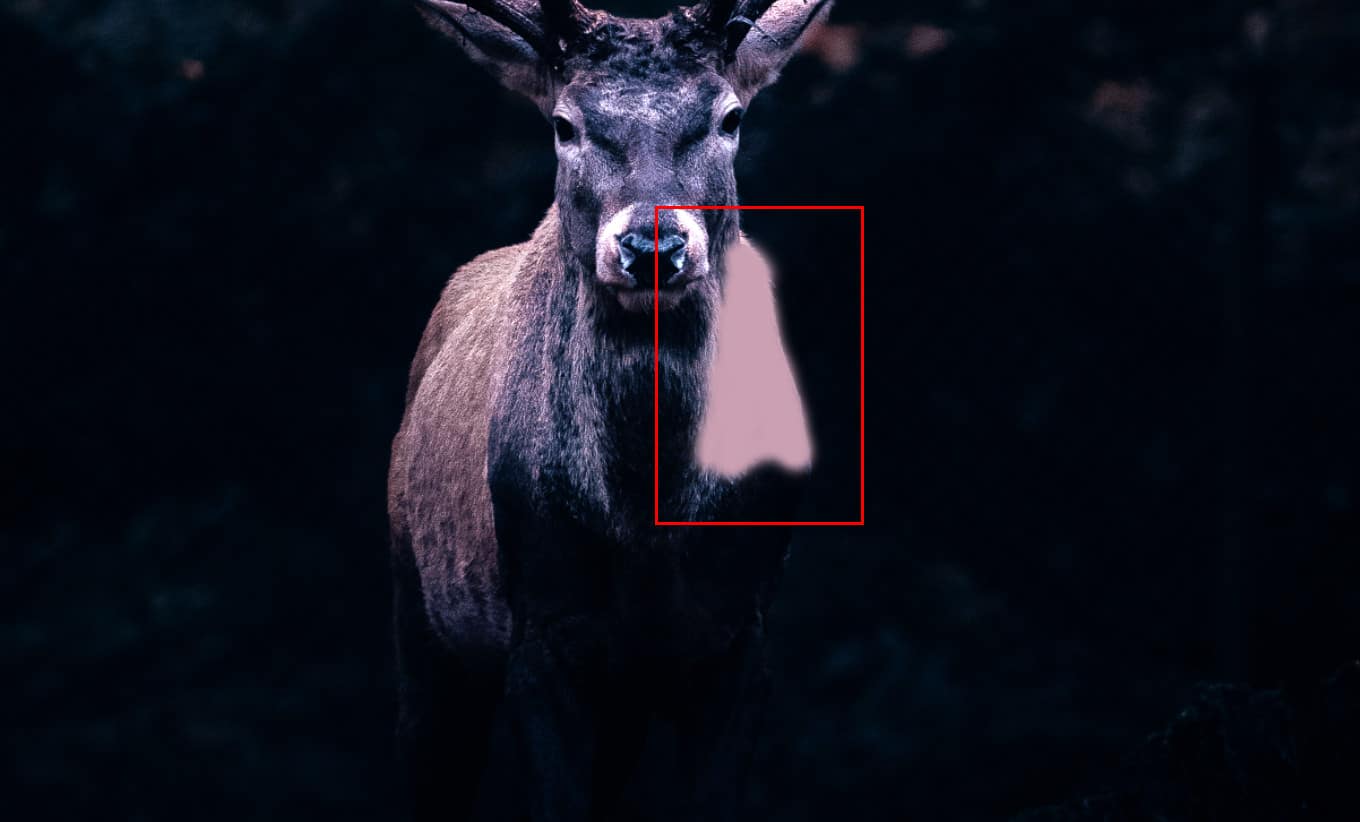
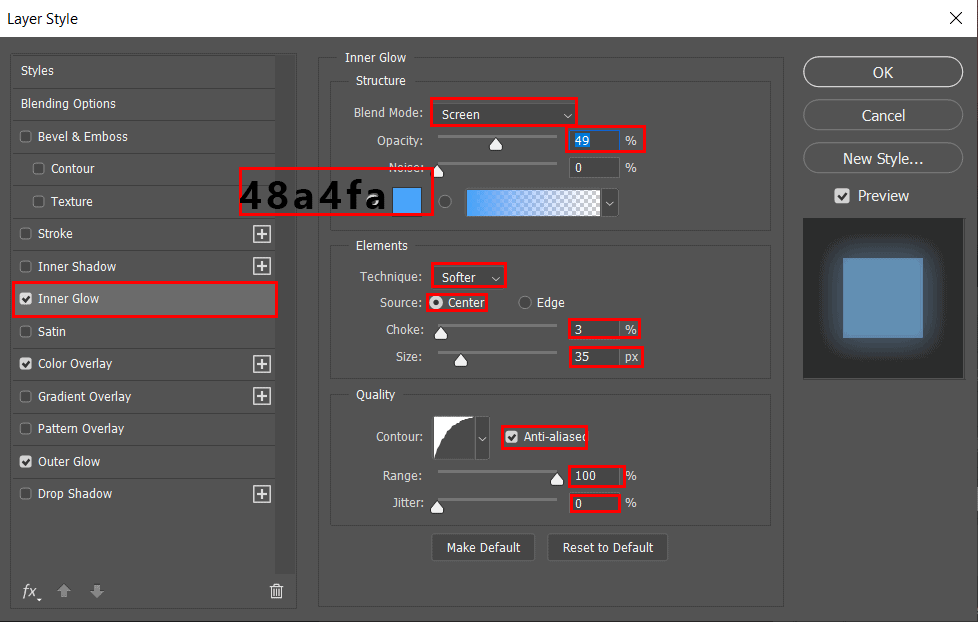
Next, we will add some light and shadow on the moon. First we wil add shadow, create a new layer then right click and select “Create Clipping Mask”. Use Brush Tool(B) Soft Round with foreground color code #23517c and start painting the right side of the moon. Blend mode change from Normal to SoftLight.


Step 19
Create a new layer and use Brush Tool(B) Soft Round with foreground color blue #9fc7d4 and paint leaves background. Blend mode change from Normal to SoftLight with Opacity 80%.3 responses to “Mysterious Deer in Night Photoshop Manipulation”
-

please enplane how did u move the moon behind the deep horns this step its not clear when i do it i keep the moon in the front
-
Great technical work, but PS has carried us to the unreal, to the detriment of the art of photography. Give me natural images. I’m ok with color enhancement, a few added clouds, etc, but creating this bizarre stuff and calling it art cheapens photography, and takes us backward to the days when ours was not seen as a legitimate form of art. Sell things like this on street corners out of the back of a panel truck along with Elvis paintings.
-
You can have as much fun or be as conservative as you like. You don’t have to do any of these types of manipulations if you don’t want, but sometimes it’s fun to just play around with the capabilities of PS. No one is suggesting that you sell something like this as a “real” image, but good grief lighten up. If one is a true purist, as you seem to be then they shouldn’t be using any post processing nor should they be using any auto settings on their camera. In fact they shouldn’t even be using a digital camera since it has the ability to improve a shot without the shooter’s input. Total manual on film is where you seem to be most comfortable; not eve sure why you bother looking at this type of article.
-
Leave a Reply