


Step 9
Add Adjustment Layer “Curves” and press Ctrl/Cmd + I to invert and use Brush Tool(B) Soft Round with foreground color white and paint the highlights parts on Panda.


Step 10
Add Adjustment Layer “Color Balance”

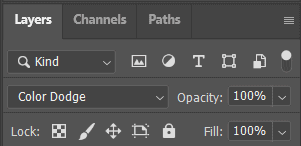
Step 11
Next, start creating a new layer and use Brush Tool(B) Soft Round with foreground color Gray #808080 and start painting the eyes. Blend mode change to Color Dodge.
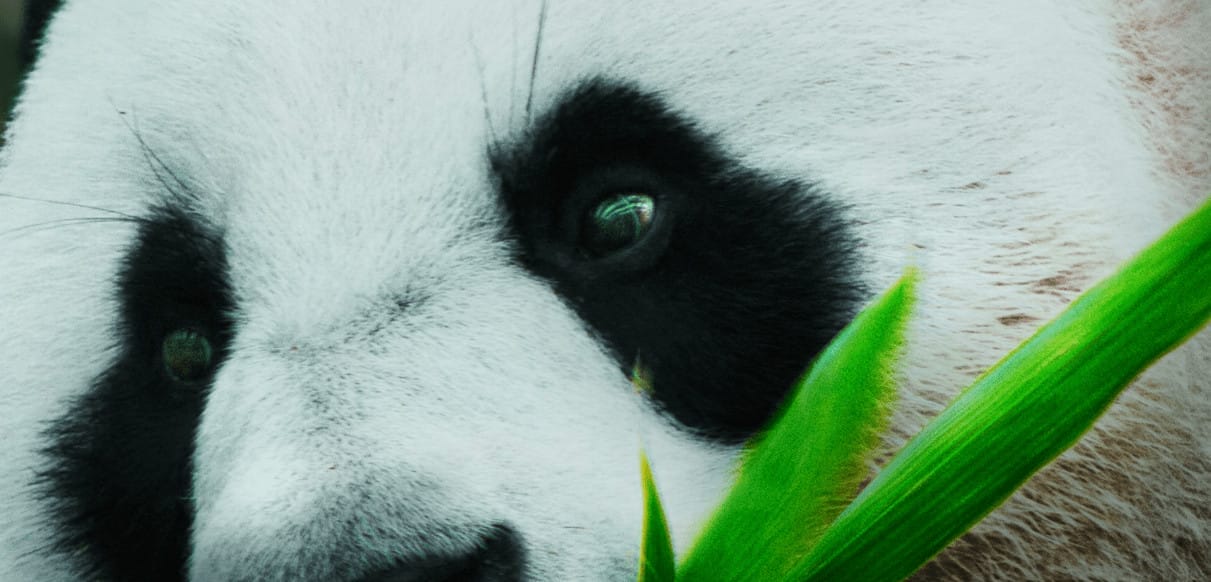
Step 12
Next we will openBamboo. After you open the image, use Quick Selection Tool(W) and start selecting. After the selection area has been created, simply copy (Ctrl / Cmd + C) and Paste (Ctrl / Cmd + V) it to our work canvas. Then position the image with the transform tool (Ctrl / Cmd + T). Hold Alt + Shift and resterize like image below. In Photoshop CC only hold Alt to resterize al sides together. Then convert it to “Smart Object” and go to Filter > Blur > Gaussian Blur and set radius to 62px.


Step 13
Add Adjustment Layer “Hue/Saturation”

Step 14
In this step repeat the same process as in previous step…

Step 15
Add Adjustment Layer “Hue/Saturation”


Step 15
Create a new layer and change Blend mode to Soft Light then use a Brush Tool(B) Soft Round with foreground color white and Size to max(5000px). Then paint to left corner. Opacity set to 80%.


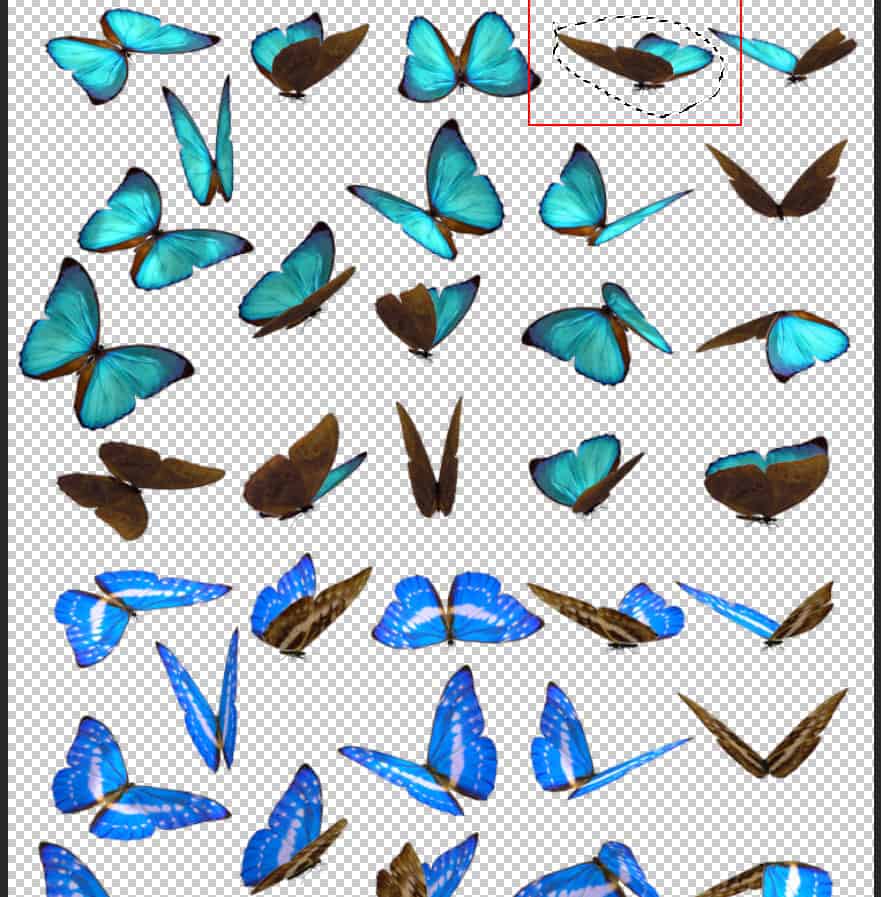
Step 16
Next, we will openButterfly. After you open the image, use Lasso Tool(L) and start selecting butterfly. After the selection area has been created, simply copy (Ctrl / Cmd + C) and Paste (Ctrl / Cmd + V) it to our work canvas. Then position the image with the transform tool (Ctrl / Cmd + T). Hold Alt + Shift and resterize like image below. In Photoshop CC only hold Alt to resterize al sides together.

Step 17
Add Adjustment Layer “Hue/Saturation”

Step 18
Now in this step we will make a glow effect. First create a new layer and Blend mode change to Linear Dodge(Add) with Opacity 30%. Next Use Brush Tool(B) Soft Round with foreground color green #32bd1b and paint on Butterfly.

Create another layer and change blend mode to Soft Light with Opacity 80% and use Brush Tool(B) Soft Round with foreground color green #2eaf1a and paint on Butterfly. Look at Final results
Leave a Reply