

Step 37
Now in Camera Raw Filter, set the Value: Basic
- Exposure: -0.25
- Highlights: -37
- Shadows: -13
- Whites: -33
- Blacks: -18
- Dehaze: +4

Tone Curve
- Highlights: -16
- Lights: +5

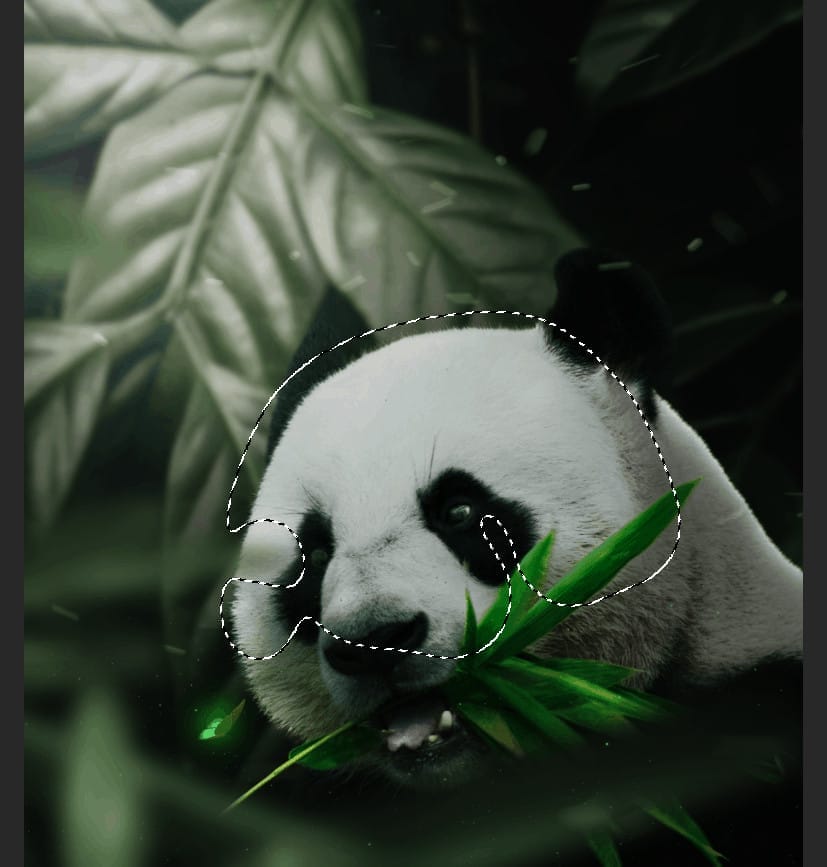
When we finish in Camera Raw select the layer and press Ctrl/Cmd + I to invert and use Brush Tool(B) Soft Round with foreground color white and paint the highlights parts on Panda.

Step 38
Again merge all layers to one. Select the last layer and hold CTRL/CMD + SHIFT + ALT + E. Open Camera Raw filter and set the value Basic
- Temperature: -1
- Tint: -8
- Exposure: -0.35
- Contrast: +2
- Shadows: +3
- Blacks: -5
- Texture: +13
- Clarity: +11
- Dehaze: -3

Sharpening
- Amount: 93
- Radius: 2.2
- Detail: 68
- Masking: 53
- Luminance: 12
- Luminance Detail: 50

HSL Adjustments
- Greens: +4
- Aquas: -8
- Blues: -15

- Oranges: -2
- Yellows: -63
- Greens: -8
- Aquas: -10
- Blues: -16

- Reds: +15
- Oranges: -3
- Yellows: +24
- Greens: +3
- Aquas: -35
- Blues: -38
- Purples: -1

Split Toning
- Hue: 95
- Saturation: 7
- Shadows
- Hue: 81
- Saturation:3

Post Crop Vignetting
- Amount: -16
- Midpoint: 50
- Feather: 50

Calibration
Green Primary
- Hue: -8
- Saturation: -3

Radial Filter
- Exposure: +0.10
- Highlights: +32
- Shadows: +10
- Whites: +20
- Dehaze: -3

And finally, everything should look like this.

Final Results

Leave a Reply