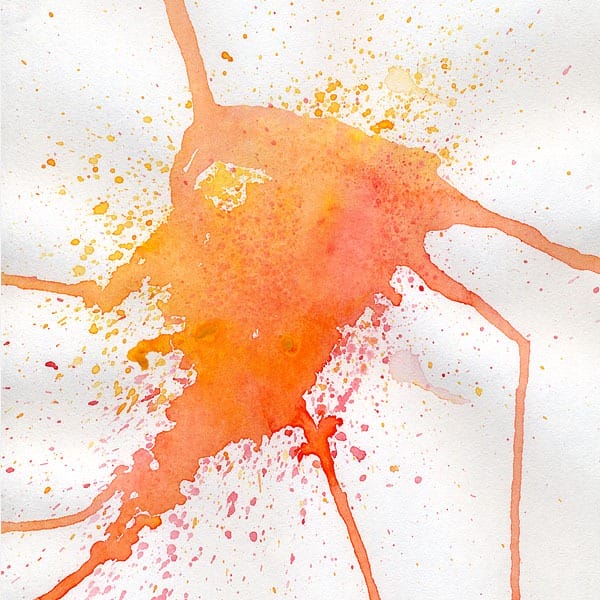
Step 19
Paste the orange watercolor image into a New Layer “watercolor 2” above “watercolor1”. Resize it to 15%. Change the layer’s blending mode to Multiply. Position the splash above her head.


Step 20
Make this drip fall vertically. Copy and Paste the selected part on a New Layer “drip1”. Make this layer invisible for now as we’ll work on “watercolor 2” first.
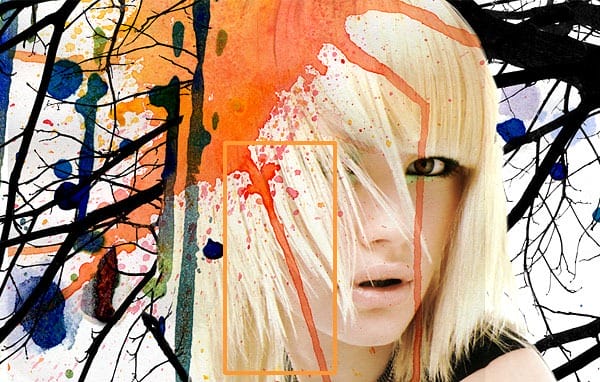
Step 21
Follow Step 18 to remove the extra watercolor drips but this time use smaller brushes for the drips ends. Use the Smudge Tool to refine the ends.

Step 22
Rotate “drip1” and position it as below. Add a Layer Mask to “drip1” and use the Brush Tool to remove the top overlapping watercolor.
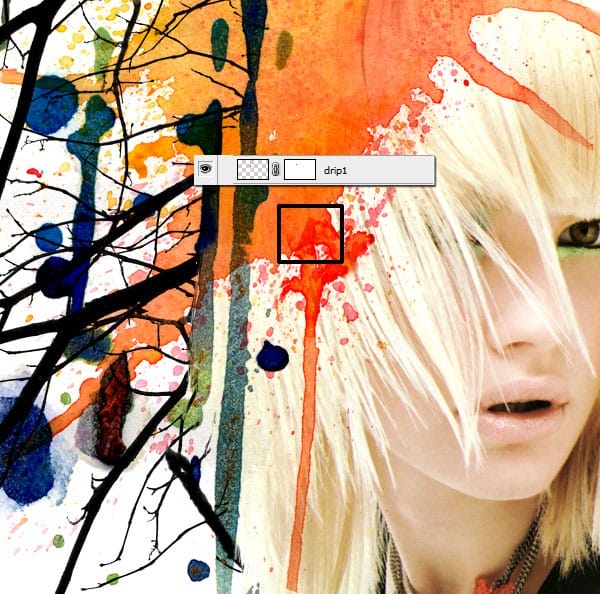
Step 23
Extend the watercolor drip. Copy layer “drip1” and call the New Layer “drip2”. Use the same technique as Step 22 to erase part of the overlapping watercolor.
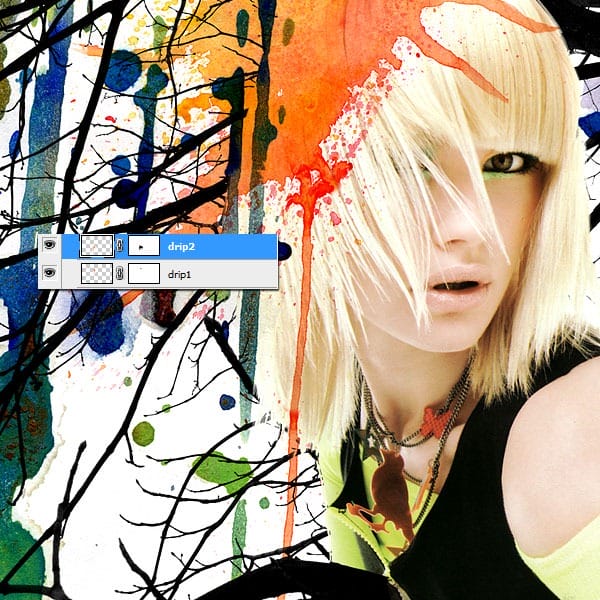
Step 24
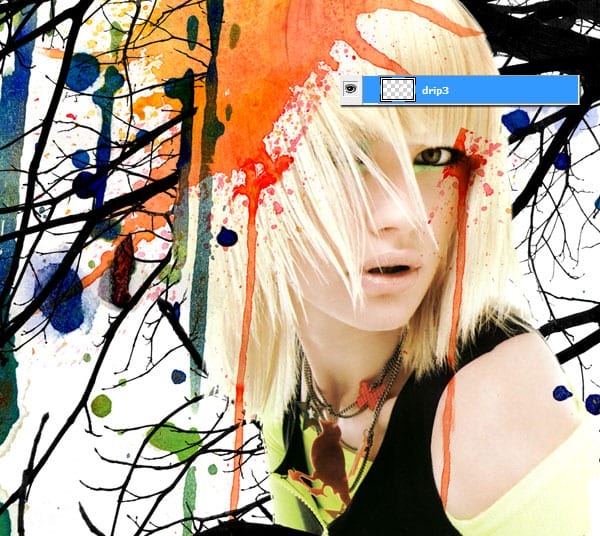
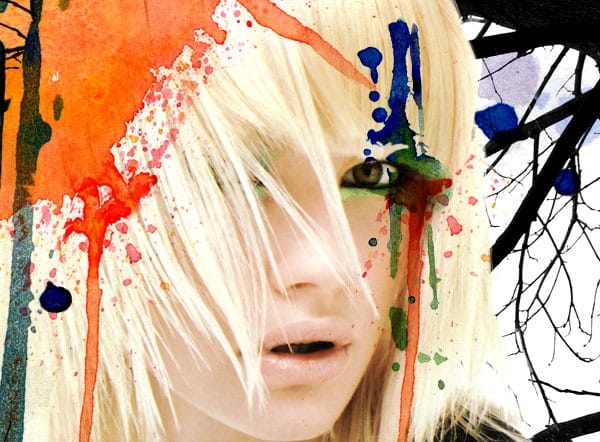
Copy and Paste “drip1” and “drip2” into a New Layer “drip3” and move the drip over to her eye as below.
Step 25
Again use the Layer Mask technique to remove extra watercolor from her eye.

Step 26
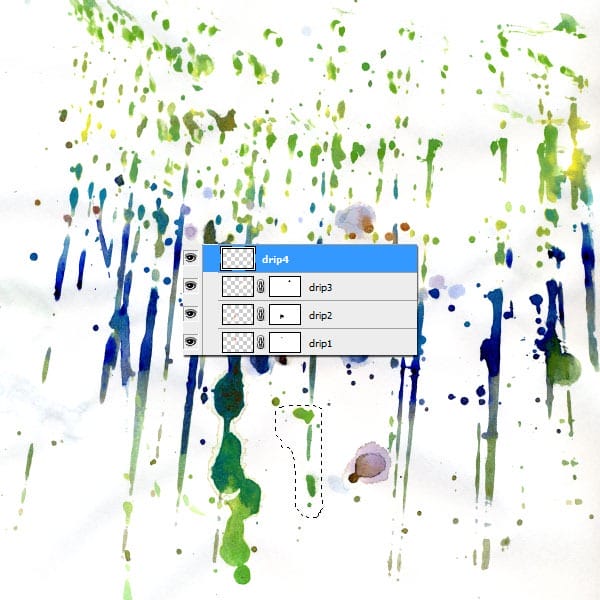
The watercolor drips look like an extension to her eye shadows and I think they blend well with the rest of the artwork. Hence let’s add another paint drip to her eye. Go back to the first watercolor stock image. With the Lasso Tool, quickly make a selection as below and paste it to an New Layer “drip4”. As you have noticed I’m mentioning the layer names everywhere. I’m doing this as a reminder for us to practice good naming convention by renaming each layer with meaningful names. Remember to regroup your layers in folders for easy access.
Step 27
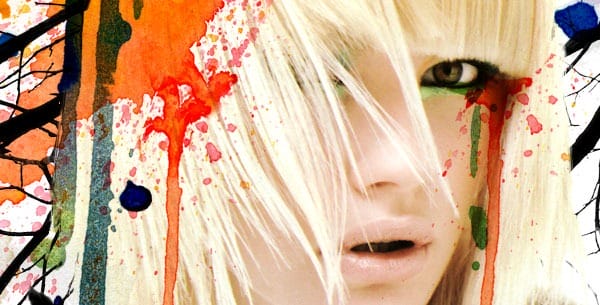
Resize “drip4” and position it. Change the layer’s blending mode to Multiply. Remove extra watercolor through the Layer Mask technique.
Step 28
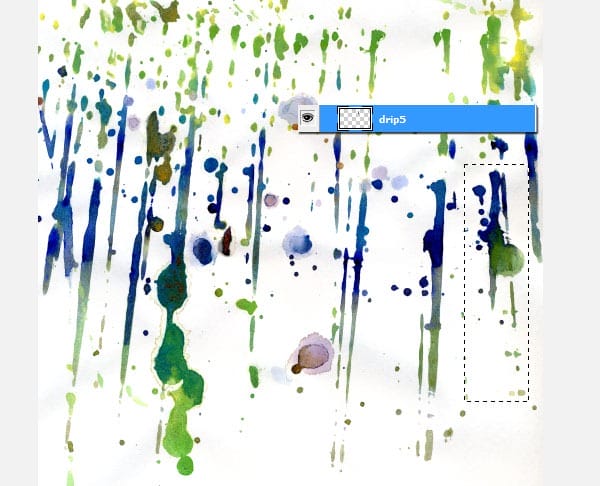
Copy over another drip section into a New Layer “drip5”.
Step 29
Again resize “drip5” and position it. Change the layer’s blending mode to Multiply. Remove extra watercolor through the Layer Mask technique.

Step 30
Now that all the main elements are done. Let’s take a look at the artwork as a whole and see what’s missing.
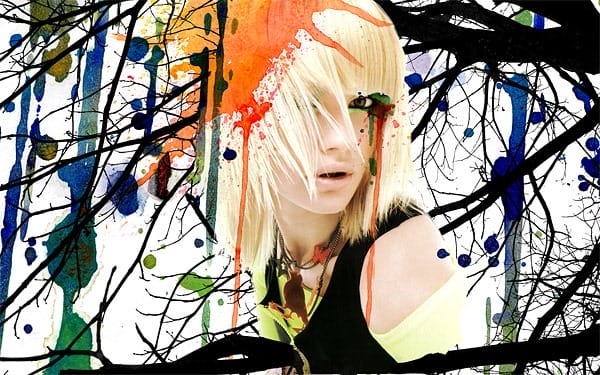
Balance off the big orange splash with a complementary blue splash at the bottom. Copy and Paste this blue watercolor into a New Layer “watercolor3”.


Leave a Reply