
{articlead}
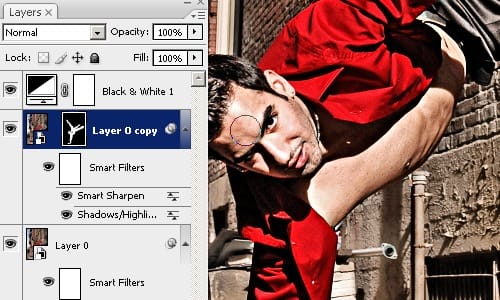
Step 10
Hold the Ctrl key and click on the layer mask thumbnail in the Layers palette. This should create a selection based on the layer mask.
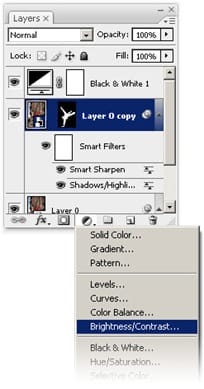
With the selection activated, click on the ![]() button and choose Brightness/Contrast. This will create a new Brightness/Contrast adjustment layer and apply the selection to the layer mask.
button and choose Brightness/Contrast. This will create a new Brightness/Contrast adjustment layer and apply the selection to the layer mask.
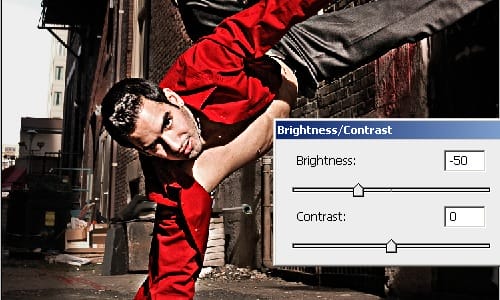
Step 11
In the Brightness/Contrast settings, set the Brightness to -50 then click OK.
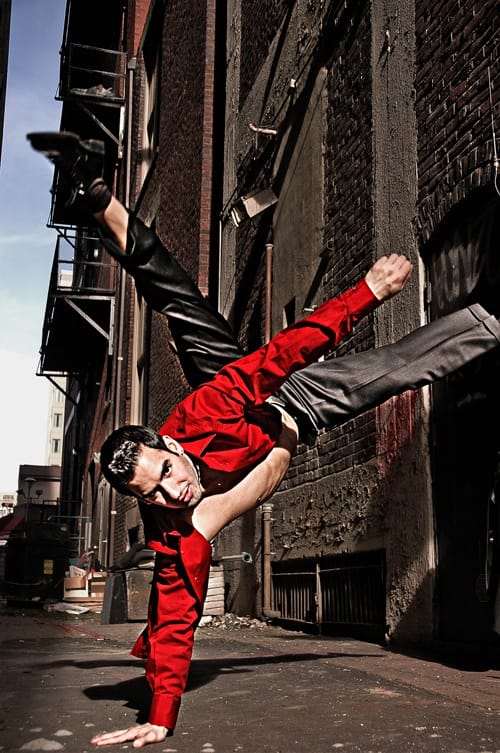
Final Results
Here’s the final results of this photo effect. If you didn’t do a good job painting the layer mask earlier, you can use the ![]() or
or ![]() tools to refine the layer mask.
tools to refine the layer mask.
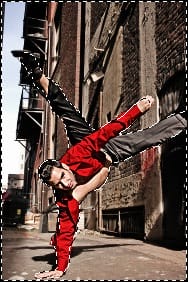
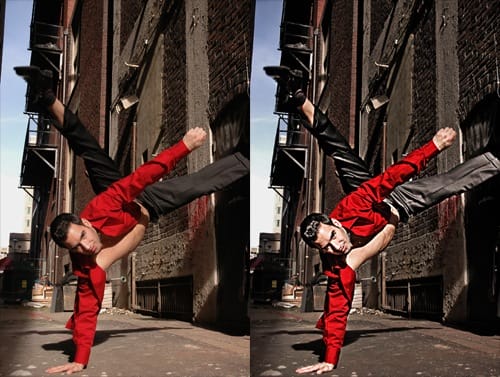
Before and after:
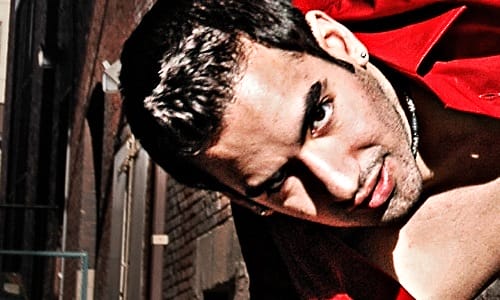
100% crop:
Leave a Reply