
Learn how to add a unique dreamy effect to your photos with this Star Diffusion Photoshop tutorial. This Photoshop effect creates diffusion in the shape of a four point star and is an ideal effect for portraits or any photos with a strong background blur.
Preview of Final Results

Star Diffusion Photoshop Tutorial
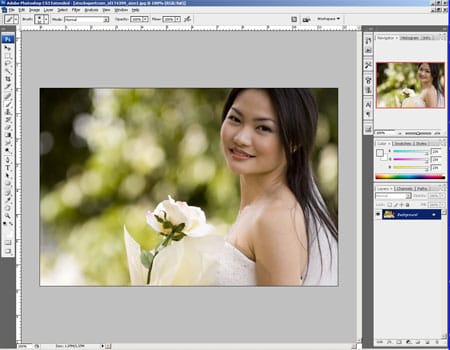
Step 1: Open a photo into Photoshop
Begin by opening a photo into Photoshop. To do this, choose File> Open, browse for the file, and click OK.
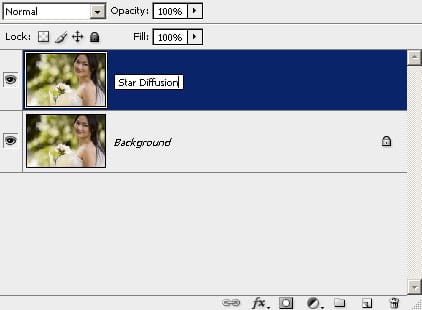
Step 2: Create a duplicate of the layer
Press Ctrl+J or choose Layer> Duplicate Layer to create a duplicate of the Background layer. You should now have a new layer. Double-click on the text of this layer and you will be able to edit the layer name. Name this layer Star Diffusion.
Step 3: Add a layer mask
Add a layer mask to the Star Diffusion layer by clicking on the Add Layer Mask button in the Layers pallet or by choosing Layer> Layer Mask> Reveal All. You should now have a white thumbnail beside the layer mask.

Step 4: Create a copy of the image as a layer mask
After you change the layer name, the layer mask will be deselected. Before we continue, click on the layer mask thumbnail in the Layer pallet to activate it. It should have a white border around the thumbnail indicating that it has been selected. With the layer mask selected, choose Image> Apply Image. In the Apply Image tool, simply click OK to use the default settings. The layer mask should now have a copy of the image.

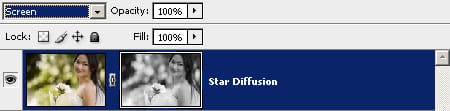
Step 5: Change the blending mode to Screen
In the Layers pallet, change the blending mode of the Star Diffusion layer to Screen.
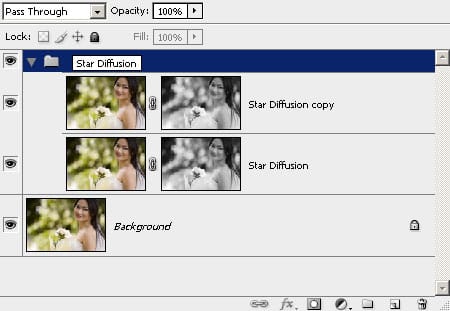
Step 6: Duplicate the Star Diffusion layer and group the two layers
Make sure that the Star Diffusion layer is selected then press Ctrl+G or choose Layer> Group Layers. The layer group put the layer into a group to keep the layers organized. Double-click on the group name and rename this group to Star Diffusion. Now, select back the Star Diffusion layer and press Ctrl+J or choose Layer> Duplicate Layer to duplicate the layer.
Step 7: Apply a diagonal motion blur
Select any one of the two Star Diffusion layer and choose Filter> Blur> Motion Blur. Set the Angle to -45º and adjust the distance according to the length of the streaks that you want. If you’re working on a high resolution image and the distance setting does not let you create streaks long enough, use the highest setting, click OK, and then press Ctrl+F to repeat the filter until you get the length you desire.
10 responses to “Star Diffusion”
-

I love this . Thank you! It was also very easy.
-
thank yu , this tutorial was very helpful and easy to learn
-
very intrustimg. =)
-
Nice editing
-
thankyou…
-
thank you
-
It was awesome experience…thnnnxxxxx a lottt
-
good one!
-
excellent tutorial. thanks!
-
Awesome.. really easy and helpful..
Leave a Reply