

Make skin look perfect in one-click with these AI-powered Photoshop actions.
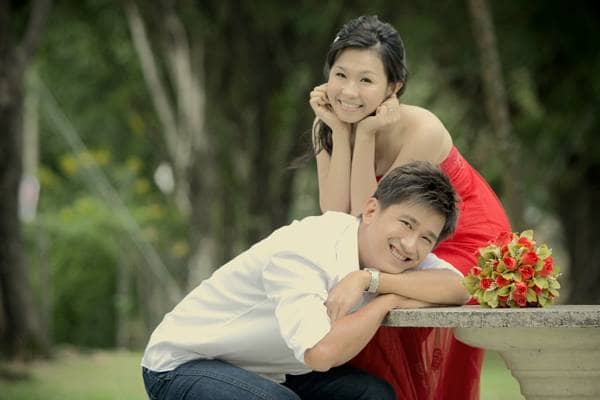
Give your photos a soft and memorable feeling. This easy Photoshop tutorial is suitable for beginners and will show you how to use four adjustment layers to create this photo effect. A Photoshop action is also included at the end of this Photoshop tutorial.
Vintage Photo Effect Photoshop Tutorial
Preview of Final Results
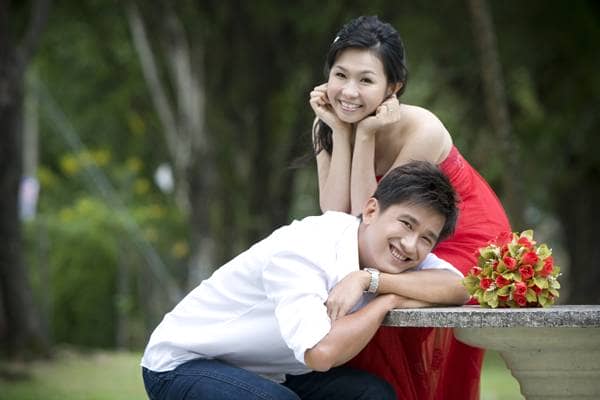
Step 1 – Open the photo into Photoshop
Choose File > Open, browse for the photo, then click OK. This photo effect works best on outdoor portraits.
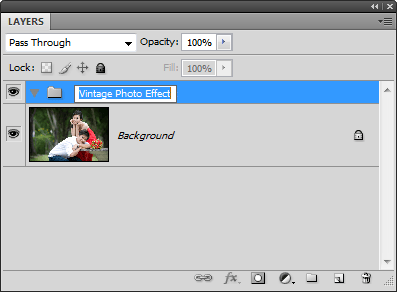
Step 2 – Create a group
To create this effect, we’ll be using three adjustment layers. For better layer organization, we’ll place all these adjustment layers inside a group that lets us know that these layers are related to the photo effect. To create a new group, click on the ![]() button in the layers palette. Double-click on the group name in the layers palette to rename the group.
button in the layers palette. Double-click on the group name in the layers palette to rename the group.
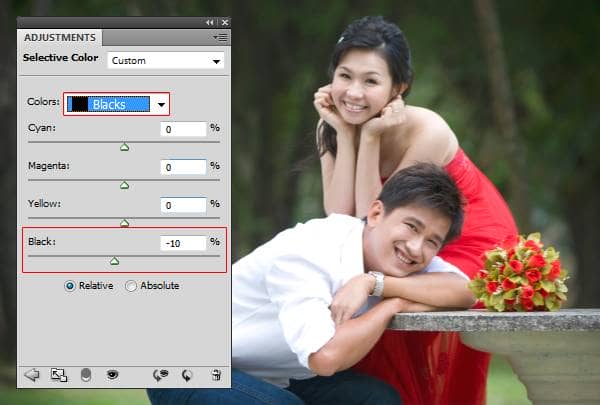
Step 3 – Selectively lower the contrast of the image
Lowering the contrast will reveal more details and soften the emotion in the photo by reducing shadows. To selectively adjust the contrast in the image, we’ll be using the selective color tool. Make sure that you have the layer group selected first so that when you add the adjustment layer, it’ll appear inside the group. Add a selective color adjustment layer by choosing Layer > New Adjustment Layer > Selective Color.
The settings used with the selective color tool will vary depending on the contrast in your image. When adjusting the settings, be sure that no part of your image turns gray. In the colors drop down menu, select black then lower the black value until the shadow is revealed. For most out of the camera images, this should be around –10%.
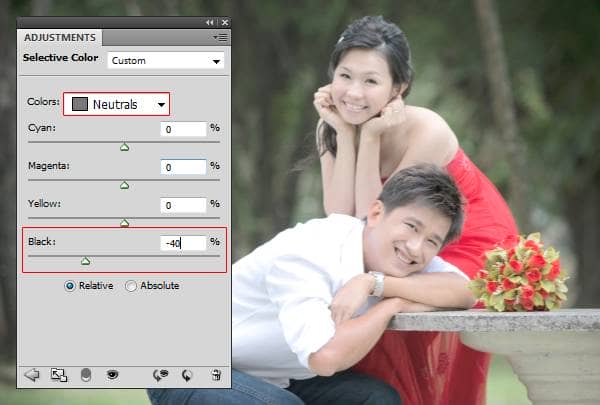
Next, select neturals from the colors drop down menu. Watch the skin tones while adjusting the blacks setting. Lower the blacks so that the shadows on the face are reduced but not so much so that they disappear. This setting will vary depending on the lighting of the skin tone. For our image, we used a setting of –20%.
Finally, adjust the whites. Select whites from the colors drop down menu then increase the blacks. This will further reduce the contrast. If you increase it too much, your highlights will be darker than your midtones and shadows.