
Step 24
Select a white Color from the Background and make sure you apply this settings.

Step 25
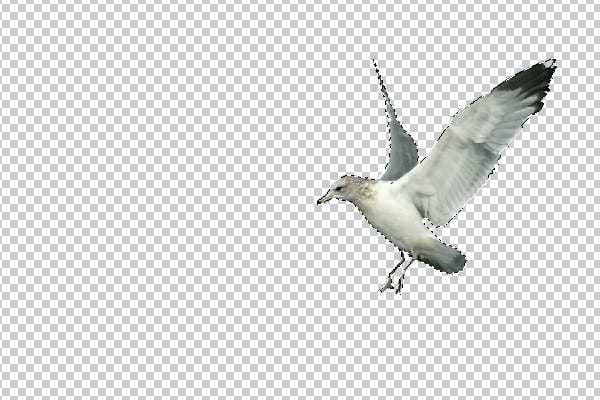
Now go to Select > Inverse.

Step 26
Add new Mask Under the Box Layers.

Step 27
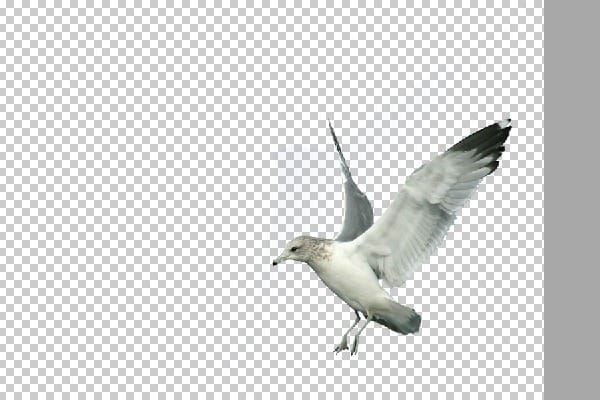
now let’s remove the mask from the layer. drag the mask to the buttons and delete the layers follow the images.


Step 28
Copy and paste the new Bird to your main Project with the wheal on it!.

Step 29
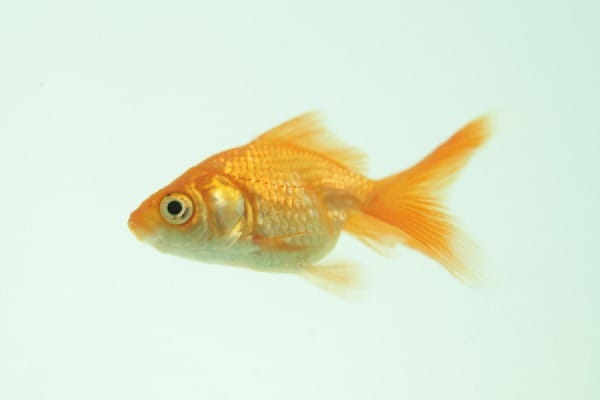
You’re doing great!!! Now, Open the Fish Image.
Step 30
Let’s Remove the Background From the Fish image but First let’s make sure you remove the lock from background. Select layer fish and go to channels and Select Channel Blue or you cat just Press CTRL+5.

Step 31.
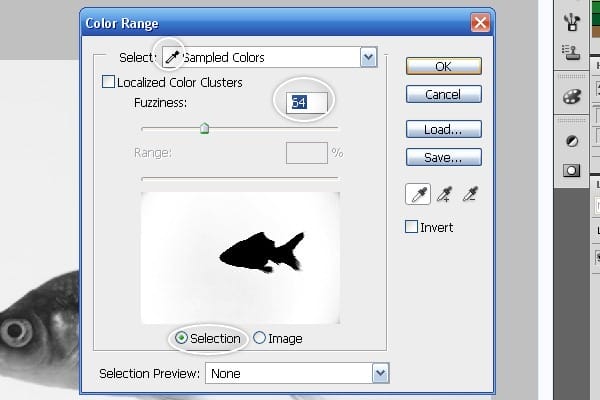
Now do the same thing as I did with the Bird Image. Select > Color Range and Select color from background. Inverse Layer.


Step 32
Go back to channels and select RGB Channel or Press CTRL+2.

Step 33
Press Delete button on your Keyboard to remove background.

Step 34
Copy and paste the Fish image into your main project and Flip it with CTRL+T as you can see in the Pictures.


Step 35
Select Polygonal Lasso Tool and Add 4 Points in the Picture to make a Light Sun.


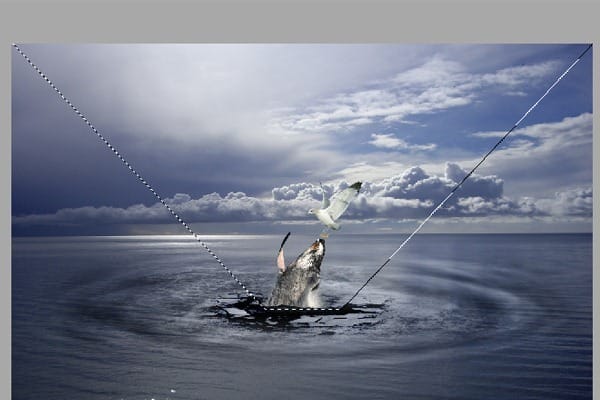
Step 36
Select Paint Bucket Tool and Fill the Layer with a White color.


Step 37
Add new mask to the light layer and Select a Soft Brush From Brush Tool and Remove some parts from the Light Layer or simply use Gradient Tool

Step 38
Change Mode to Soft Light and use the Opacity to 88%.

Step 39
Create another new Layer and Call it “Rain” and go to Edit > Fill or Press SHIFT+F5 then Select Use: 50% Gray and Click Ok.


Step 40
Let’s add some Noise with Filter > Noise > Add Noise and Apply the Settings. Also don’t forget to use 400% as a number of the noise| Distribution: Uniform | Monochromatic.
![step-070[1] step-070[1]](https://cdn.photoshoptutorials.ws/images/stories/cb37ce03e1fe_31C8/step-0701.jpg?strip=all&lossy=1&webp=82&avif=82&w=1920&ssl=1)


Step 41
Now Let’s Convert the Noise to some Rain. Go to Filter > Blur > Motion Blur and Apply the following settings: Angel: 45° | Distance: 58 Pixels.


Step 42
Change Mode to Overlay.

Step 43
Add a new Mask to the Rain Layer and let’s Remove some part from the Layer as well. First Select Gradient Tool and make sure you Select Color Back with 0% Opacity.

Step 44
Now with Gradient Tool press and Drag little down.

Step 45
again do the same thing up to the top.

Step 46
You will get the amazing result as you see in the picture bellow
3 responses to “Create a Dramatic Photo Manipulation of a Whale Stealing from a Seagull”
-
thanks alot
-
Awesome..!
-
wonderful. Thanx


Leave a Reply