
Now that that’s done, activate the Move tool (V) and drag this selected sky to our canvas. Rename it then to “sky 2”. Make sure that “sky 2” is above the “sky 1” layer. Next, activate the Transform tool (Ctrl/Cmd + T) and resize it as shown below:

The result:

Now, does that look like a stormy sky? It doesn’t, right? So let’s blend “sky 2” with “sky 1” to produce such a sky. To start, click on “sky 2” and change its blending mode from Normal to Multiply. See images below:
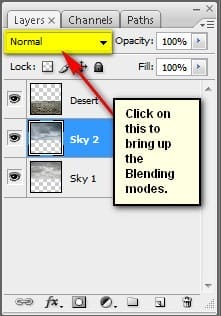
Now, click on Multiply.

We wouldn’t want it to the dark, so let’s reduce the Opacity to 70%.
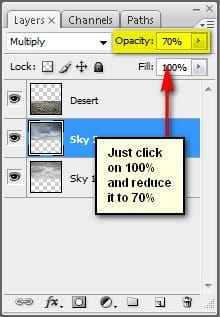
The result should be similar to this:
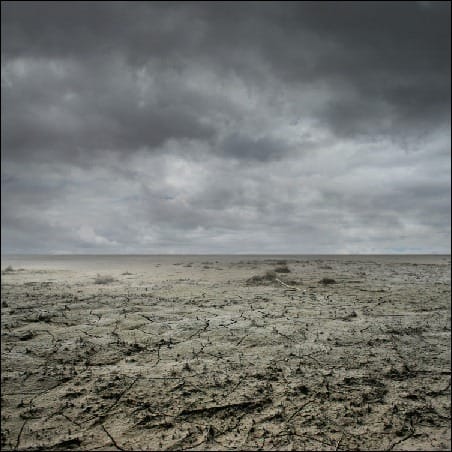
Step 4: Create light and darkness
Now, we will enhance the light and shadows of our background. We’ll start by darkening the foreground and the upper part of the sky. To be able to do that, let’s create a new layer by clicking on the top most layer and pressing Ctrl/Cmd + Shift + N and once a box appears, type: “Darken” on the name field.
Note: We clicked on the top most layer so that the new layer would be created on top of it.
Next, activate the Brush tool by pressing B on the keyboard. Once open, make sure that the brushes are the default Photoshop brushes. See image below:

To make sure that you’re using that, simply right click the canvas while a layer is selected and while the Brush tool (B) is activated and then click on the button highlighted below:
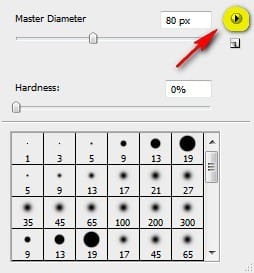
Then click on “Reset Brushes” from the contextual menu.

Now, that that is done input the following settings for our Brush tool (B):
- Brush size: 1100px
- Hardness: 0%
- Opacity: 15%
- Flow: 100%
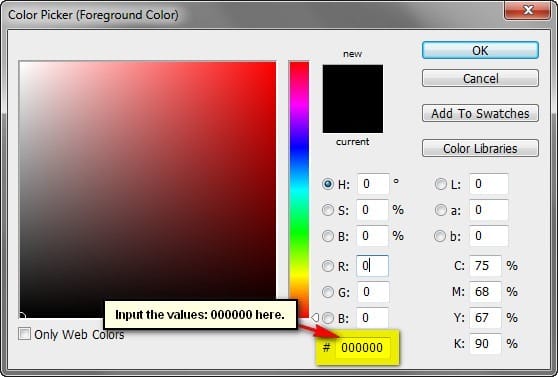
- #: 000000
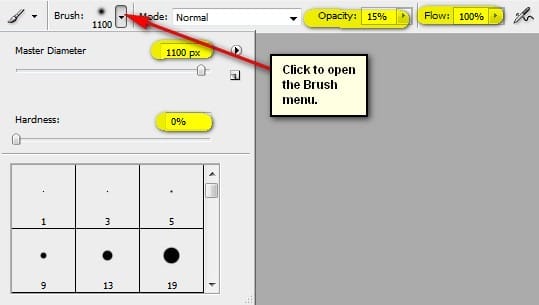
The #: 000000 is the color of the Brush tool (B), so this means it is colored black. To set the brush color, follow the instructions below:

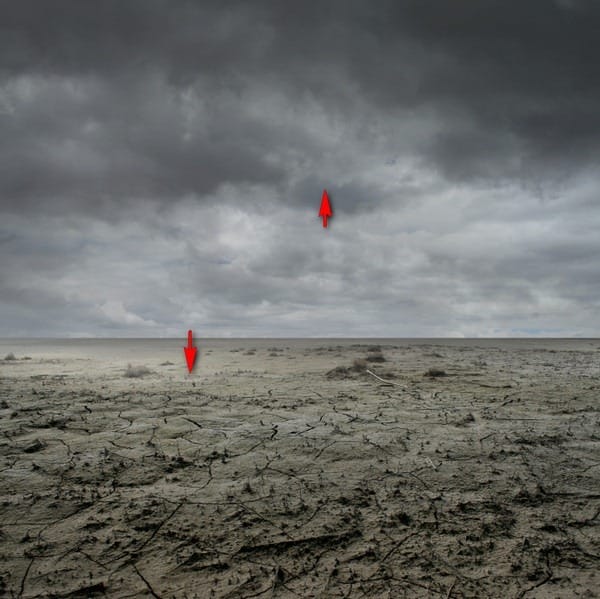
When you’re ready apply black paint as shown on the image below:

The result should be similar to this:
After darkening our image, let us now paint in some light. To start, create a new layer (Ctrl/Cmd + Shift + N) and then name it “Light 1”. Make sure to put this layer above the “Darken” layer. Activate the Brush tool (B) and then input the following:
- Brush size: 400px
- Hardness: 0%
- Opacity: 15%
- Flow: 100%
- #: ffffff
Now, let’s paint:

Repeat it several times until you’ve come up with a result such as the one shown below:


Leave a Reply