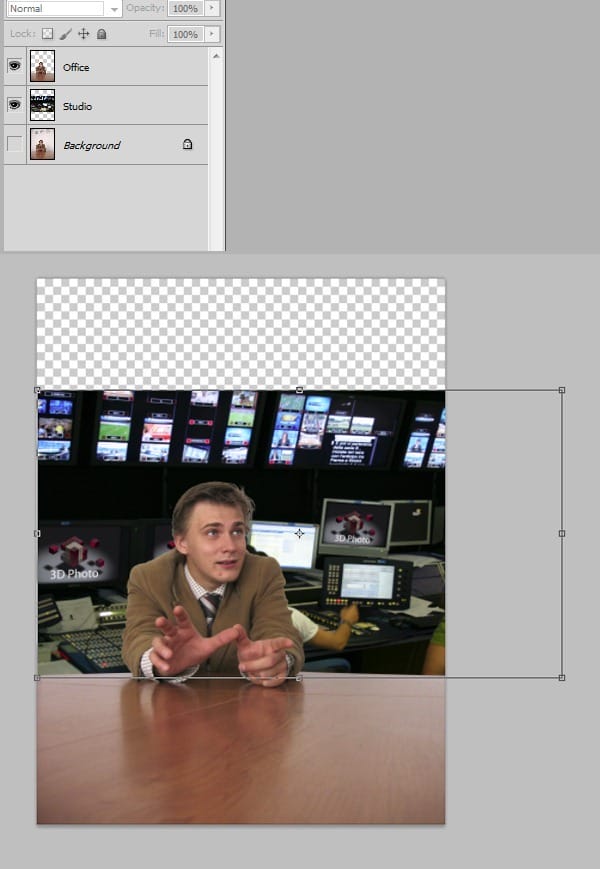
Step 7
Ctrl+Click “Office” layer to select opaque pixels then press Ctrl+Alt+R to open Refine Selection window. Use the settings shown below. Add a layer mask to the new layer and using a soft brush with black as foreground color mask away the hair.
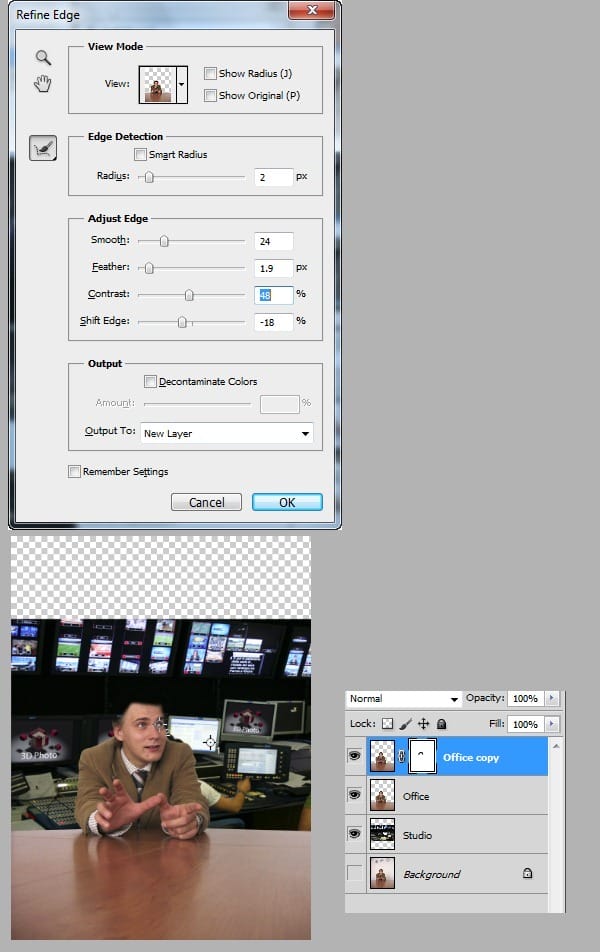
Step 8
Ctrl+Click “Office” layer again and press Ctrl+Alt+R to open Refine Selection window and use the settings shown below.
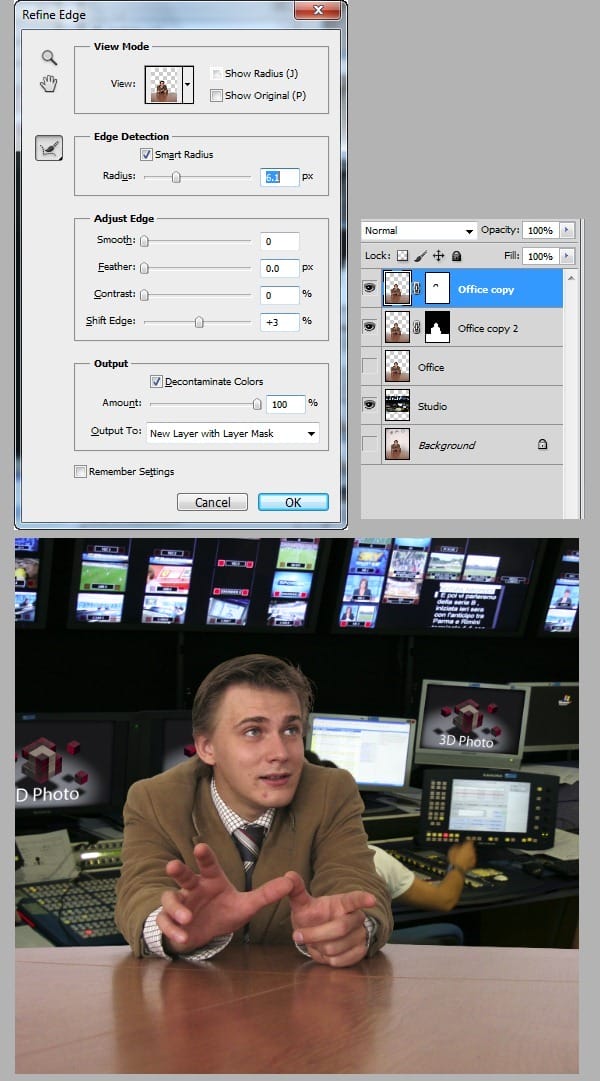
Step 9
Select layers “Office copy” and “Office copy 2” and press Ctrl+E to merge them. Name this new layer “Office” and delete the old “Office” layer.
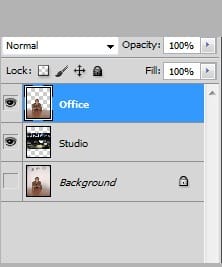
Step 10
Add a clipped Curves adjustment layer to “Office” layer and use the settings shown below. Add another clipped Curves adjustment layer to “Studio” layer and use the settings shown below. Change its blend mode to color. This step will match the colors between “Office” and “Studio” layer.

Step 11
Select “Studio” layer and choose Filter > Blur > Gaussian Blur. Use 2 px radius. Add a Hue/Saturation adjustment layer to desaturate the image. Crop the image like shown below.
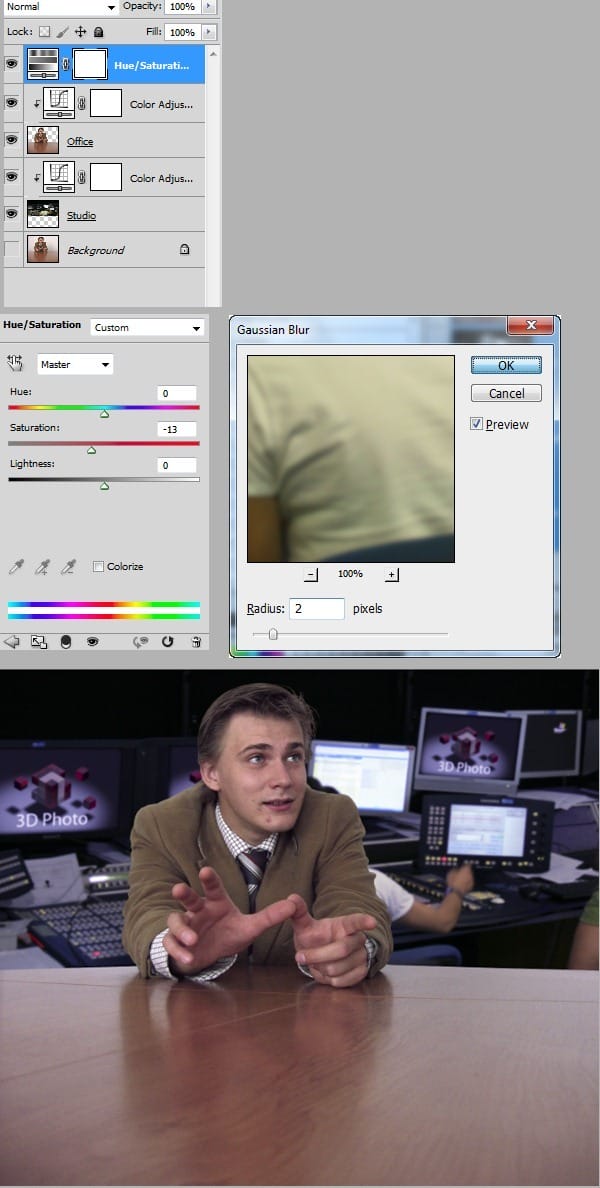
Step 12
Open file “Microphone” and select the microphone using pen tool. Copy the selection and paste it in “Office Poznan” document. Using Free Transform rotate and scale him like shown below.
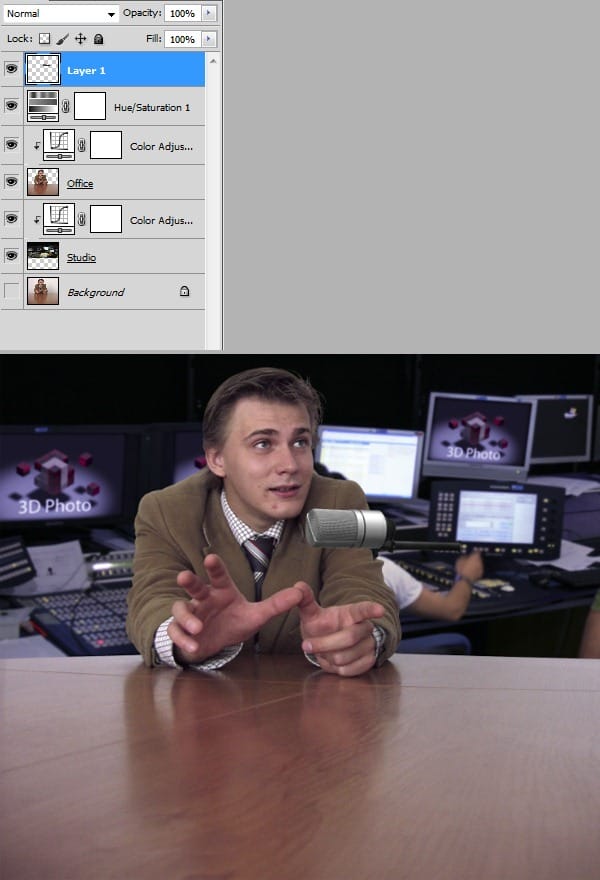
Step 13
Make a selection of the microphone black handle then press Ctrl+J for times to make to copies. Drag them towards left to make the microphone handler seem longer. Select all the micprohone layers and group them by pressing Ctrl+G. Name this group “Mic”.
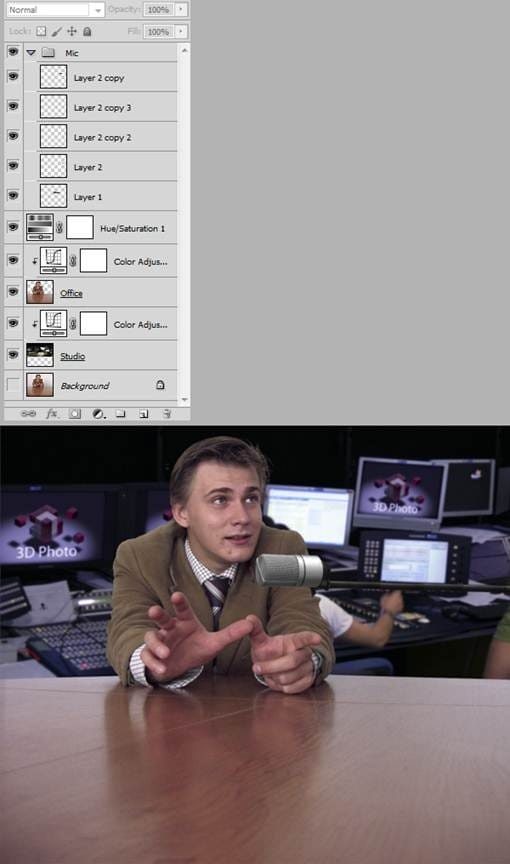
Step 14
We now want to improve the skin tones and add a realistic magenta reflection to our table. We will do this by using a Selective Color adjustment layer. Select all layers and press Ctrl+G to group them. Name this group “Scene”.
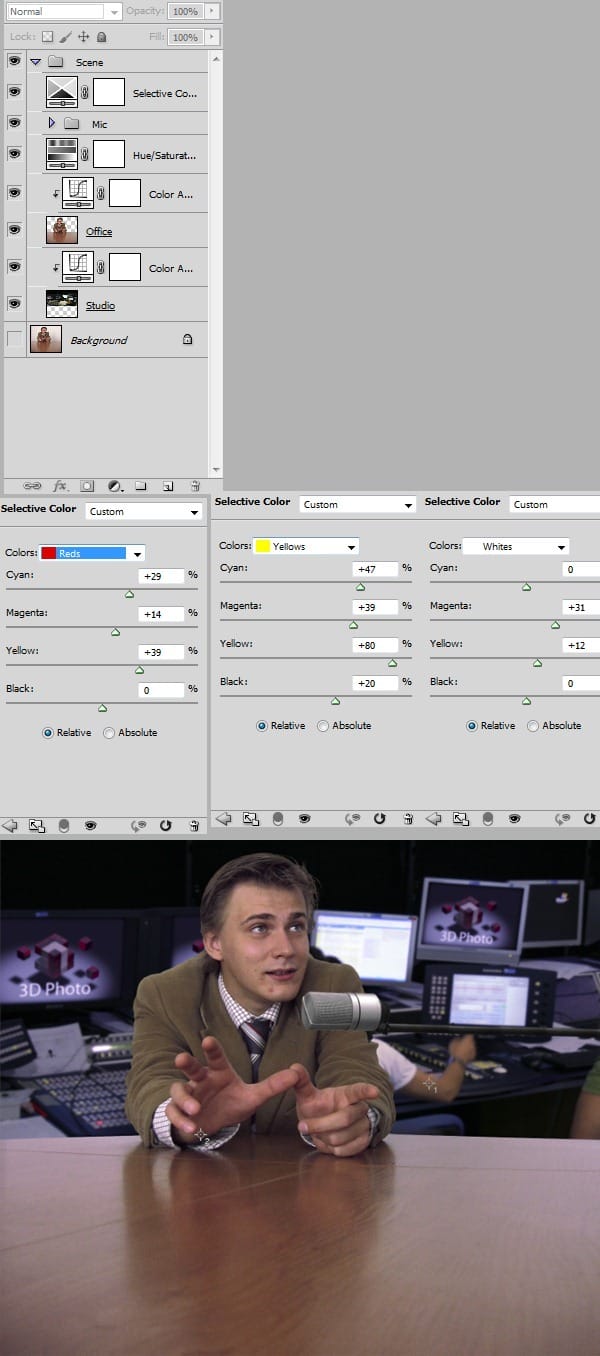
Step 15
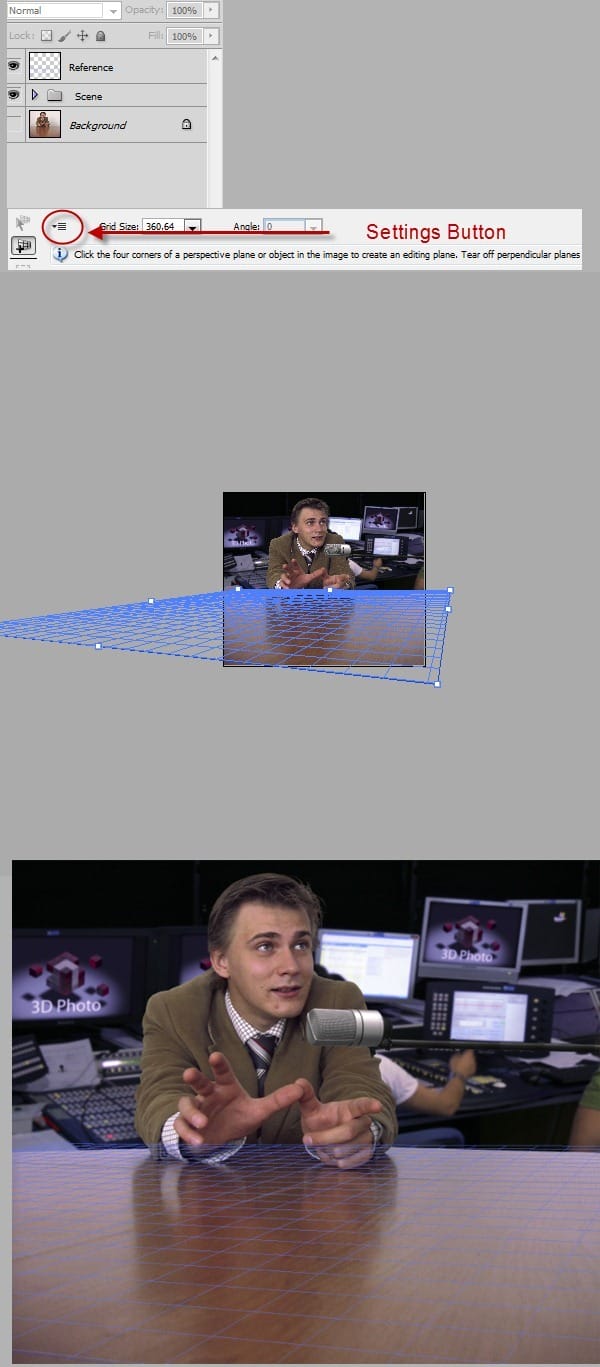
Press Ctrl+Alt+Shift+N to make a new layer. Choose Filter > Vanishing point and create a plane like shown below. Click the settings button and choose Render Grids to Photoshop then press Ok. This layer will serve as reference only so name it “Reference”.
Step 16
Open file “Photo Frame 3”. Select the photo frame and move it on a new layer. Now select the black area and delete it. (TIP – Using rectangular marquee tool draw a rectangle. Press Ctrl+Q to enter quick mask mode and press Ctrl+T to transform selection. After you’re done press Enter then Q to exit quick selection mode. In order for this trick to work double click the quick mask button from the layer’s palette and choose “Selected Areas” instead of “Masked Areas”.) Use the ruler tool to make it horizontal. Ctrl+Click this layer to select it then press Ctrl+C to copy. Paste it in our “Office Poznan” document and name it “Frame”.
One response to “Create a Scene with Popup Photos in Photoshop”
-
Yeah Poznań blisko mam do niego


Leave a Reply