
What you’ll be creating
In this tutorial, you will create a fiery text effect. You will start with making really hot shape of desired text, then You will add some stock images and You will create a burning text effect. You will need Adobe Photoshop CS5 or newer.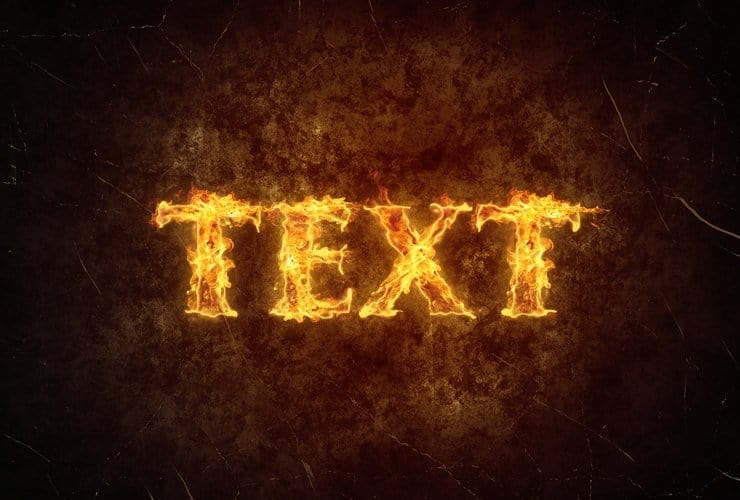
Tutorial Resources
- Image 1, Image 10, Image 12 in medium sizes– cgtextures
- Texture grunge vignette– Pixabay
- TrajanPro – font– fontplace.com
Step 1
Create new file, 1280×1024 size. ChooseFile > New (Ctrl+ N).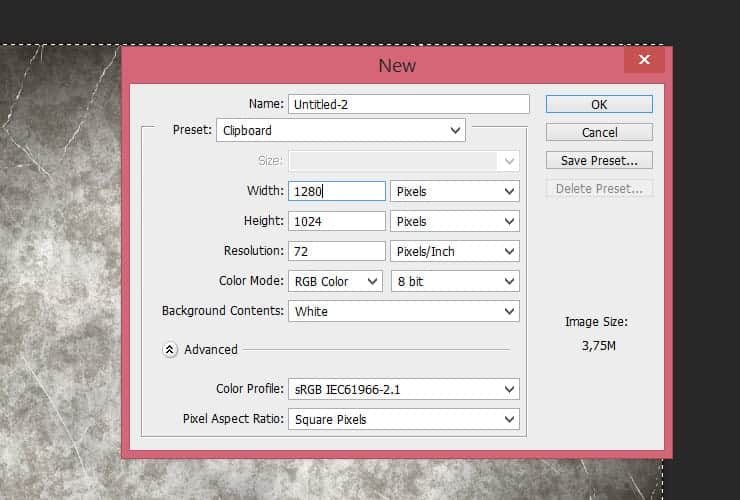
Tutorial Resources
- Image 1, Image 10, Image 12 in medium sizes– cgtextures
- Texture grunge vignette– Pixabay
- TrajanPro – font– fontplace.com
Step 1
Create new file, 1280×1024 size. ChooseFile > New (Ctrl+ N).Step 2
Place “texture-318913” stock to your file. Choose File > Place, select “texture-318913”, and transform it, then click Place.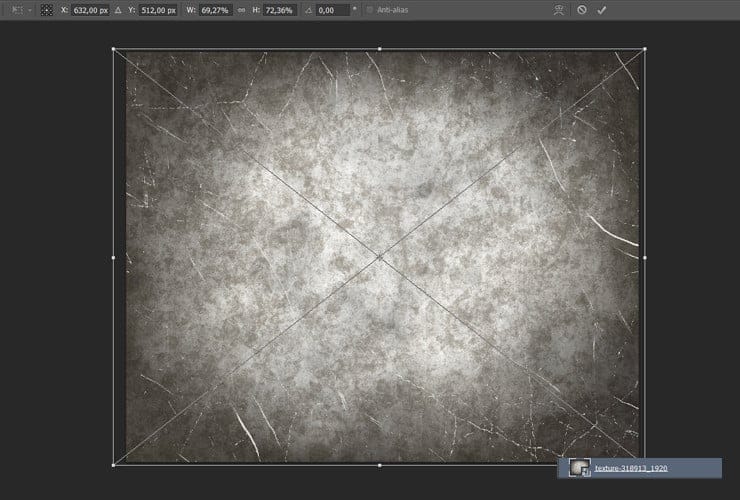
Step 3
Create new adjustment layer (Layer > New Adjustment Layer > Brightness/Contrast) or use shortcut. Set Brightness to -125 and Contrast to -11. Click this layer with right mouse button and choose “Create Clipping Mask”.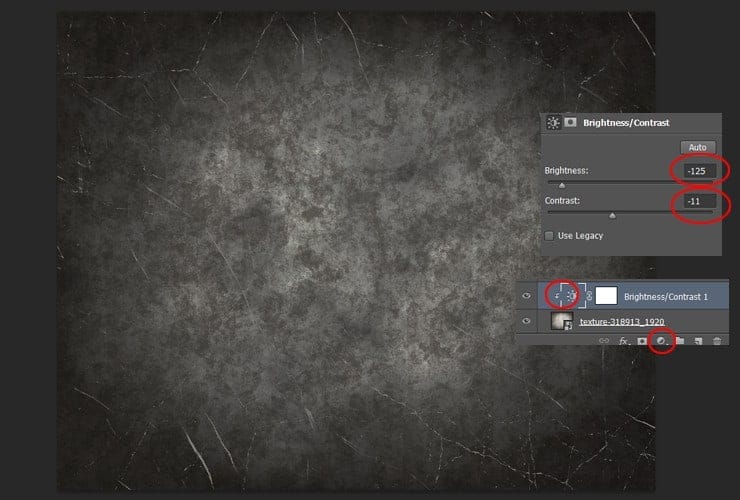
Step 4
Create a new adjustment layer (Layer > New Adjustment Layer > Levels or use shortcut). Set middle level to 0,52. Click this layer with the right mouse button and choose “Create Clipping Mask”.
Step 5
Create a new adjustment layer (Layer > New Adjustment Layer > Color Balance or use shortcut).Set Shadows:Cyan-Red +13Magenta-Green -3Yellow-Blue -13Midtones:Cyan-Red +34Magenta-Green 0Yellow-Blue -36Highlights:Cyan-Red +20Magenta-Green 0Yellow-Blue -37.Click this layer with the right mouse button and choose “Create Clipping Mask”.
Step 6
Click white canvas next to this layer (layer mask). Choose Gradient Tool (G) and pick radial gradient. Use a black and white gradient in the layer mask: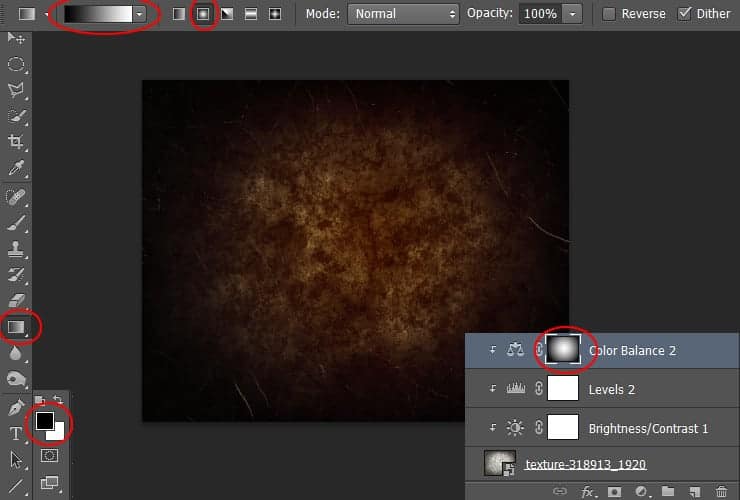
Step 7
Duplicate “Color balance” layer. Drag it and drop to the Create a New Layer buttonor go to Layer > Duplicate layer. Decrease its opacity to 50%.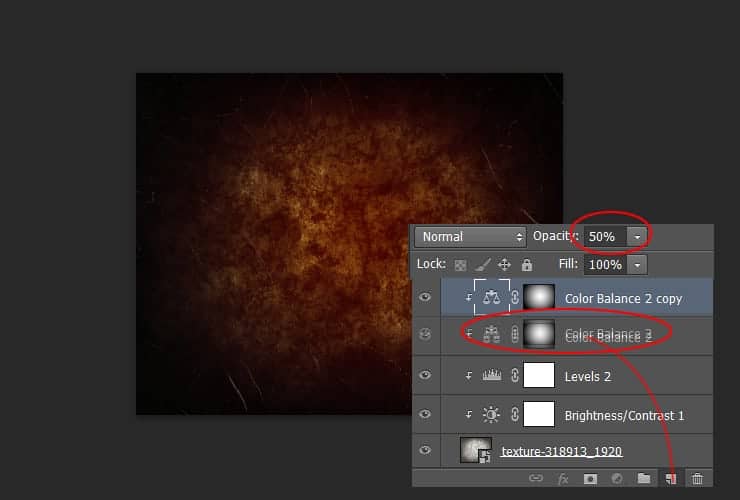
Step 8
Use the Type tool and type your text. Use Trajan Pro 3 Bold font, 238,5 px. Use #ff6c24 color. Duplicate this text layer (Layer > Duplicate layer), then disable it.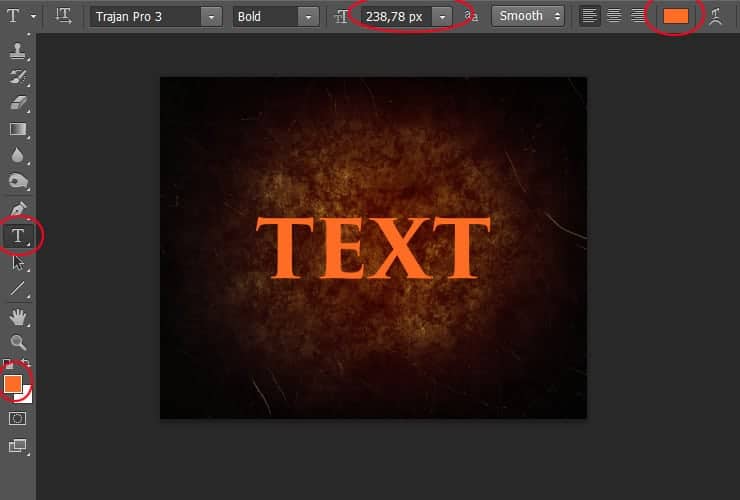
Step 9
Click created text with the right mouse button. Choose “Blending Options…”. Choose “Inner glow”. Set blending mode to Screen, use #ffa024 color. Set elements size to 10px.16 responses to “Create a Simple Fiery Text Effect in Photoshop”
-

this tutorial is so fire
-
Twist
-
For the enthusiast’s graphics designer, you share the very sophisticated tutorial. Every graphics design needs to know how to create simple text effect with Photoshop. I think your tutorial will help to improve skills as a professional artist. I believe that it would be very helpful, at least for me!
-
Now choose Filter > Filter gallery… >. Choose Distort > Glass. Set Distortion to 6, Smoothness to 8. Use “Frosted” texture.
-
Very cool text effect. thank you for sharing!
-
Exactly what I was looking for, thanks for sharing this!
-
kudos
-
This tutorial could not have come at a better time. This type of effect is perfect for my latest blog!
-
I must be doing it wrong because every time I get to the create smart object part I can’t do it. Bummer.
-
thanks your post
-
Thank you. Your documents very good, too. Hope you’ll have more for us
-
wow thank you ! this is really nifty..
-
Amateur stuff.
-
That’s the point. A lot of us /are/ amateurs. We have to start somewhere
-
-
Kevin Rice, I’m sure you already know how to do this.
-
Hermoso
Leave a Reply