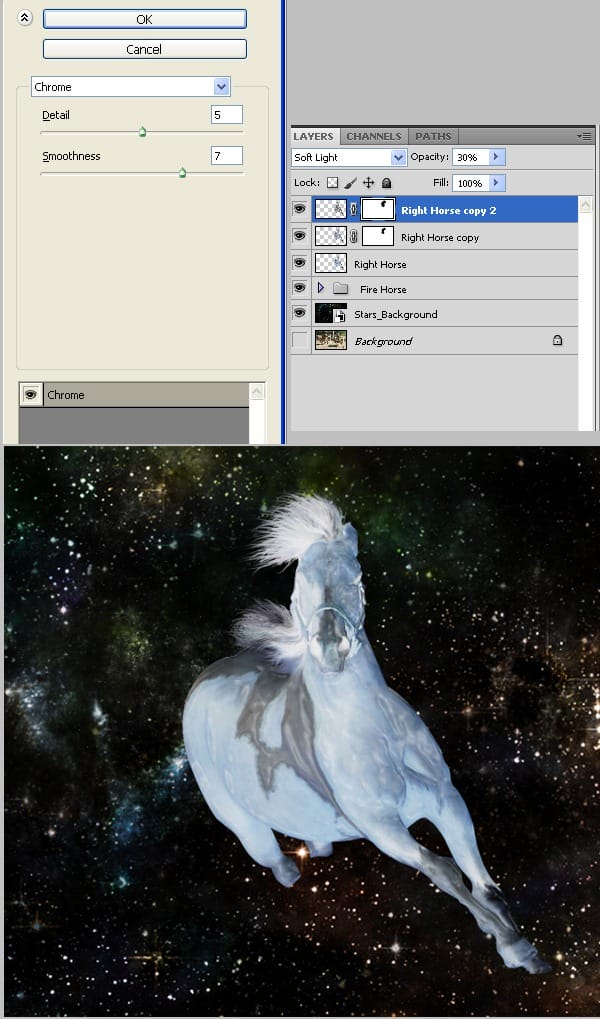
Step 34
Select Right Horse layer and press ctrl+J to make a duplicate. Press ctrl+shift+] to move this layer on top of all other layers. Change the layer blend mode to Soft Light and lower the opacity to 70%.
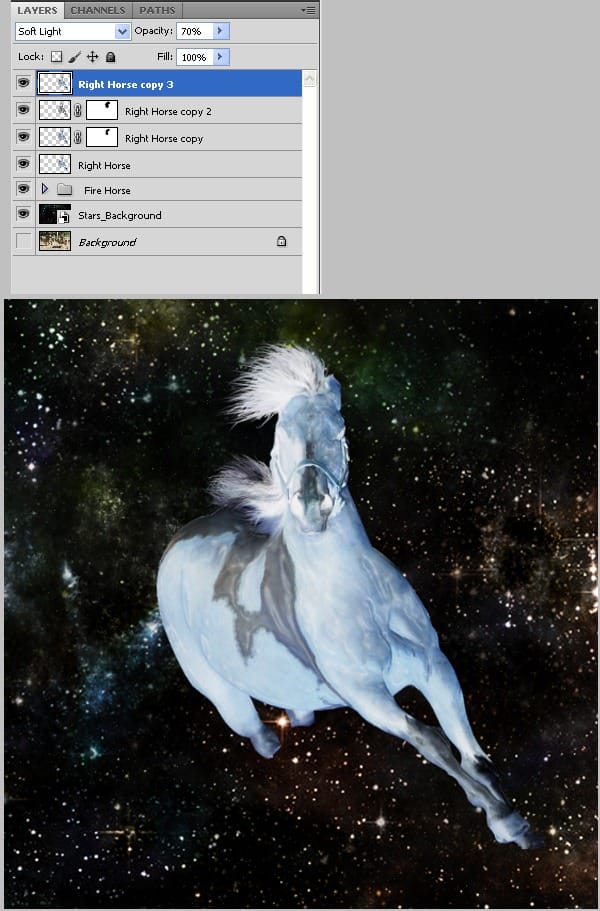
Step 35
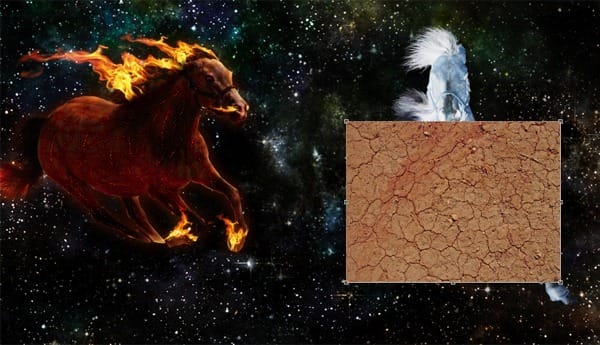
Open file ” Cracked earth texture ” and press ctrl+A to select all. Press ctrl+C to copy. Go back to our document and press ctrl+V to paste it. Resize it like shown below and press Enter.
Step 36
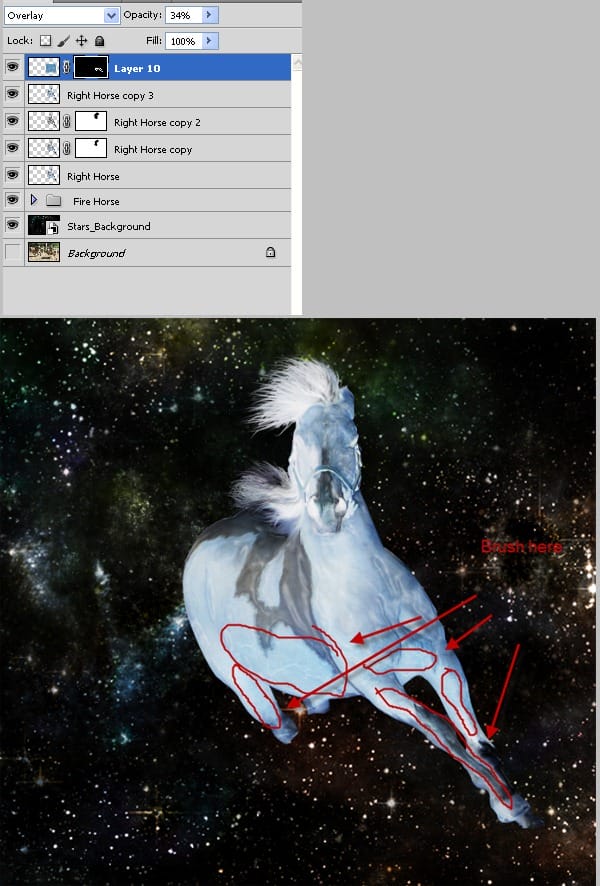
Press ctrl+I to invert and change blend mode to Overlay and lower opacity to 30%. Add a layer mask and press ctrl+I to make the mask black. Remember, in a layer mask white reveals, black conceals. Choose a round soft brush and choose white as our foreground color. Brush gently in the areas shown below.
Step 37
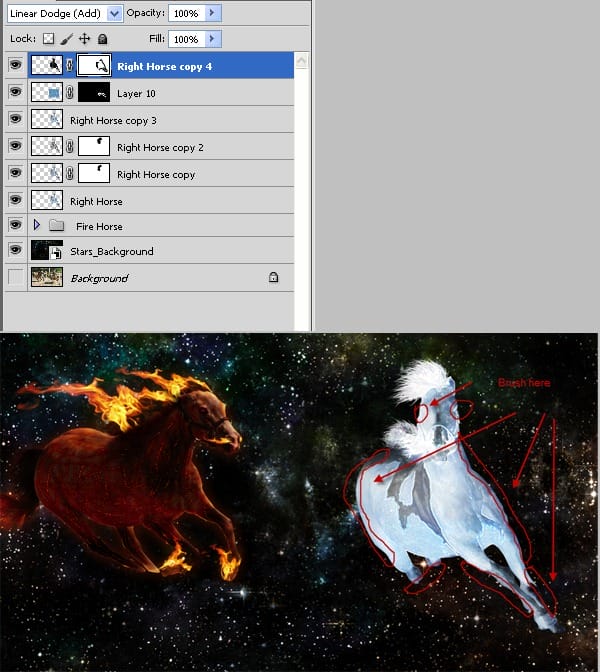
Select Right Horse layer and press ctrl+J to make a duplicate. Press ctrl+shift+] to move this layer on top of all other layers. Apply Filter > Stylize > Find Edges . Press ctrl+I to invert and change the layer blend mode to Linear Dodge. Add a layer mask and brush gently with black over the areas shown below. We don’t want any thick edges.
Step 38
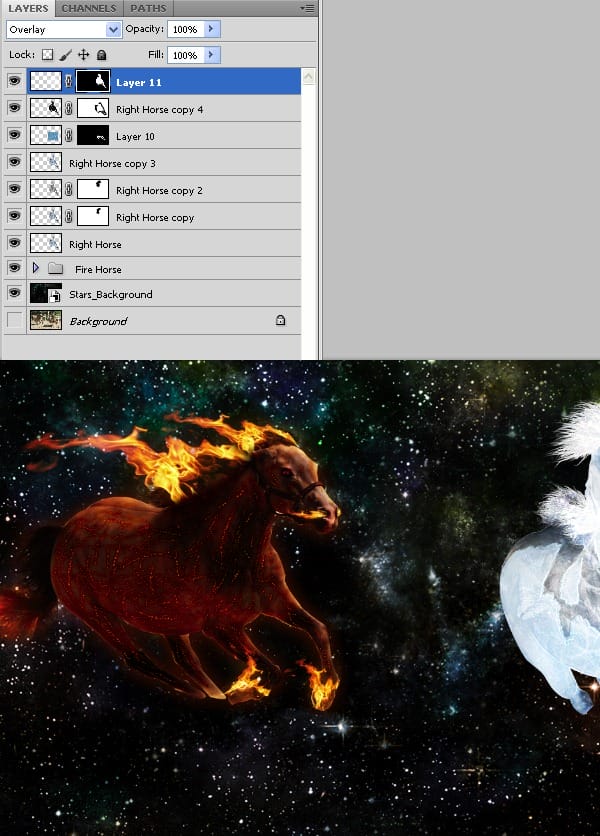
Using Edit > Preset manager import ” Frost texture brushes”. Make a new layer and set it’s blend mode to overlay. Choose brush “painting 12″ and choose a size of 500 px. Choose white as foreground color and brush a couple of times. Choose brush ” painting 8 ” and brush a couple of times. Ctrl + click Right horse layer to select it’s opaque pixels then add a layer mask to our current layer. This way our brush strokes will only apply to the horse only. Lower the layer opacity to 70%.
Step 39
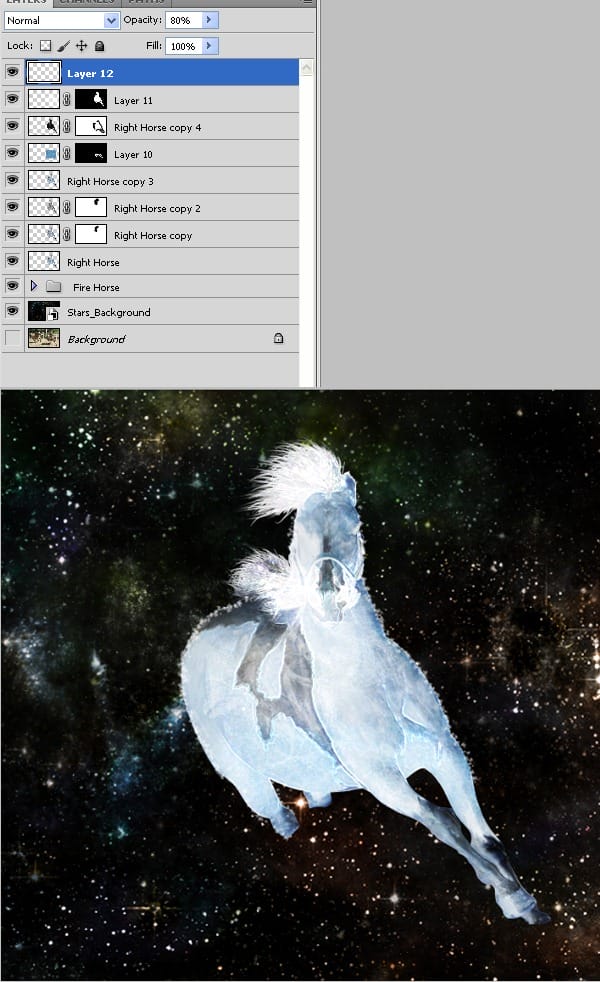
Make a new layer. Choose brush ” painting 10 ” and set size to 15 px. Brush carefully along the exterior lines of our horse to give him a more “wintery” look. Lower the layer opacity to 80 %. Avoid brushing the lower parts of the body because the heat from below will melt those snowflakes.
Step 40
Now let’s make some blue — ice eyes. Alt+click the eyeball icon of the layer “Backround”. This way we turn off the visibility of all layers except ” Background ” layer. Use the pen tool to draw around the eyes and press ctrl+Enter to transform into selection.
2 responses to “Create a Spectacular Space Scene in Photoshop”
-
what are the settings for the fire horse color balance?
-
What are the settings used on color balance layer?


Leave a Reply