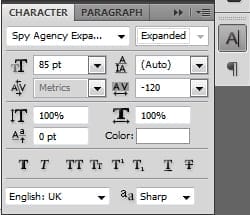
Here are the Title’s settings:
Step 21
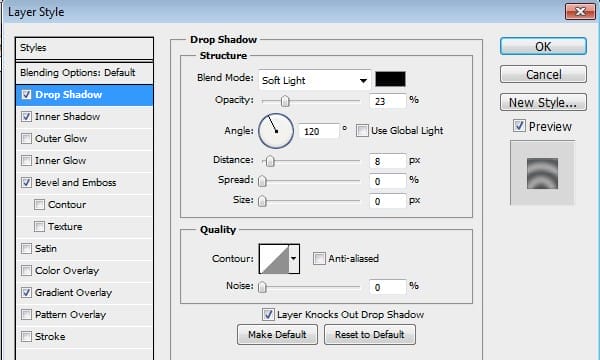
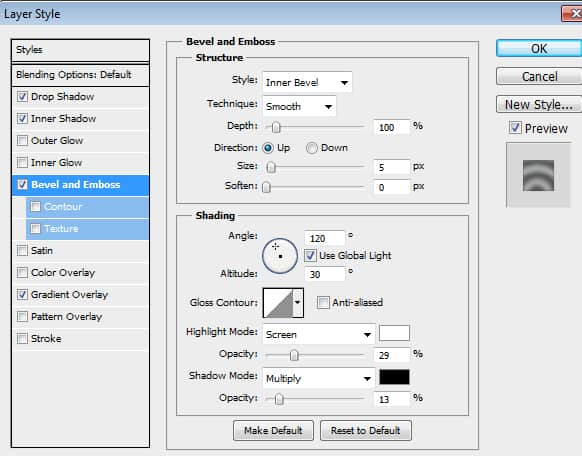
To add more effectto the title, we’ll add some Layer Style. Double-click on the Text Layer to open up the Layers Style window, then follow these settings:
Drop Shadow:
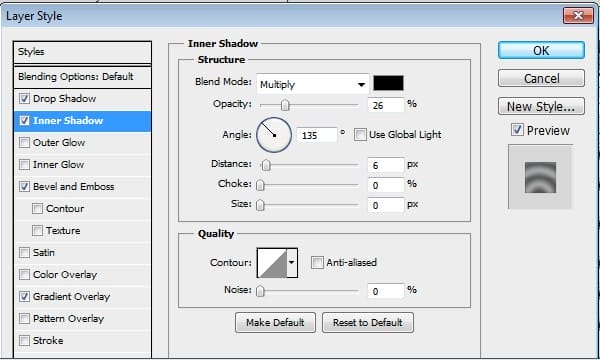
Inner Shadow:
Bevel and Emboss:
Gradient Overlay:
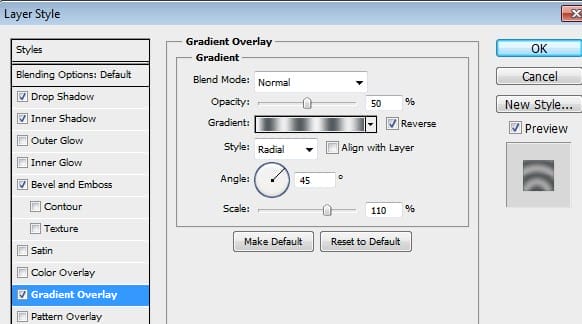
To Create a new Gradient while on the Gradient Overlay Menu of the Layer Style Window, click on the Gradient to open up the Gradient Editor Window. Using the two colors indicated above make six new Gradient Stops by randomly clicking on the Gradient bar ; adjust the Stops’ Locations like so:

Step 22
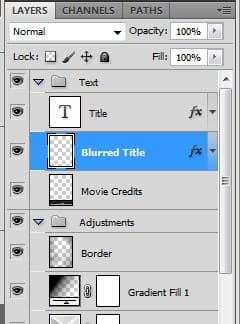
Duplicate the Text Layer ( Click on the Text Layer>Ctrl+J |or| Drag the Text Layer to the New Layer Icon.)
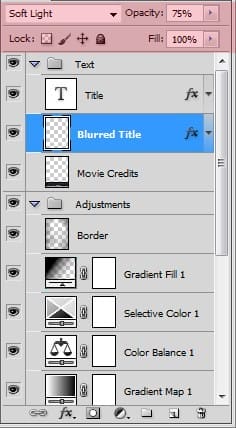
Place the Duplicated Layer below the Original one then Rasterize (Right Click>Rasterize) Name the layer as ‘Blurred Title’
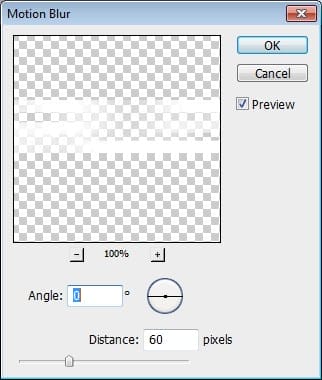
Step 23
Go to Filter>Blur>Motion Blur and adjust like so:
Set it’s Blend Mode to Soft Light with the Opacity at 75%
Step 24
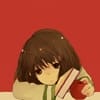
You can use a different Background and/or Model if you don’t like the ones I used. While we’re at it, you can add more textures and characters to it as well to make yours more original.
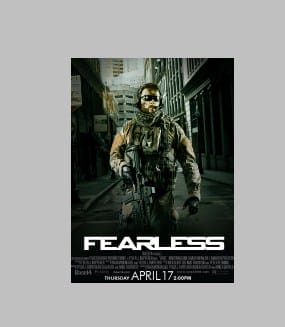
Final Results

Download the PSD
Tutorial by x–tenshii
And we are done! If you we’re able to create the final result of the tutorial without any problems then Good Job! Give yourself a pat on the back or something. Feel free to message me if you weren’t able to understand some of the steps.
– x–tenshii
6 responses to “Create an Action Movie Poster in Photoshop”
-

why i cant download psd file? :(
-
This action hero isn’t messing around! I’ve often looked at film posters and wondered what kind of work goes into them. I grew up with some classic film posters such as the original Star Wars that were painted. However, modern ones can be captivating when they use the right blend of color, positioning, and shapes. On a more technical note, can I make posters using Photoshop elements or do I need Photoshop to make one as described here? Thanks!
-
Great! Thank You.
-
http://i.imgur.com/HSBosmx.png I had fun with this tutorial .. Thank you ! But one thing was i couldn’t find the Gradient fill in the adjusment icons so i skiped the darkening .
-
Nice design
-
-
Nice tutorial
Leave a Reply