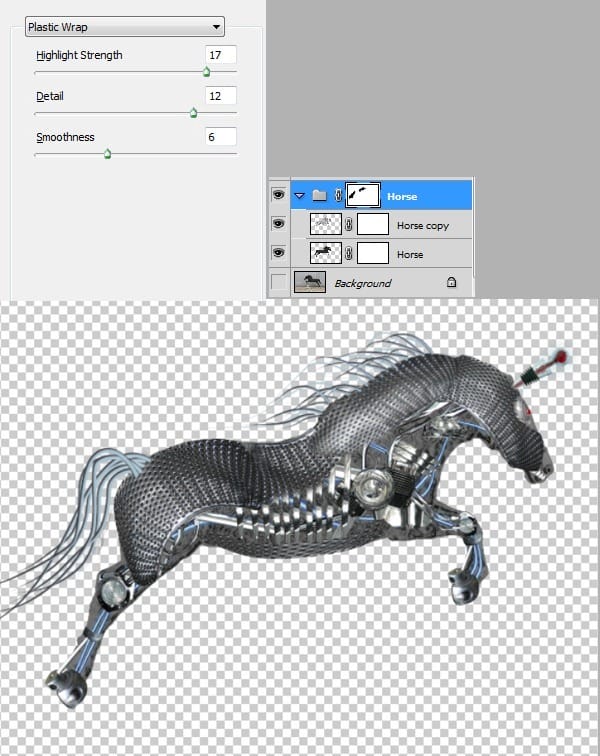
Step 38
Our mechanic horse is ready. Now let’s place him on some proper background. Open file “magical forest at night”. Add a Hue/Saturation adjustment layer and use the settings shown below. This step will fade out the details and leave us with the background we want.

Step 39
Open our horse document and select the upper group. Press Ctrl+Alt+E to make a new layer from all visible layers. Ctrl+click the layer to select opaque pixels, Ctrl+C to copy than paste it in our background document. You can close the horse document. Resize the horse layer to look like in the image below.
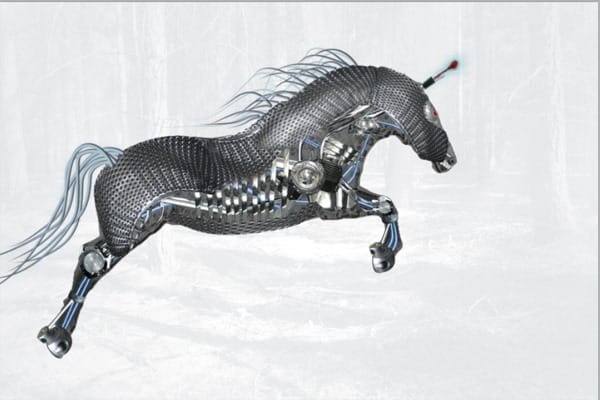
Step 40
Add a new layer below the horse layer and using a chalk brush ( or any other hard brush ) paint the shadow with black.
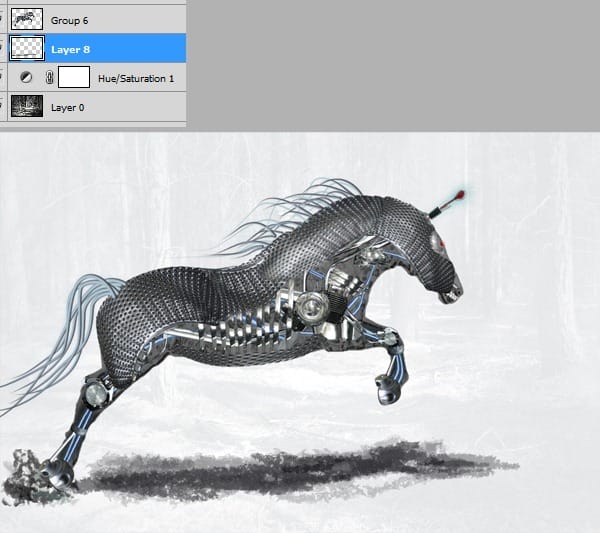
Step 41
Add a new blank layer and choose Filter > Vanishing Point. Make it look like in the image below than choose Render Grids to Photoshop from the options menu and press Ok. Double click the layer to enter advanced blending options and use the settings shown below. Move this layer below our horse layer. Add a layer mask and mask away the shadow area.

Step 42
Let’s add some lightning. Make a new layer and using lightning brushes from “Lightning Brush set 1” make some white lightning bolts. Double click the layer to enter advanced blending mode and use the settings shown below.
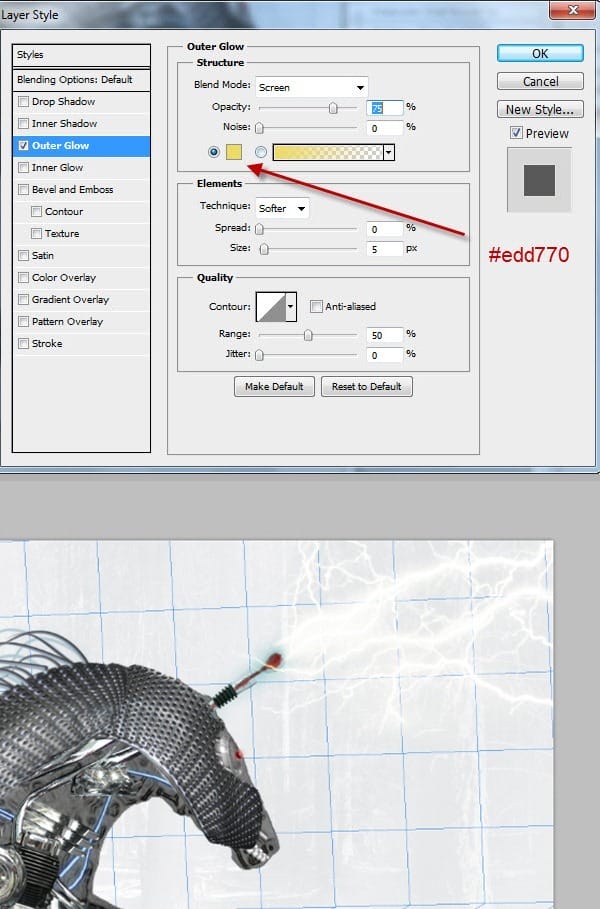
Step 43
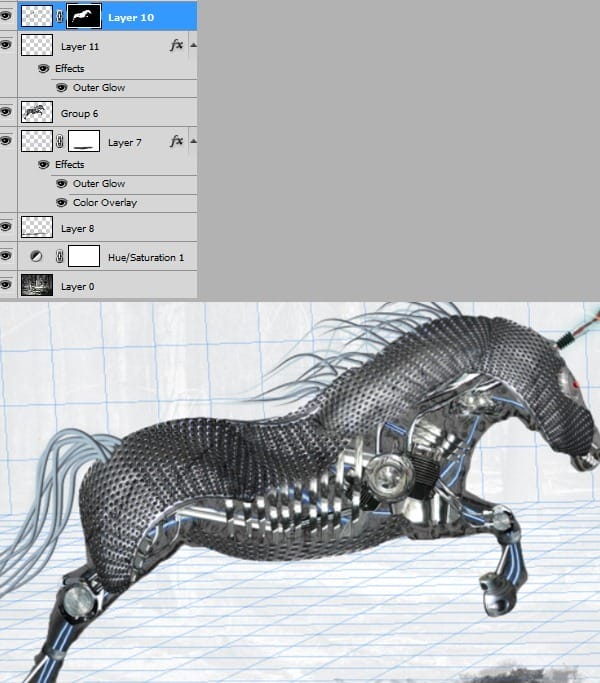
Add a new layer and using the lightning brushes add some black cracks to make our metallic horse more genuine. Add a layer mask and mask away everything but the horse.
Step 44
Add a curves adjustment layer and use the settings shown below. Add a layer mask and fill it with black. Brush with white on layer mask to improve the general lighting.

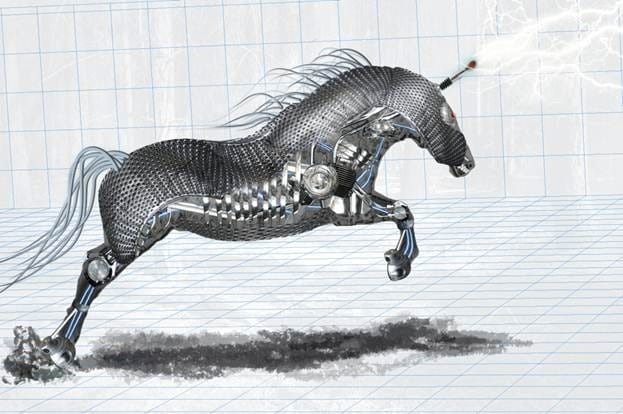
Final Results
Author’s Comment
3 responses to “Create an Amazing Mechanical Horse in Photoshop”
-
Why don’t you click on next page…..?
-
why you dnt copmlete it…..?
-
it`s on the next page, just click on them shazia.x
-


Leave a Reply