
Step 9
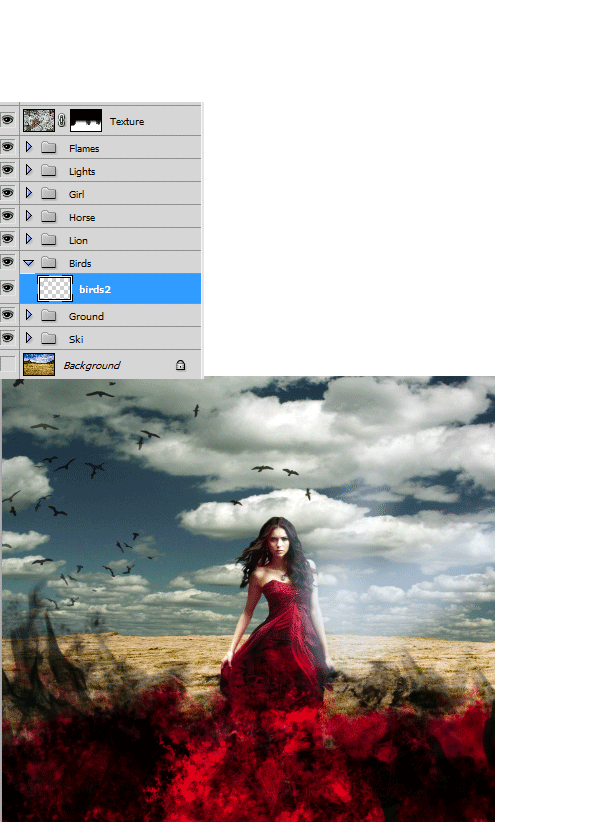
Import the “Birds” brush and make a new layer. Place this layer below the “Lion” layer. Using black as foreground color paint some birds like shown below. Try to paint more birds at the left side of the scene. Lower the layer Opacity to 75%.
Step 10
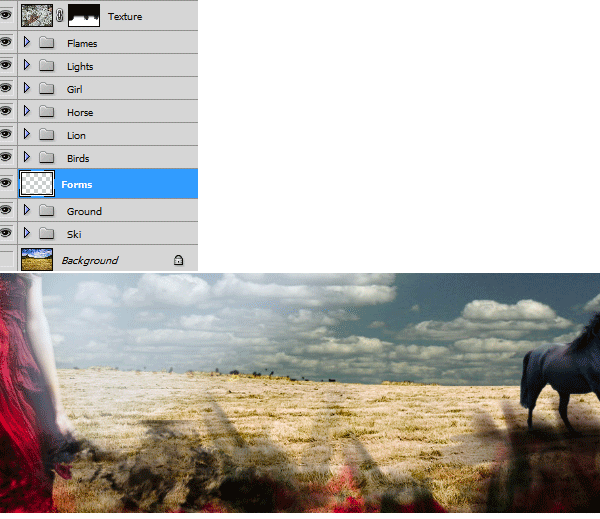
Because the horizon line looks to empty let’s paint some black random forms using a small (6px) soft, round brush tool. Place this layer below the “Birds” layer.
Step 11
Our composition is done, time to add some post production effects .
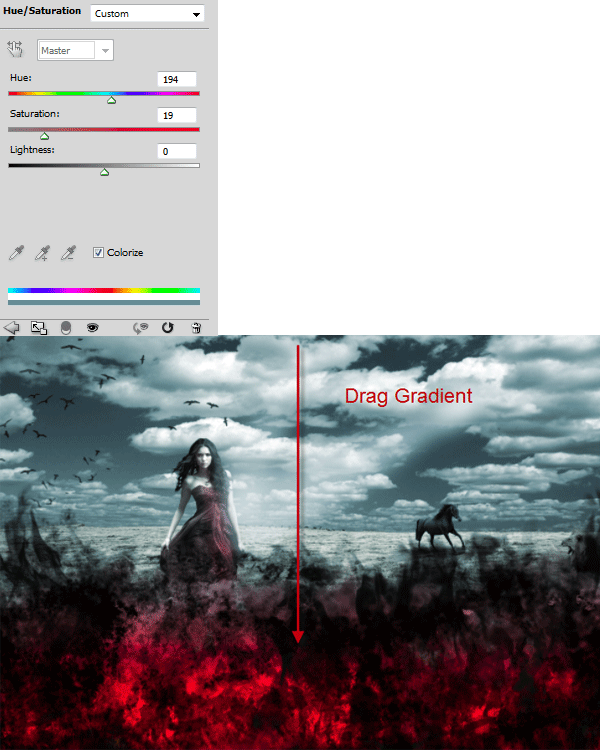
Add a Hue/Saturation Adjustment Layer with the settings shown below than in the layer mask use the Linear Gradient Tool with black and white as default colors (press D to set default colors) drag from the top margin towards the bottom margin. With a round soft brush tool paint with black over the girl in the layer mask. Lower the layer opacity to 80%.
Step 12
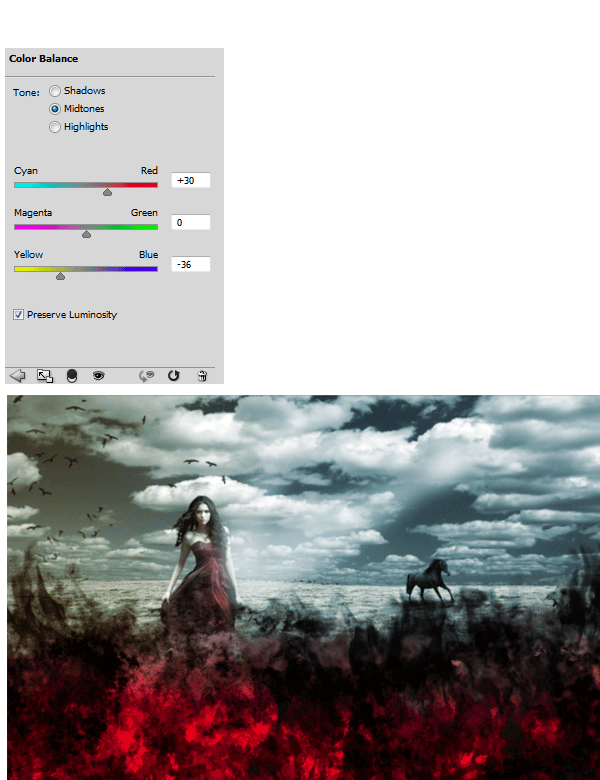
Add a Color Balance Adjustment Layer with the settings shown below than in the layer mask drag with the Linear Gradient tool to limit the effects only to the left side of the scene. Adding a light complementary warm orange to the scene makes it look better.
Step 13
Make a new layer and using a round, soft white brush at 5% Opacity paint some haze at the horizon line.

Step 14
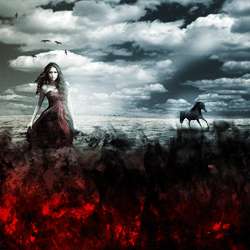
Add a Curves Adjustment Layer and drag the curve upwards to lighten. Fill the layer mask with black then with a round, soft white brush at 80% Opacity paint around the girl and the horse to make them more light. Add another Curves Adjustment Layer and drag the curve downwards to darken. Select the Radial Gradient Tool and with black and white a default colors drag like shown below. This step will add a subtle Vignette effect to our scene.

Step 15
Press Ctrl + Shift + Alt + E to make a new layer from all visible than choose Filter > Other > High Pass. Change the layer blend mode to Overlay. In the layer mask paint with black the horizon and the sky, leaving the girl and the flames alone. This is called selective sharpening and it is used to add more emphasis to certain foreground elements.

Step 16
Press Ctrl + Shift + Alt + E again to make a new layer from all visible then apply a 4px Gaussian Blur. Change the layer blend mode to Soft Light and fill the layer mask with black. Using a soft round brush paint with white to reveal the girl. Lower the opacity to 60%.
9 responses to “Create an Artistic Photo Manipulation of a Girl in a Red Field”
-
That was a fun tutorial. I used PSE9 so I didn’t have some of the selections, but it still turned out pretty good. Thanks!
-
Thank you for the great tutorial! It has been very helpful to see a few techniques in action.
-
nice
-
wow,,, good tutorial… :)
-
oh It’s Elena
No wonder why the picture looks so familiar. -
Thank you for providing and amazingly written tutorial. As someone very new to photoshop this was very easy to understand for the most part so I appreciate that you took into account complete newbies by providing things like shortcuts for doing stuff as well as detailed enough but concise explanations. I wish I could find more tutorials of this quality.
The only confusing part to me was the curve adjustment for the girl with the blue and red bit. I didn’t really understand that step but I think there is only so much you can explain without showing it through video or something.
Still an amazing tutorial.
-
woww amazing picture, thanks sob
-
Thank You!
-
Thank You Beautiful !!!!

Leave a Reply