Step 3
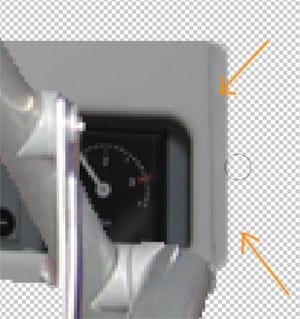
I’ll give this model a special device. Only for this model because the others are turned away and you cannot see it. For this special device, I photographed my heater.

I made a cutout of the display and placed it into the group with the model. It is positioned in front of the models body. Use the Free Transform tool (Ctrl+T or Edit > Free Transform) to resize the special device so that it is the right dimension. I also used the Burn tool (O) to make the edges darker.

Step 4
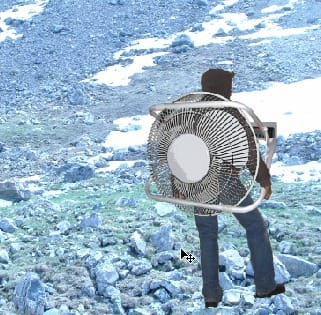
Select the layer with the fan then choose Filter > Artistic > Poster Edge. Use the settings shown below to give it a comic book effect.

Step 5
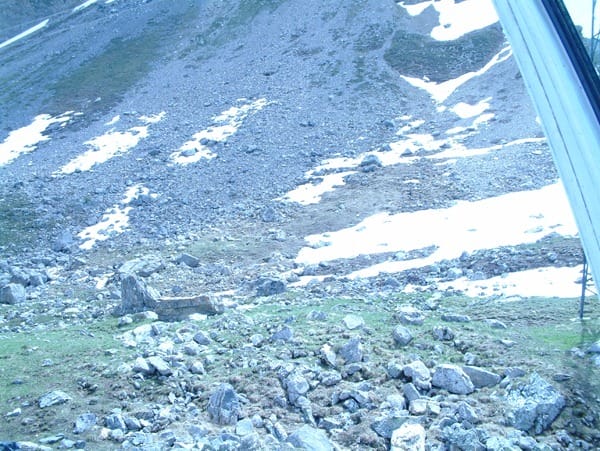
Photograph a picture of a mountain landscape like the image below. The image I took below was shot by accident. I was on vacation with my Fujifilm Finepix S602Z when I accidently reset the settings. Since I always photograph in Manual mode, the white balance was set to the default which gave this image a bluish tint. You can experiment with different white balance settings to get the color that you like.

Place the landscape photo into the current document then position the model so that it is standing on the land. Pay attention to his feet and place him on a spot where it looks correct.

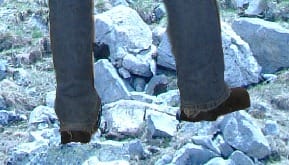
Erase some areas around the bottom of his shoe so that some of the rocks appear to be behind his shoe.

Step 6
Now we will repeat the previous steps to create the second and third model. Here’s some tips for cutting out the models. When you create a cutout, you may have tiny pixels left over that you may not see. To make it visible, right click on the layer, choose Blending Options, then add a 1-2px red stroke. This will show you the areas with leftover pixels that need to be erased. Once you’re done, you can remove this layer style.

After you deleted those leftover pixels, your cutout should look clean like this image.

For the fan, use the Color Range tool (Select > Color Range) to create a selection of the fan. Choose Select > Inverse then press delete to delete the background from the fan.


Leave a Reply