
Step 23
In this step we are going to draw the model hair, I drew this hair using the mouse, usually you should use a drawing tablet, it’s easier drawing it using the tablet but I used the mouse because I don’t have a drawing tablet :( Anyway, start by creating a new layer under the model layer and rename it to Hair, pick the Brush Tool (B) Size 100px Hardness 100% and Foreground color #391f12, and create the shape as the one shown in the image below.

Now pick the Smudge Tool, set the Strength to 75%, and as a brush choose the Hair 2 from the brushes pack you download in the start of the tutorial. Start brushing in and out in a curvy way like the image below to create the base of the hair.

Your result should look like the image below.

Step 24
On the same Hair layer, use your Brush Tool (B) the same way we used it in the past step to create the Hair shape but this time set the color to #634026 and draw a shape like the one shown in the image below, then use the Smudge Tool the same way we used in the past step, only change the Brush from Hair2 to Hair1.

Your result should look like the image below.
Step 25
Repeat step 24, but use the color #250f04 to draw the shape as shown in the image below.
Your result should look like the image below.

Still on the hair layer with Smudge Toole, Create slight flowing hair, use the Hard Round brush type to create slight flowing hair as shown in the image below.
Step 26
Now you know how to draw hair, use the same drawing method to draw the last part of the hair as show in the image below.

Step 27
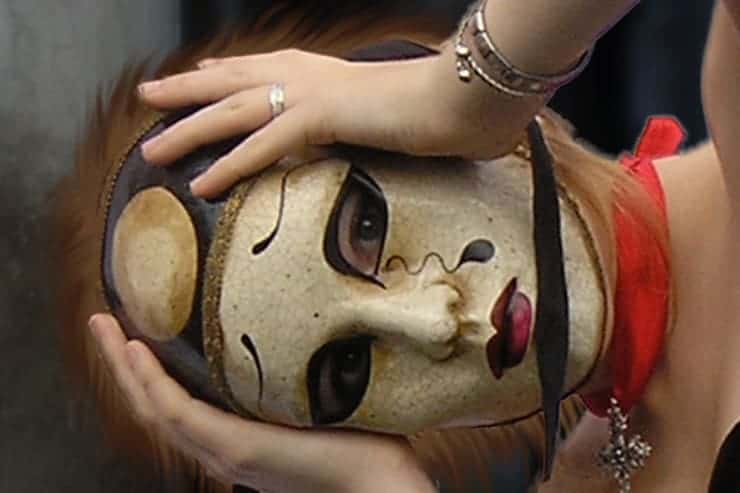
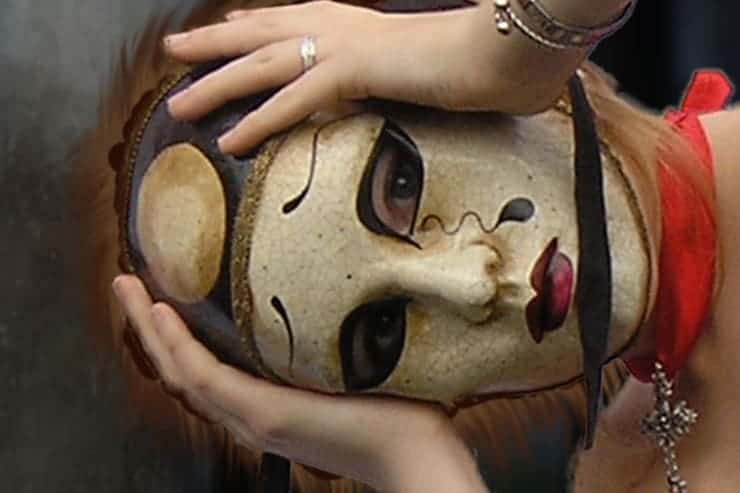
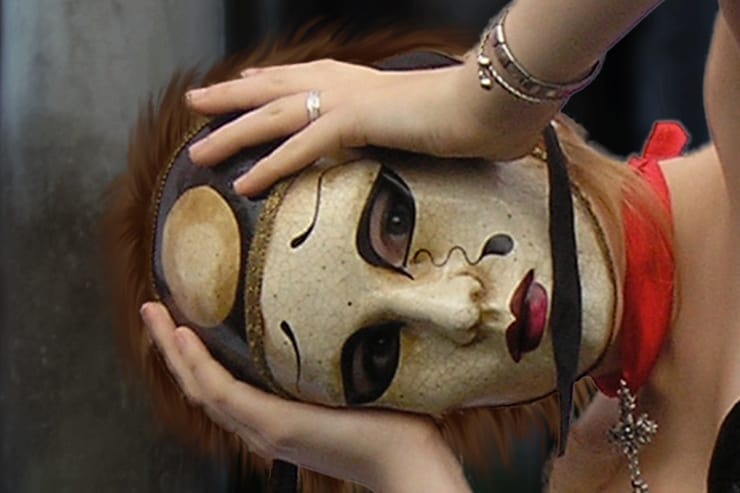
In this step we are going to make the mask and the model skin look softer using the Mixer Brush Tool, start by creating a new layer and rename it to Mixer_Brush_Tool, clip the new layer to the Model layer, pick the Mixer Brush Tool (B) and set the brush on (Clean the brush after each stroke) then set the Wet, Load, Mix and flow to 10%, make sure the Brush Hardness is 0% and the Sample All Layers box is checked.
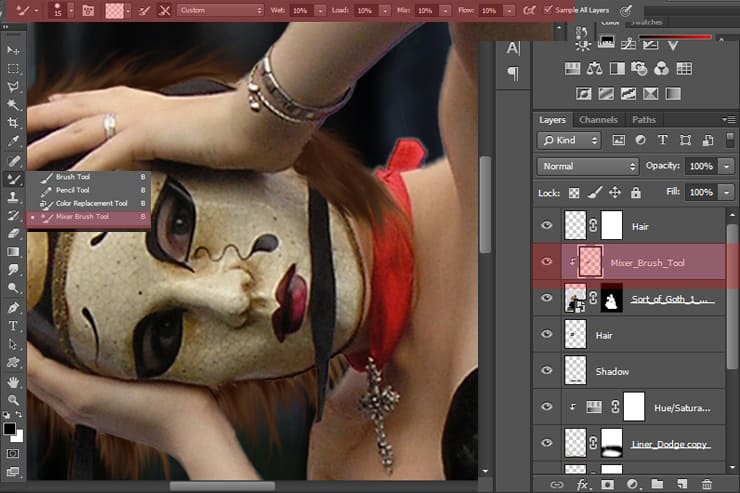
You need to be very carefull not to mix the shadows with the highlights, start by painting over the mask to mix the colors, hold and drag in the highlights parts, then hold and drag on the shadows parts, and as I said try not to mix the shadows with the highlights.(the image below shows how should you hold and drag the brush)
5 responses to “Create a Dark Spiritual Ritual Scene of a Girl in Photoshop”
-

Had a hard time getting the mixer brush tool, never delivered as smooth a surface as the tutorial displays. (Step 27)
Also, the gradient noise for the beam isn’t as sharp after motion blur applied.
Besides that, great descriptive tutorial. Thanks.
-
thank you for sharing. Your dahtuger is precious. I hope the world is always good to her. your link to the book has a 404 error. no book there so is your site down?
-
Too many step images are missing/failing to load – review your upload before announcing it. This could have been an great tutorial as an inspirational learning project.
-
some images may not load properly
-
Quite a few of the step images are missing/failing to load :-( Otherwise this is an awesome tutorial.
Leave a Reply