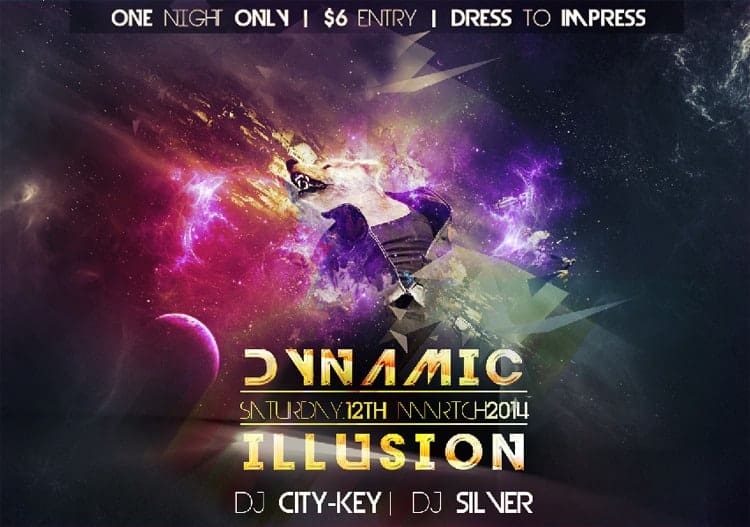
The result should be similar to this:

Step 22
Grab the Brush Tool (B), reset your brush settings, and make your brush rounded. Set the Hardness to 0%, Opacity to 100% and Flow to 5%. Pick color #f8ff7c, create a new layer above those triangles, name it “light1.” Change this layer’s Blending Mode to Overlay. Now start with a small brush, then add bigger and bigger dots in this place. Switch to white color and repeat the same process, but on a new layer (with Overlay Blending Mode).
You can apply those triangles and lights to every spot of this design, it’s adds a nice touch of abstraction.

Final Results

Download the PSD
[vc_column width=”1/1″ el_position=”first last”] [vc_cta_button title=”Download” href=”https://downloads.photoshoptutorials.ws/Planet Explosion.zip” color=”btn” size=”btn-large” icon=”none” target=”_self” position=”cta_align_right” call_text=”Planet Explosion.zip | 9.44 MB” width=”1/1″ el_position=”first last”] [/vc_column]
Tutorial by Vik Aadi (Vikas Singh Adhikari)
3 responses to “Create a Dynamic Night Club Poster in Photoshop”
-
wow.. Fantastic steps.. I really like it. keep up :-)
-
Wonderful tutorial..Thanks for sharing
-
Thank you for the feature :)


 Thank you for reading this tutorial, I hope that you enjoyed it. If you want to view my other arts and tutorials you can follow me on
Leave a Reply