

Step 27
Open file Dead Tree 3. Copy and paste into our scene. Put it in the left side of our scene. Add a layer mask and with a round brush at 10% opacity paint with black in the layer mask over the tree to make it blend with the environment. I hope you haven’t forgot to convert the tree (and all other objects you pasted since into the scene) to a smart object, like I advised you in step 3!

Step 28
Create a Curves adjustment layer and drag the curves down. Clip it to the tree layer.

Step 29
Create a Hue/Saturation Adjustment layer and drag the saturation slider to -59.
Clip it to the tree layer.

Step 30
Create a new layer and change the blending mode to overlay. Clip this layer to the tree layer. With a round soft brush paint with black mostly over the left part of the tree.

Step 31
Create a new layer and change the blending mode to Multiply. With a round soft brush paint with black over the highlights of the tree to hide them.

Step 32
Create a new layer and change the blending mode to Color Dodge. With a small brush (2px) at 40% Opacity paint with white on the right extremities of the tree to create some subtle highlights.

Step 33
Create a new layer and paint both with black and white using the smoke brush over the left most dead tree in our scene.

Step 34
Open the file Castle. Make a selection of the castle and copy it. Paste the castle into our scene and position it as shown below. Add a layer mask and hide the bottom part of the castle to blend it with the environment.

Step 35
Create a Hue/Saturation adjustment layer and drag the saturation slider to -57.Clip it to the castle. Create a Curves Adjustment layer and drag the curve down to darken. Also clip it to the castle.

Step 36
Open the file Guy. Make a selection of the guy and copy/paste into our scene. Place it as shown below. Add a layer mask and mask the feet a little.

Step 37
Create a Curves adjustment layer and clip it to the guy layer. Drag the curve down.

Step 38
Create a new layer and change the blending mode to Overlay. Clip it to the guy layer. With black and white paint over the guy to create some basic highlight and shadow (paint with dark on the right side and with white on the left side).
20 responses to “Create This Eerie Haunted House Scene for Halloween”
-

Where do I find the Rock Image you used? The link to it isn’t in your List.
-
I’d like to know the same thing..
-
-
why i cant reach the last step?
-
I must say you suck. I’m sorry but after downloading all the files you start with: “Create a new document 2000×1565. Open the file sky and copy all by pressing Ctrl + A. Copy with Ctrl + C, go back to our document and paste with Ctrl + V. Place the sky as shown below” Wtf does that even mean? I was ready to follow and try it but yeah… There is one file and you talk about copy all. Copy all with control A, Copy all with Control C? lol..
-
Go off
-
-
a wonderful lesson. I really liked the work of the clouds. And for me it was interesting “to do” tree on the left. Step 47 I would have done finalnym- I like the color scheme Thank you for an interesting lesson It’s my pic http://j-p-g.net/if/2015/09/17/0735896001442496453.jpg
-
OH, THANKS
-
Seriously I m just fan of yours. Thank you for for being part of us.
-
hey what happen with the images from step 6 to 11 ??
-
awesome photo manipulation.
-
????
-
i like the hountd house photo
-
What the hell man, That all was an effect and reposition ?
And it all starts from nothing ? man i think you’re a genius ! fcking like it ! but, it’s still hard to me, any other ways easier than this but the same results ? -
I would not use that house stock photo, nor any image from moonglowlily as she notoriously takes images from Google and calls them stock. She does not have permission to post those photos and by using them you are committing copyright infringement.
-
How much time I am supposed to spend in Photoshop in order to do a such miracle?
-
where is smoke brush ?
-
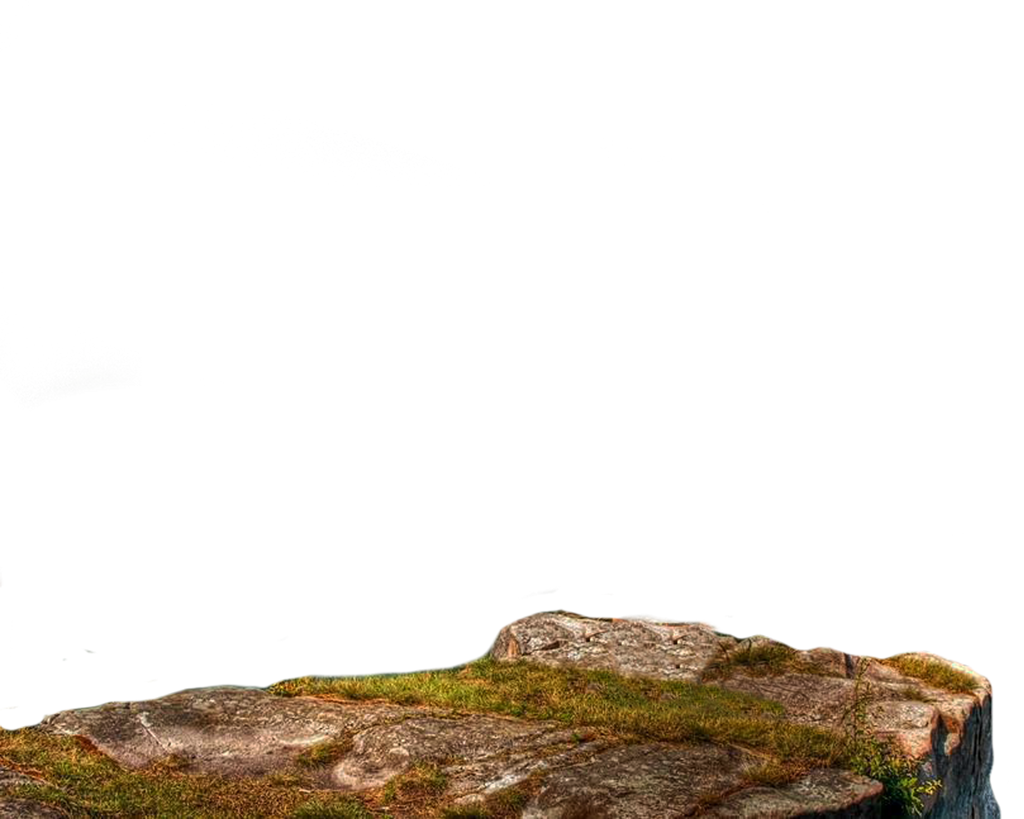
Where is the rocks image dowload?
-
i cant find the rocks image too, but here is my alternative rocks image. try it out
http://fc00.deviantart.net/fs71/i/2012/310/7/8/rock_png_by_camelfobia-d5k5kea.png
-
-
Tiene muchas capas y crea un verdero Arte Subrealista
Leave a Reply