

Step 44
Go to Edit > Free Transform. In the options bar, set the height to 10%. Press Enter to apply the transformation.

Here’s what the lens flare looks like so far.

Go to Edit > Free Transform again then set the angle to 30°. Press Enter to apply the transformation.

Your flare will rotate like this.

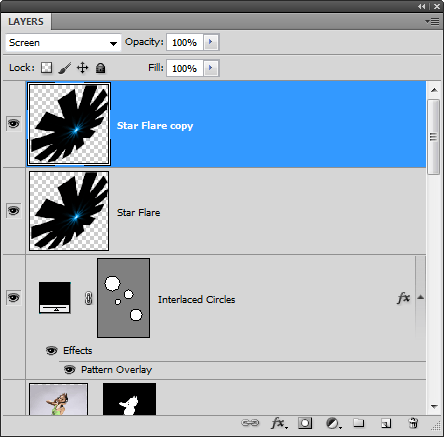
Step 46
In the Layers palette, change the blending mode of the current layer to Screen.
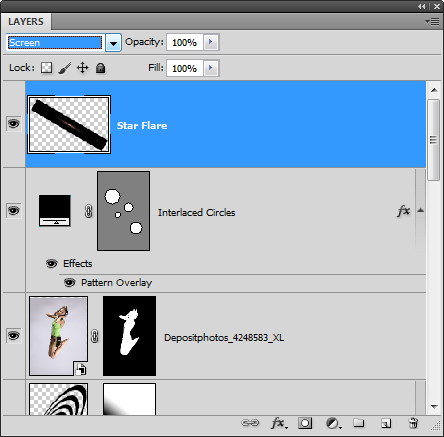
Press Ctrl+Alt+Shift+T or Cmd+Option+Shift+T keys on a Mac five times. You’ll get a bunch of layers. Hold the Ctrl/Cmd key then select all of the Star Flare layers. Go to Layer > Merge Layers. Change the blending mode back to Screen then rename the layer back to Star Flare.
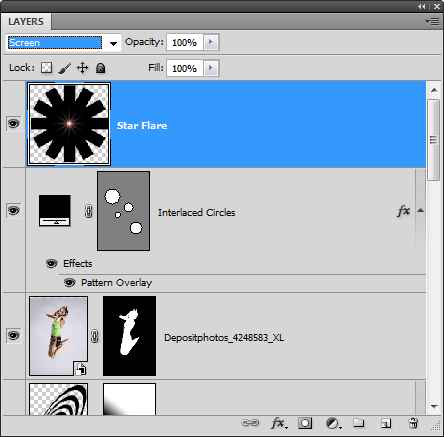
Here’s what the lens flare looks like.

Step 47
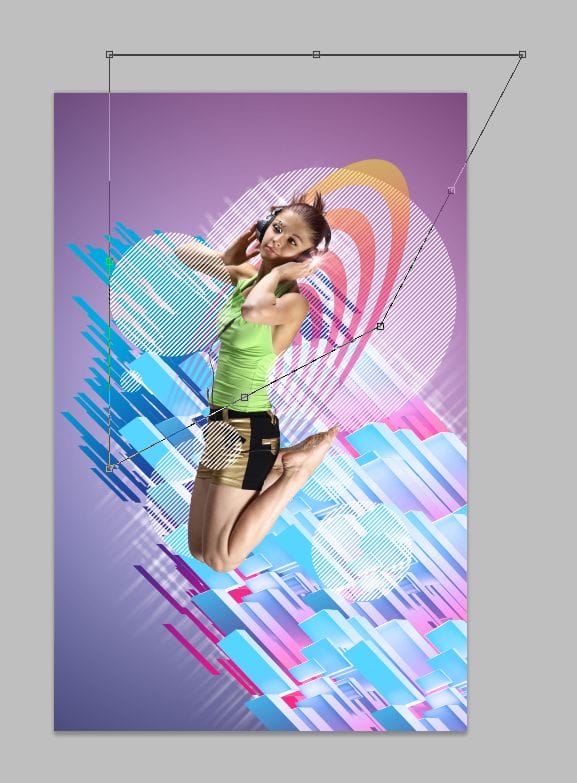
Select the Move tool then move the lens flare over the right side of the headphone.

Go to Edit > Transform > Skew. Drag the bottom right corner towards the center like shown in the image below.
Step 48
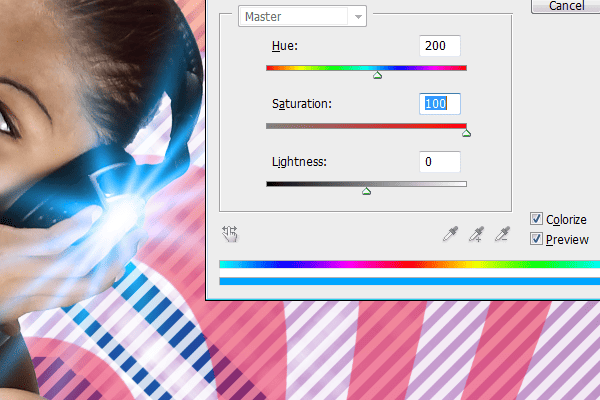
Go to Image > Adjustments > Hue/Saturation. Checkmark the Colorize option then set the Hue to 200 and Saturation to 100. Click OK to apply the changes.
Step 49
Duplicate the Star Flare layer by pressing Ctrl+J or going to Layer > Duplicate Layer.
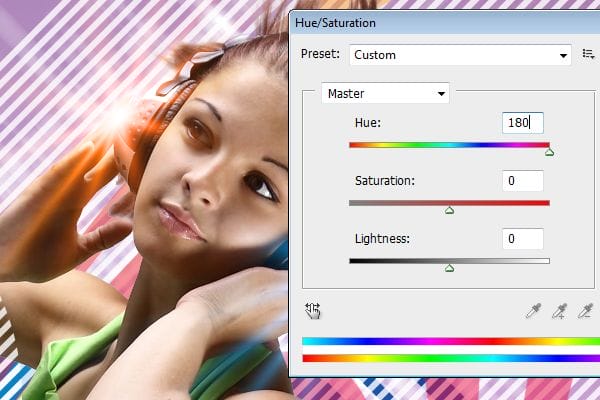
Select the Move tool then move the lens flare over the other side of the headphone.

Go to Image > Adjustments > Hue/Saturation. Set the Hue to 180 then click OK.
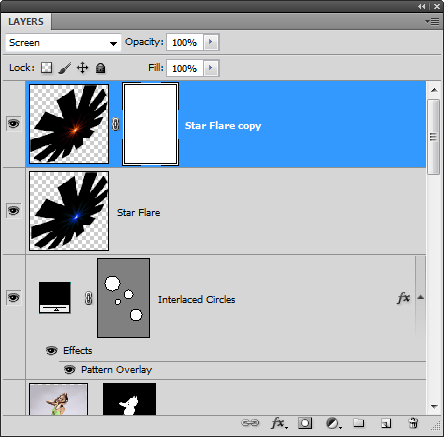
Step 50
Add a layer mask to the current layer by going to Layer > Layer Mask > Reveal All.
Make sure you have the layer mask selected. Select the Eraser tool then right click anywhere in the document window to bring up the brush settings. Set the hardness to 80%. Reset your foreground/background color by pressing D on your keyboard.
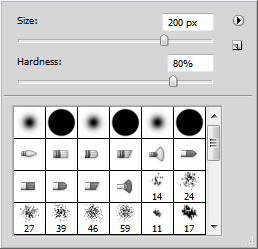
Erase on the headphone like shown in the image below.

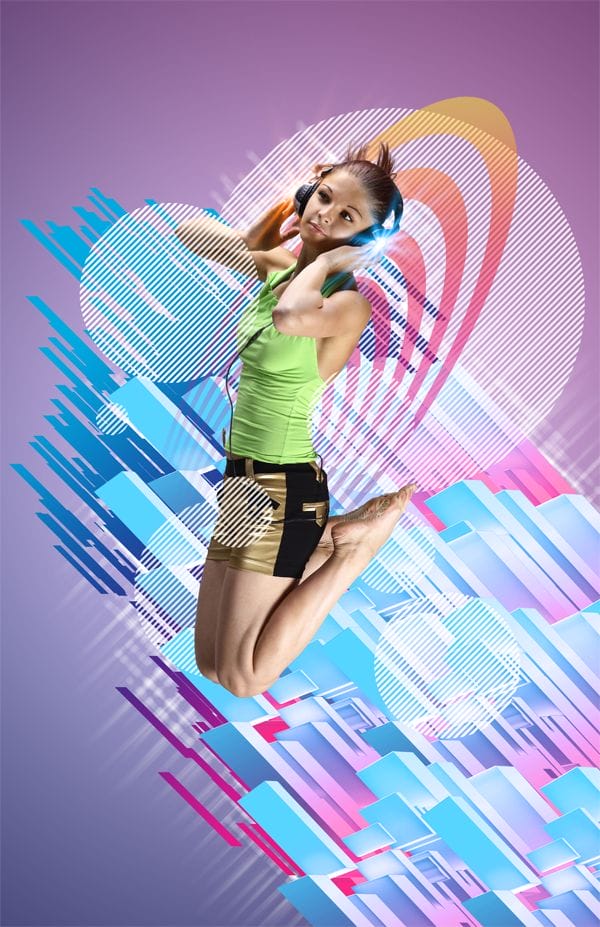
Here’s what the image looks like so far:
Step 51
To complete the image, we’re going to add a photo effect to the girl. Select the layer with the girl then go to Layer > New Adjustment Layer > Black & White. Checkmark the “Use Previous Layer to Create Clipping Mask” option then click OK. If you don’t see this window, make sure you added the adjustment layer through the menu and not from the Layers or Adjustments palettes.
Leave a Reply