

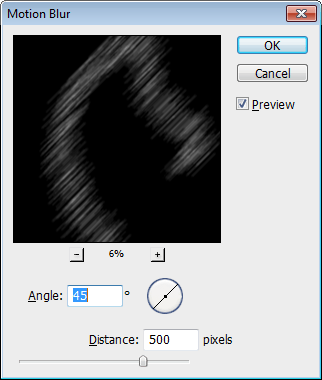
Go to Filter > Blur > Motion Blur. Set the angle to 45°. Zoom out of the preview area by holding down the Alt/Option key and clicking in the preview area. Adjust the settings so that you get a motion blur like shown below. Click OK to apply the changes.
Go to Filter > Motion Blur or press Ctrl/Cmd+F to repeat the filter.

Step 32
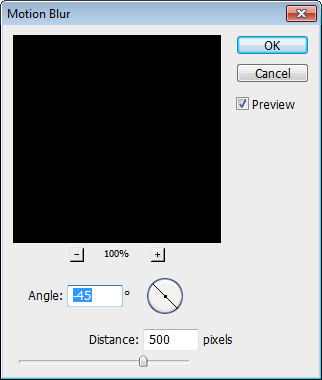
Select the other Star Filter layer then go to Filter > Blur > Motion Blur. We’re going to apply the same settings except for the angle which should be set to -45°. Click OK to apply the Motion Blur filter.
Go to Filter > Motion Blur or press Ctrl/Cmd+F to repeat the filter.

Step 33
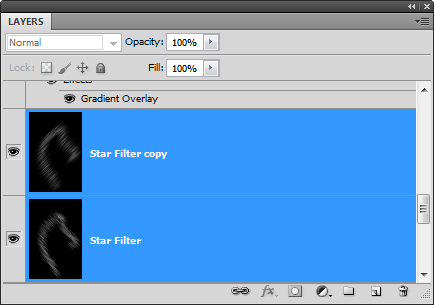
Hold down the Ctrl/Cmd key and select both of the Star Filter layers. Go to Layer > Merge Layers.
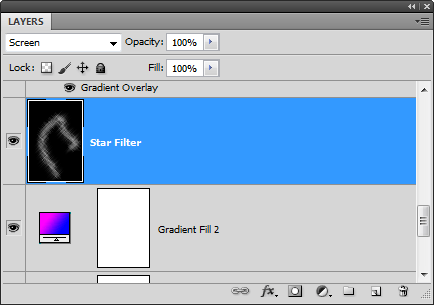
Rename this layer back to “Star Filter” and set the blend mode back to Screen.
Go to Filter > Sharpen > Unsharp Mask. Set the Amount to 200% then adjust the Radius so that your star filter effect looks sharper like the image below.
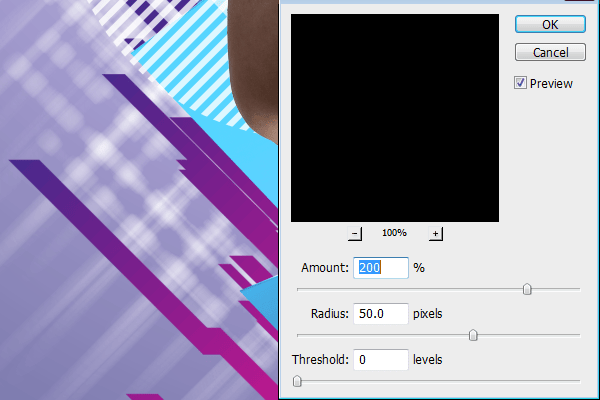
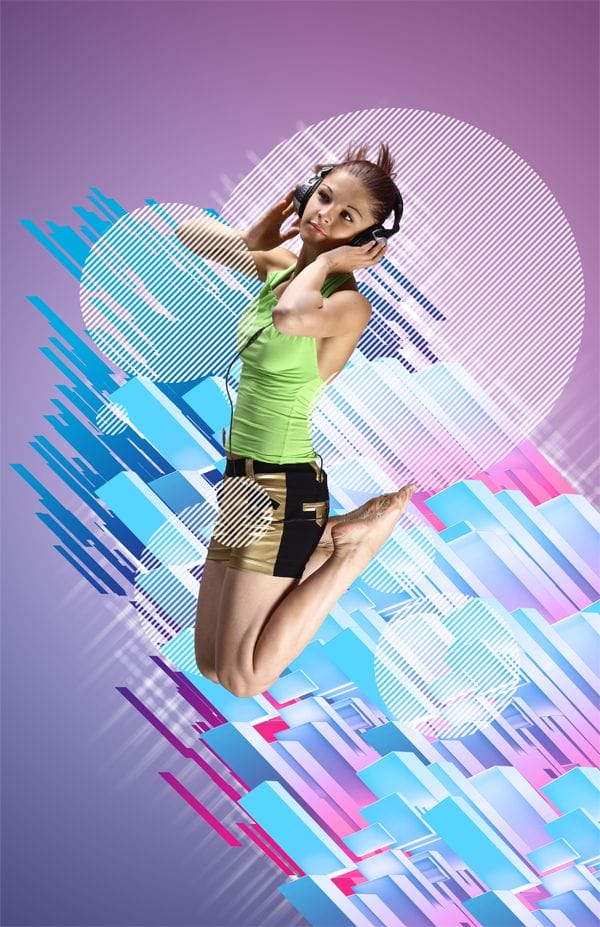
Here’s what the image looks like with the star filter effect.
Step 34
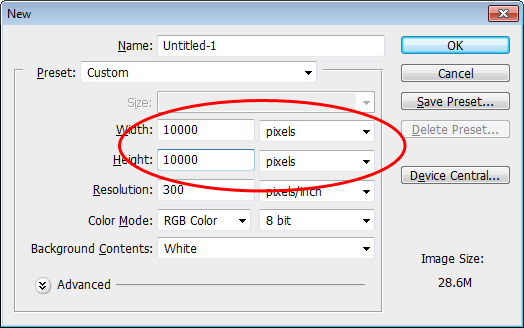
Next, we’re going to add an radial wave graphic. Start by creating a new Photoshop document (File > New) with a width and height of 10,000 pixels.
Step 35
Select the Rectangular Marquee tool then, in the option bar, set the Style to Fixed Size, Width to 100%, and Height to 500px.

Create a selection on the top edge of the document. If it is not snapping to the edge, make sure you have View > Snap and View > Snap To > Document Bounds enabled.

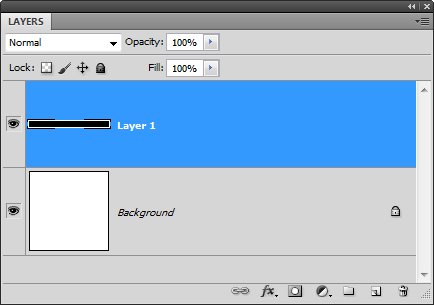
Create a new layer (Layer > New > Layer or Ctrl/Cmd+Shift+N). Fill the selected area with black. To do this, go to Edit > Fill, select Black as the contents, then click OK. Deselect the selection by pressing Ctrl/Cmd+D or going to Select > Deselect.
Step 36
Go to Edit > Free Transform. Click on the “Use relative position for reference point” button then set the Y axis to 1000 px. Press Enter on your keyboard to apply the changes.

Go to Edit > Step Backwards to undo the move. Press Ctrl+Alt+Shift+T or Cmd+Option+Shift+T keys on a Mac nine times. You’ll get an image like below.
Leave a Reply