

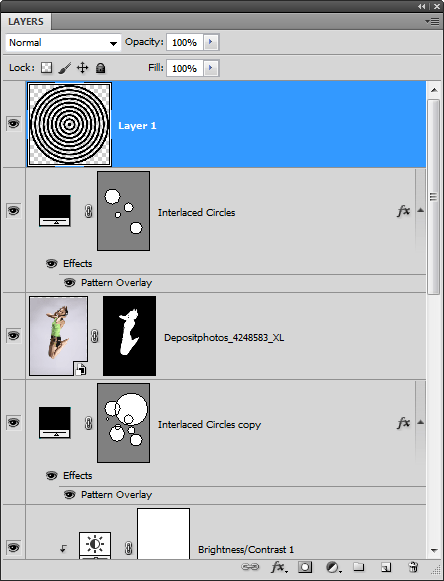
Step 37
Go to Filter > Distort > Polar Coordinates. Set the mode to Rectangular to Polar then click OK.

Go to Select > All to make a selection of the entire document area then go to Edit > Copy. Switch back to the other document then go to Edit > Paste. You can close the other Photoshop document without saving.
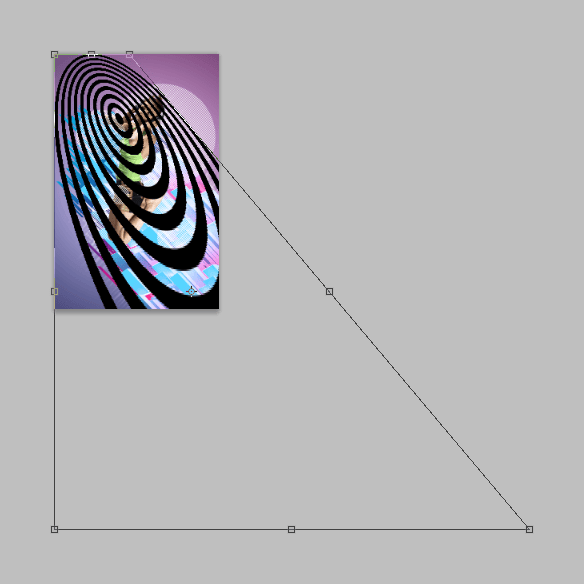
Step 38
Zoom out then go to Edit > Transform > Skew. Drag the top right handle towards the left like shown in the image below. Don’t press Enter or click the checkmark yet.
Go to Edit > Transform > Scale. Drag the bottom right handle to the bottom right corner of the Photoshop document.
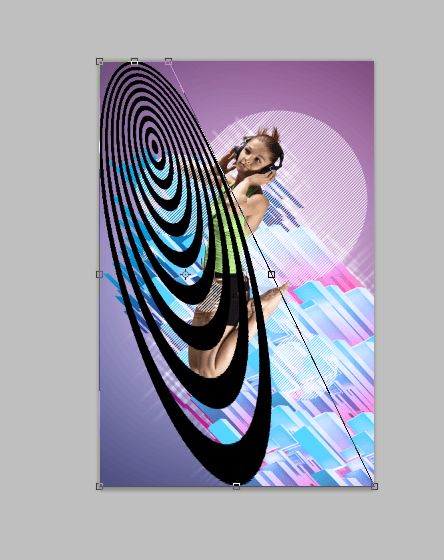
Position your cursor outside the bounding box then drag to rotate like shown in the image below. Click inside the bounding box to move it.

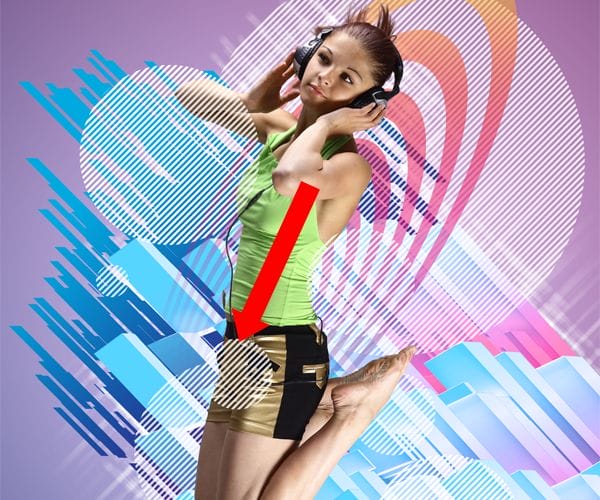
Drag the handles to make the radial wave graphic smaller.

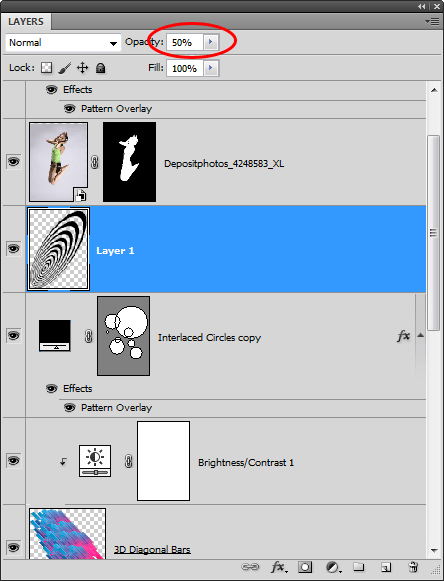
Step 39
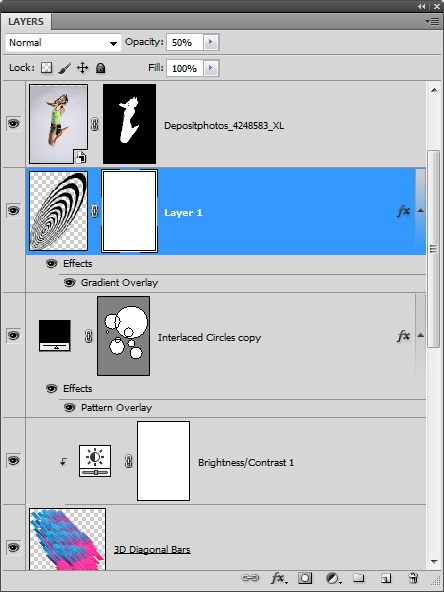
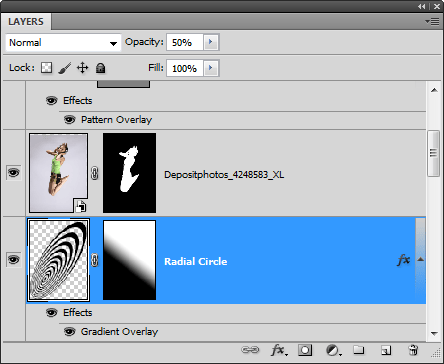
Position this layer below the layer of the girl. Set the Opacity to 50%.
Step 40
Go to Layer > Layer Style > Gradient Overlay. Set the Gradient to Spectrum, Angle to 90°, and Scale to 150%. Don’t click OK yet.
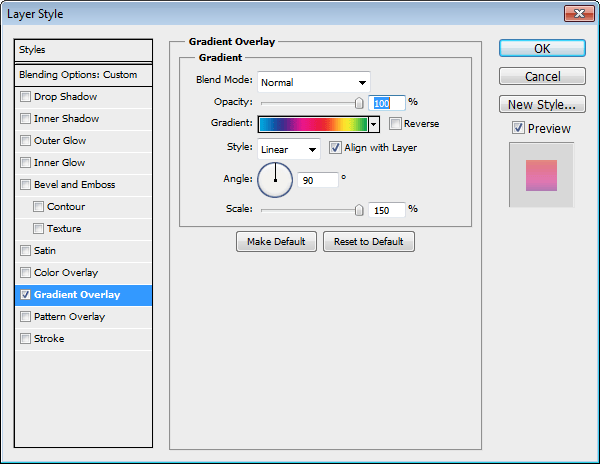
In the Photoshop document window, drag the gradient to reposition it to a color that you like. Here’s where I positioned the gradient. Click OK to apply the changes.
Step 41
Add a layer mask to the current layer by going to Layer > Layer Mask > Reveal All.
Select the Gradient tool, then in the options bar, apply the settings shown below:

Drag from the top to bottom to make the gradient fade.
Step 42
Rename the layer to “Radial Circle”.
Step 42
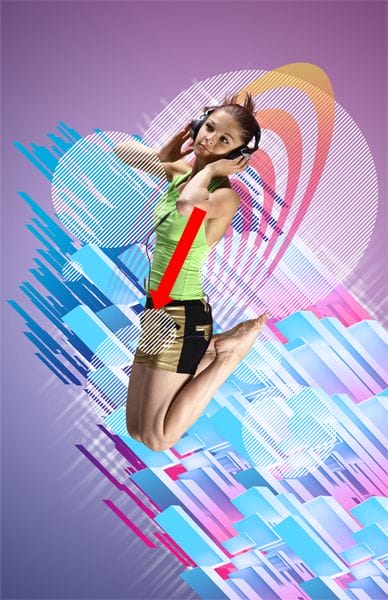
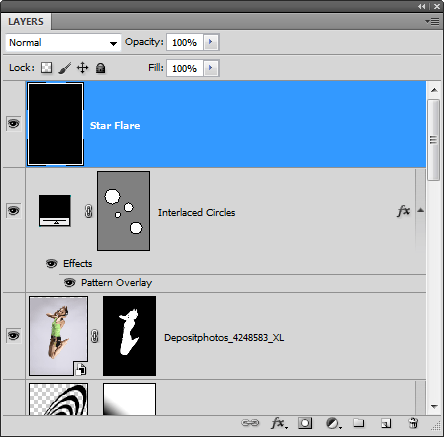
We’re almost done! Now we’re going to add a star flare to each side of the headphone. Start by creating a new layer as the top layer (Layer > New > Layer or Ctrl/Cmd+Shift+N). Name this layer “Star Flare” then fill it with black. To fill the layer with black, go to Edit > Fill, set the contents to black, then click OK.
Step 43
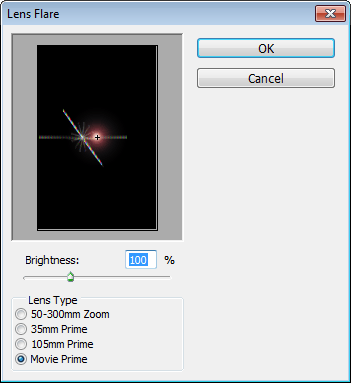
Go to Filter > Render > Lens Flare. Position the lens flare in the middle then set the Brightness to 100% and Lens Type to Movie Prime. Click OK.
Go to Filter > Blur > Gaussian Blur. Adjust the Radius so that the blue lines disappears.
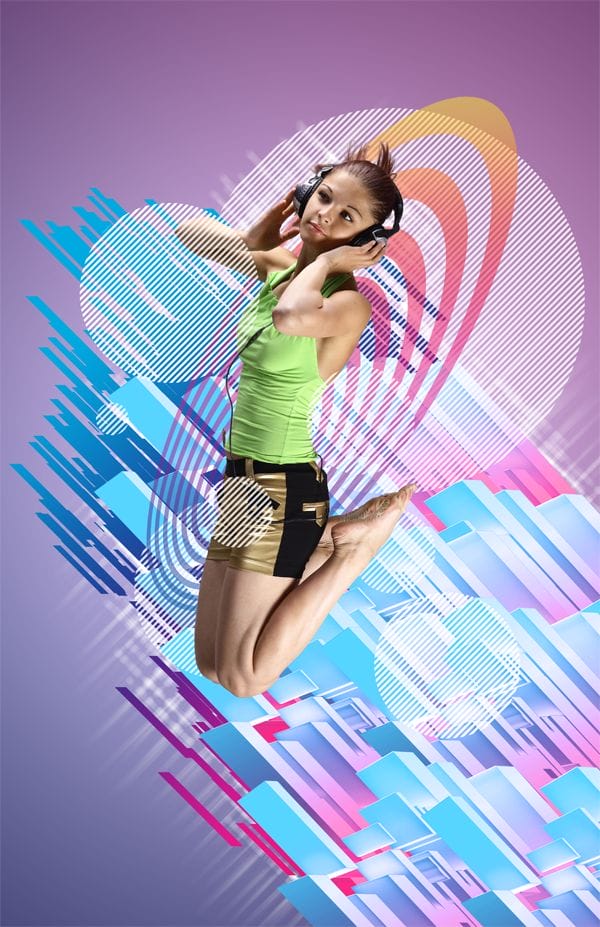
Leave a Reply