

Step 22
Now that we’re done with the book it’s time to add the actors to our little scene. Let’s start with the king of the animals – the lion. Open the file “Lion” and use the Magic Wand Tool or the Pen Tool to make a selection of the lion. Copy/paste the lion in our scene and place him as shown below. I am placing the lion near the edges of the book and not in the middle because by doing so I will increase the 3d effect – it will look like the lion pops out of the book.

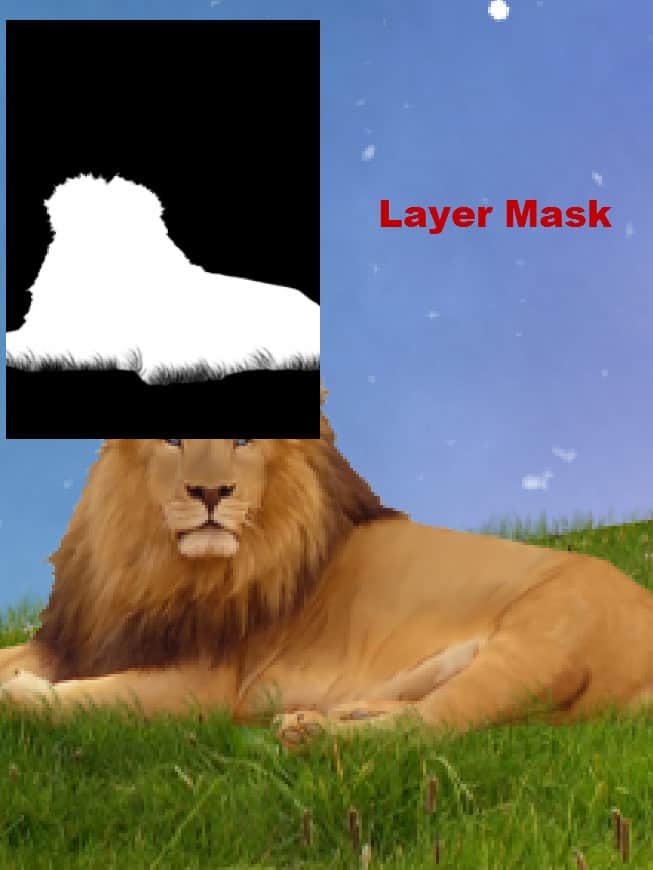
Step 23
Add a layer mask to the lion layer. Select a grass brush and paint with black on the bottom edges of the lion to make it look like it’s sitting in the grass. Do this for every other object or character that we are going to place on the book. This is a very useful trick that you can use when you place an object on a grass photo – simply use a grass brush to paint with black in the layer mask and you will achieve a nice blending effect.
Step 24
Create a Gradient Map Adjustment Layer and change the blending mode to Soft Light. Clip this layer to the lion layer. By doing this we will increase the contrast of the lion and darken it a little.

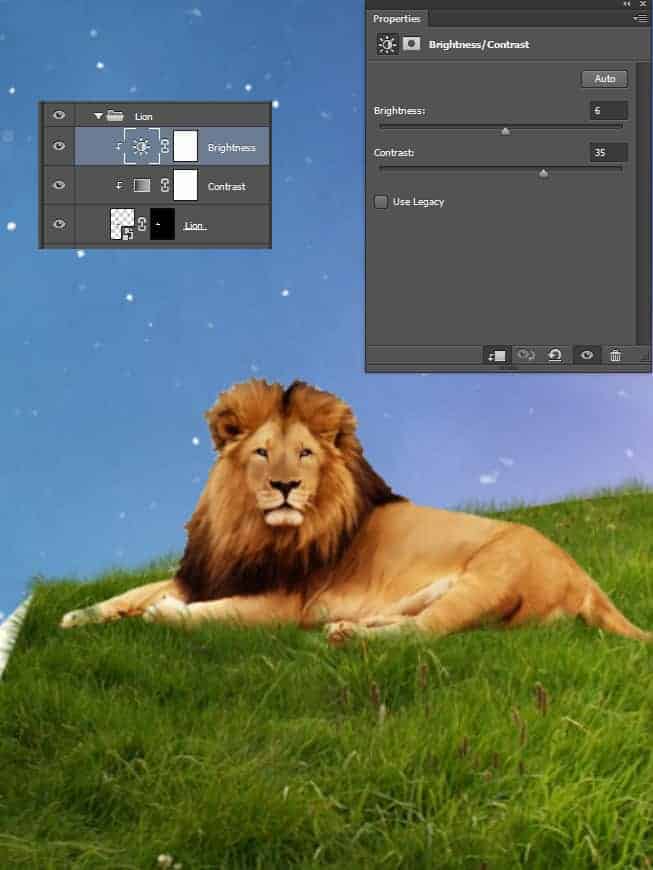
Step 25
Create a Brightness/Contrast Adjustment Layer and use the settings shown below to further increase the contrast and increase the intensity. Clip this layer to the lion layer. Group the lion and the clipped layers (hold the Ctrl key and click on each layer to select them – once you’re done press Ctrl + G to group) to keep the layer palette tidy.
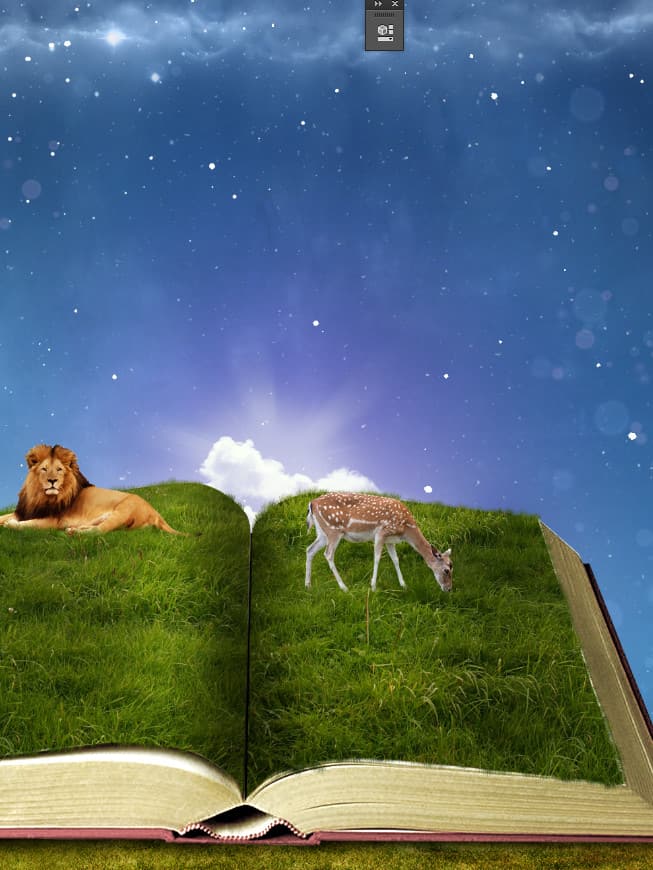
Step 26
Open the image “Small Deer”. Use the Pen Tool to make a selection of the deer. Copy/paste the deer into our scene and position it like shown below. Use the trick you learned from step 23 to blend the deer with the grass.
Step 27
Create a Curves Adjustment Layer with the settings shown below and clip it to the small deer layer. This will change the hue of the deer to one more closely to our scene.

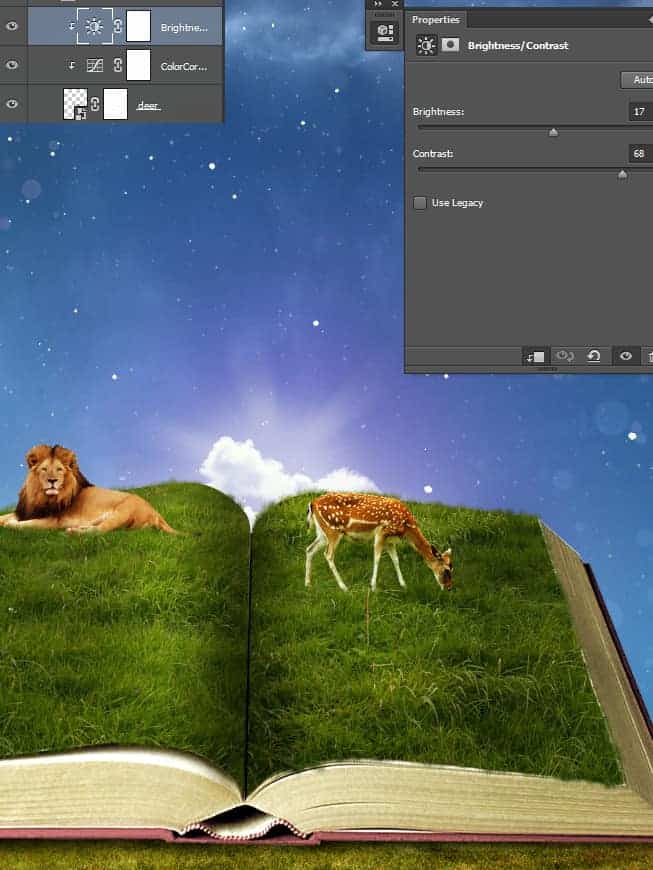
Step 28
Now create a Brightness/Contrast Adjustment Layer with the settings shown below and clip it to the small deer layer.
Step 29
The small deer looks fake without a shadow. Let’ create one. First make a new layer and place it below the small deer layer. Change the blending mode of this layer to Multiply and lower the opacity to 48%. With the round soft brush paint with black a shadow like shown below.
10 responses to “How to Create a Fantasy Book Scene in Photoshop”
-

stop
-
Beautiful
-
very nice excellent
-
excellent tutorial..very clear explanation…u r genius
-
That’s Amazing Dude Very Very Nice !
-
Beautiful
-
Mr cordes U slayer :)!$
-
excelente tutorial. :)
-
Woooow…awesome work ???
-
Wow
Leave a Reply