

Step 72
Add new adjustment layer with Curves.

Then, with big soft round brush mask curves adjustment layer as is shown.

Step 73
Now it’s time to make Gradient fill adjustment layer (Layer > New adjustment layer…). Use transparent-#0e0912 radial gradient.

Change blending mode to Overlay, decrease its opacity to 60%.

Step 74
Add new layer (Shift+Ctrl+N or shortcut). Pick soft round brush around 300px and choose the same color as before – #0e0912 Draw around edges of image.

Make this layer to Multiply, 45%.

Step 75
Now, it’s time to fix Exposure. Add Exposure adjustment layer (Layer > New adjustment layer…).

Step 76
Add new layer (Shift+Ctrl+N or shortcut). You’ll create hair. Pick soft round brush with dynamic opacity (1px size). Use the similar color sheme as in step 60. It will be your base to next steps.

Add new layer (Shift+Ctrl+N or shortcut). Pick soft round brush with 50% opacity. Use white color. Draw highlights on curls.

Change its opacity and blending mode – to Overlay. If you think, that effect isn’t visable yet, you can duplicate this layer – drag and dtop it to “New layer” symbol, or go to Layer > Duplicate layer…
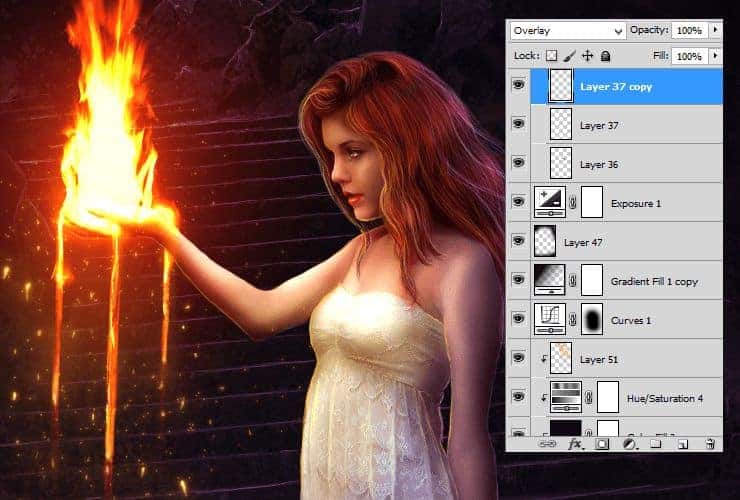
Add new layer (Shift+Ctrl+N or shortcut). Use soft round brush, with opacity around 20%. Set dark-violet color and draw shadows of curls.

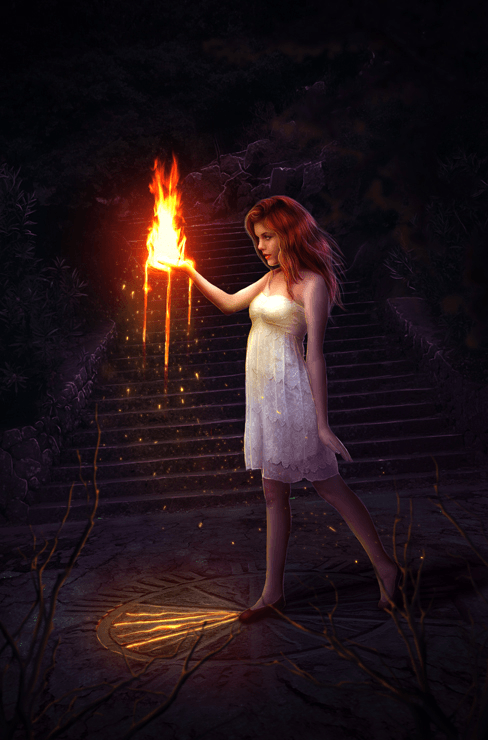
Final Results
Tutorial by msRiotte

Thank you for following this tutorial! See my other works on my deviantart. If you want to cooperate, go to my portfolio. I hope everything was clear! :)
– msRiotte
8 responses to “How to Create a Fantasy Photo Manipulation with Fire”
-

thanks for an awesome tutorial. wish i could post what i made of it on here :(
-
The end result is nice, but waaaay too many layers!
So sick of making layers… Need to find better methods.
Thanks. -
why u dont use Photoshop cs6 for this tutorial? It’s hardly to understand while Im using CS6
-
Link of ”Grunge map” had died. I dont understand step 4, how to do it ??
-
Diego Armando
-
link to Grunge maps Weird 0001 2 (L) cgitextures is broken. Tree sidebar PNG is a pay file. Love your tutorial. Thank you
-
amazing
-
Nice
Leave a Reply