
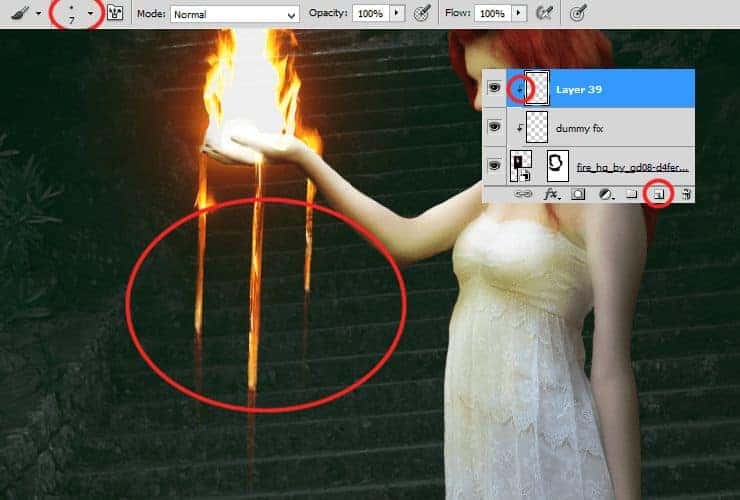
Step 40
Add new layer (Layer > New > Layer or Shift + Ctrl + N). Then, right-click on it and choose “Create clipping mask” (Alt+Ctrl+G or Layer > Create Clipping Mask). Choose soft round brush 6 px. Use white color. Draw liquid like thing on hand.

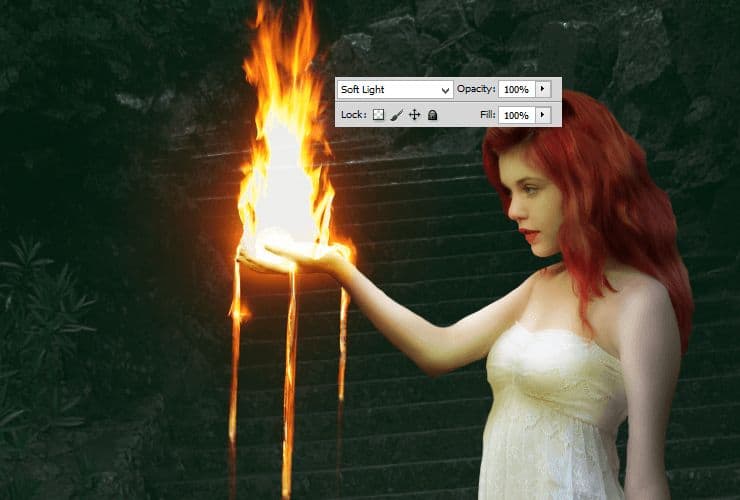
Step 41
Now you’ll make fire glow. Add new layer (Shift+Ctrl+N or shortcut). Pick soft round brush around 30px size. Use #ff970f color. Draw glow around model’s hand.

Change blending mode to Soft light.
Step 42
It’s time to make glow around fire drops. Add new layer (Shift+Ctrl+N or shortcut). Pick soft round brush aroun 15px. Use lighter color – #ffd514.

Change its blending mode to Soft light also.

Step 43
Now let’s add some light and glow to hand. Add new layer (Shift+Ctrl+N or shortcut). Pick soft round brush around 10px. Use #ff5d24 color. For better effect, I recommend dynamic opacity of brush.

Change its blending mode to Screen.

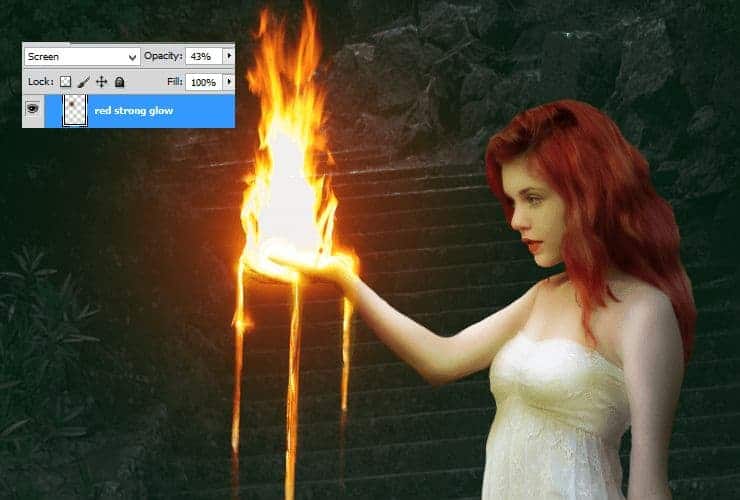
Step 44
Now it’s the last glow – the biggest. Add new layer (Shift+Ctrl+N or shortcut). Pick soft round brush around 300px. Use light-brown color – #8e1900 and draw dot in the center of fire stock image.

Change its blending mode and opacity to Screen, around 45%.
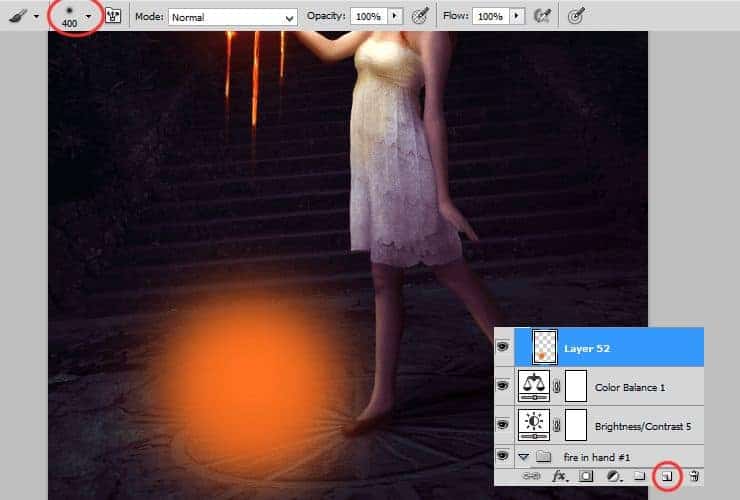
Step 45
Image is too bright. Let’s fix it. Add adjustment layer (Layer > New adjustment layer…) with Brightness/Contrast.

Step 46
Then, you should change colors (If you want). Add Color/Balance adjustment layer. (Layer > New adjustment layer…)

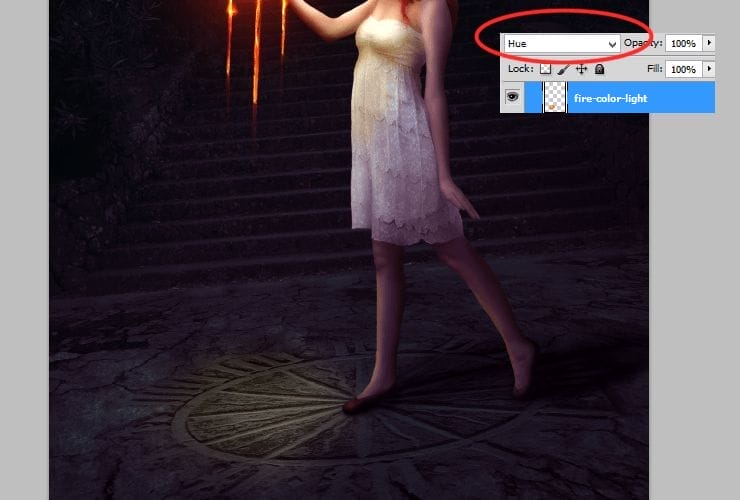
Step 47
Now you’ll make preparing for making lava on ground. Add new layer (Shift+Ctrl+N or shortcut). At first, use soft round, 400px brush and draw dot with smoked orange color (#ff7122).
Then, draw with smaller, light-yellow (#ffe65b) brush, second dot, on first.

Next, transform it perspectively – ctrl + T and adjust it to ground.

At the end, change blending mode of created layer to Hue.
Step 48
Add new layer (Shift+Ctrl+N or shortcut). At first, use soft round, 150px brush and draw splash with dark orange color (#ff3f08).

Change its blending mode to Color dodge, decrease opacity to around 10% (here:11%).

Step 49
Add more glow to your fire (yay!). Add new layer (Shift+Ctrl+N or shortcut). Use the same brush settings as before and draw glow around model’s hand, fire and drops of fire. You can decrease opacity of brush to even 50%, it depends of your desired effect.
8 responses to “How to Create a Fantasy Photo Manipulation with Fire”
-

thanks for an awesome tutorial. wish i could post what i made of it on here :(
-
The end result is nice, but waaaay too many layers!
So sick of making layers… Need to find better methods.
Thanks. -
why u dont use Photoshop cs6 for this tutorial? It’s hardly to understand while Im using CS6
-
Link of ”Grunge map” had died. I dont understand step 4, how to do it ??
-
Diego Armando
-
link to Grunge maps Weird 0001 2 (L) cgitextures is broken. Tree sidebar PNG is a pay file. Love your tutorial. Thank you
-
amazing
-
Nice
Leave a Reply